
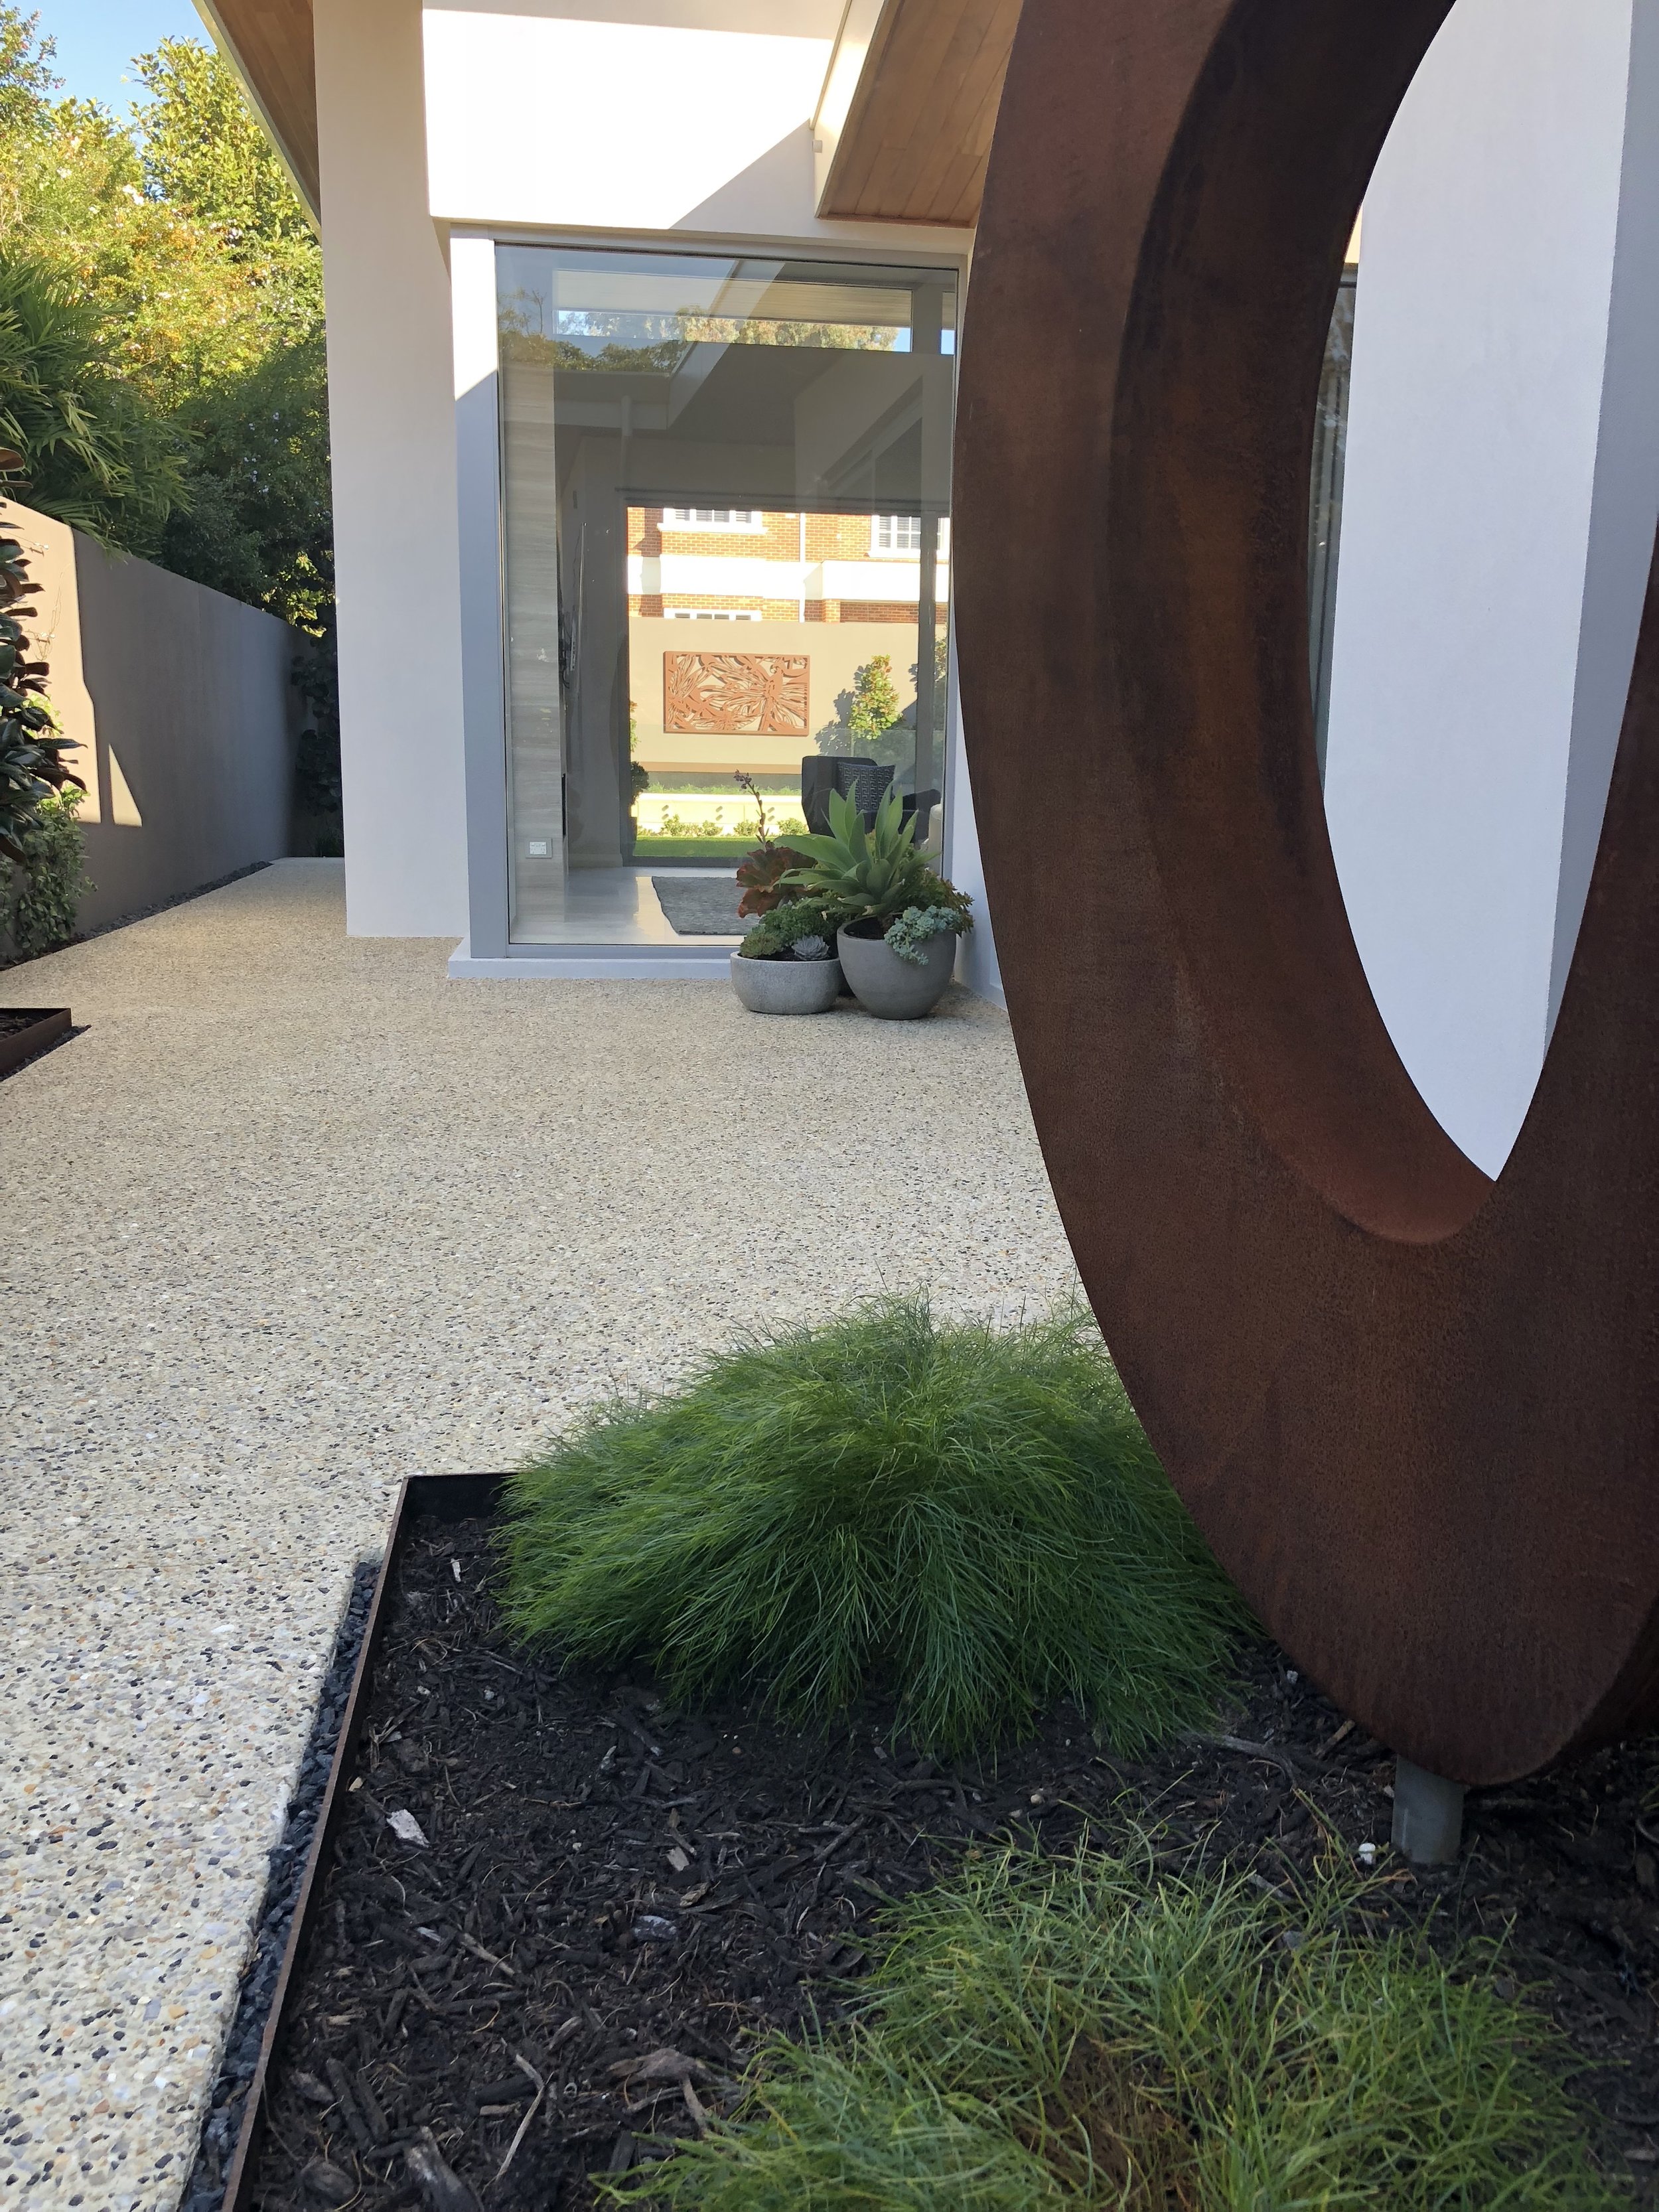
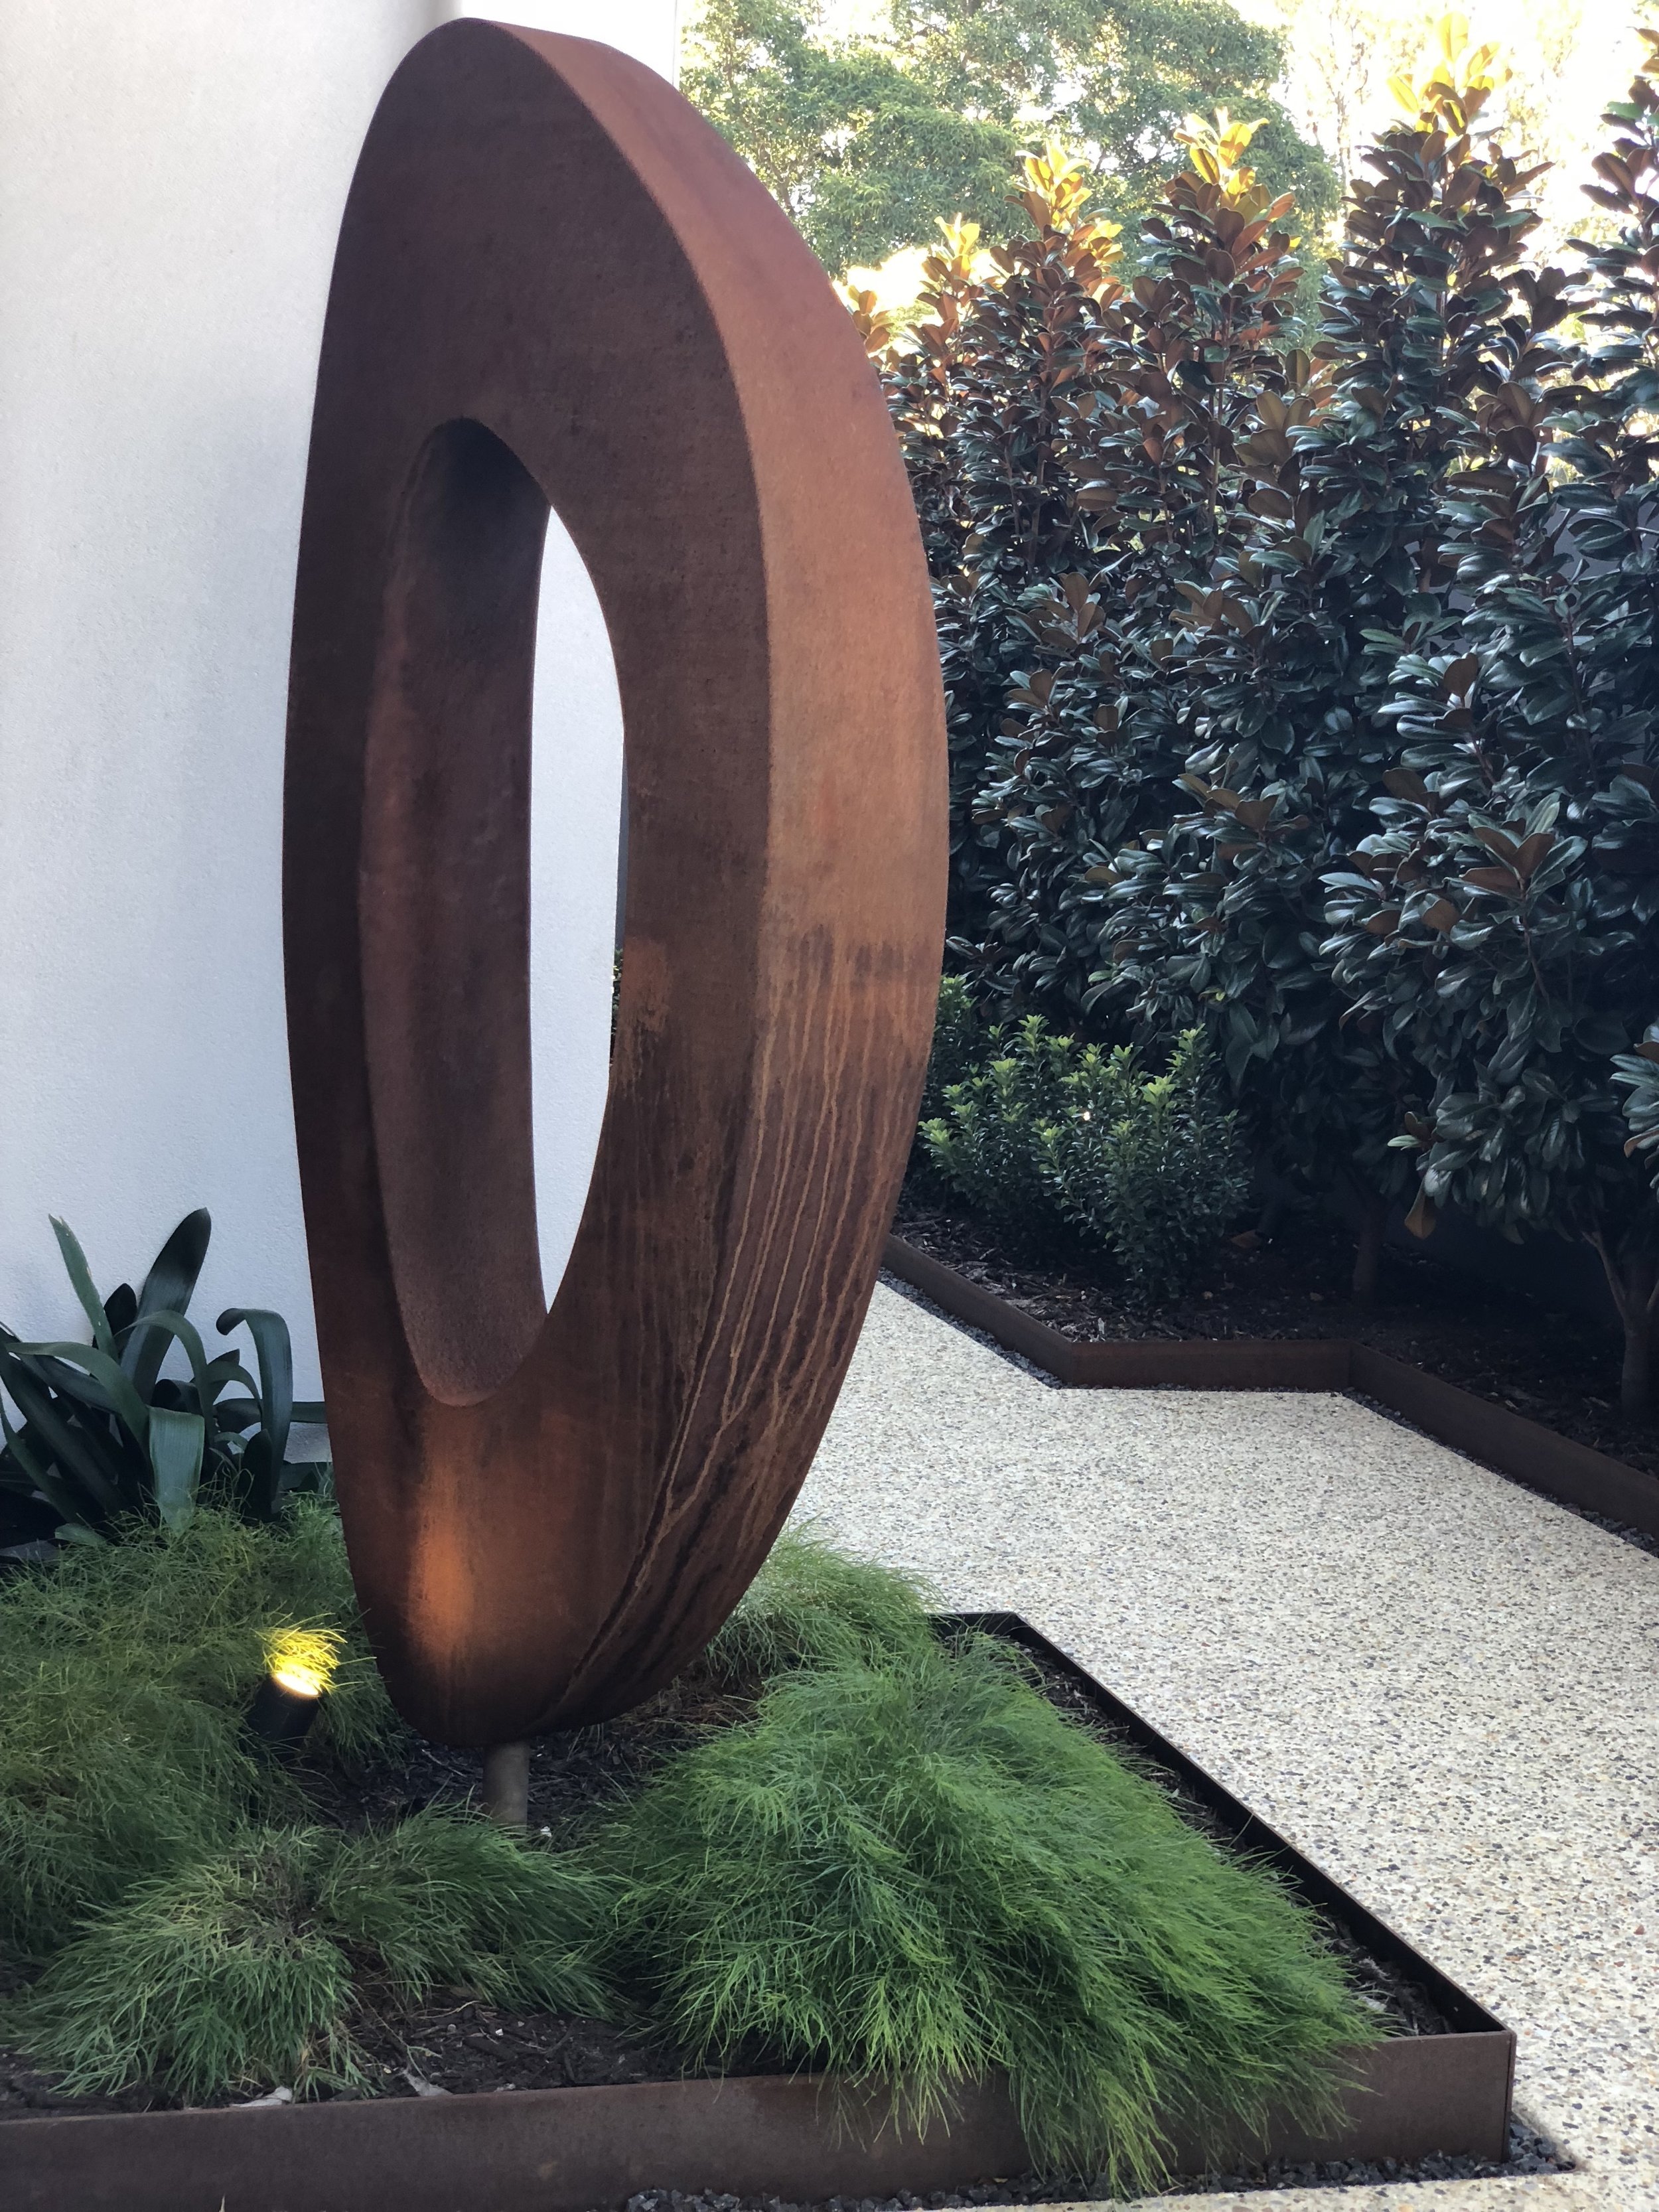
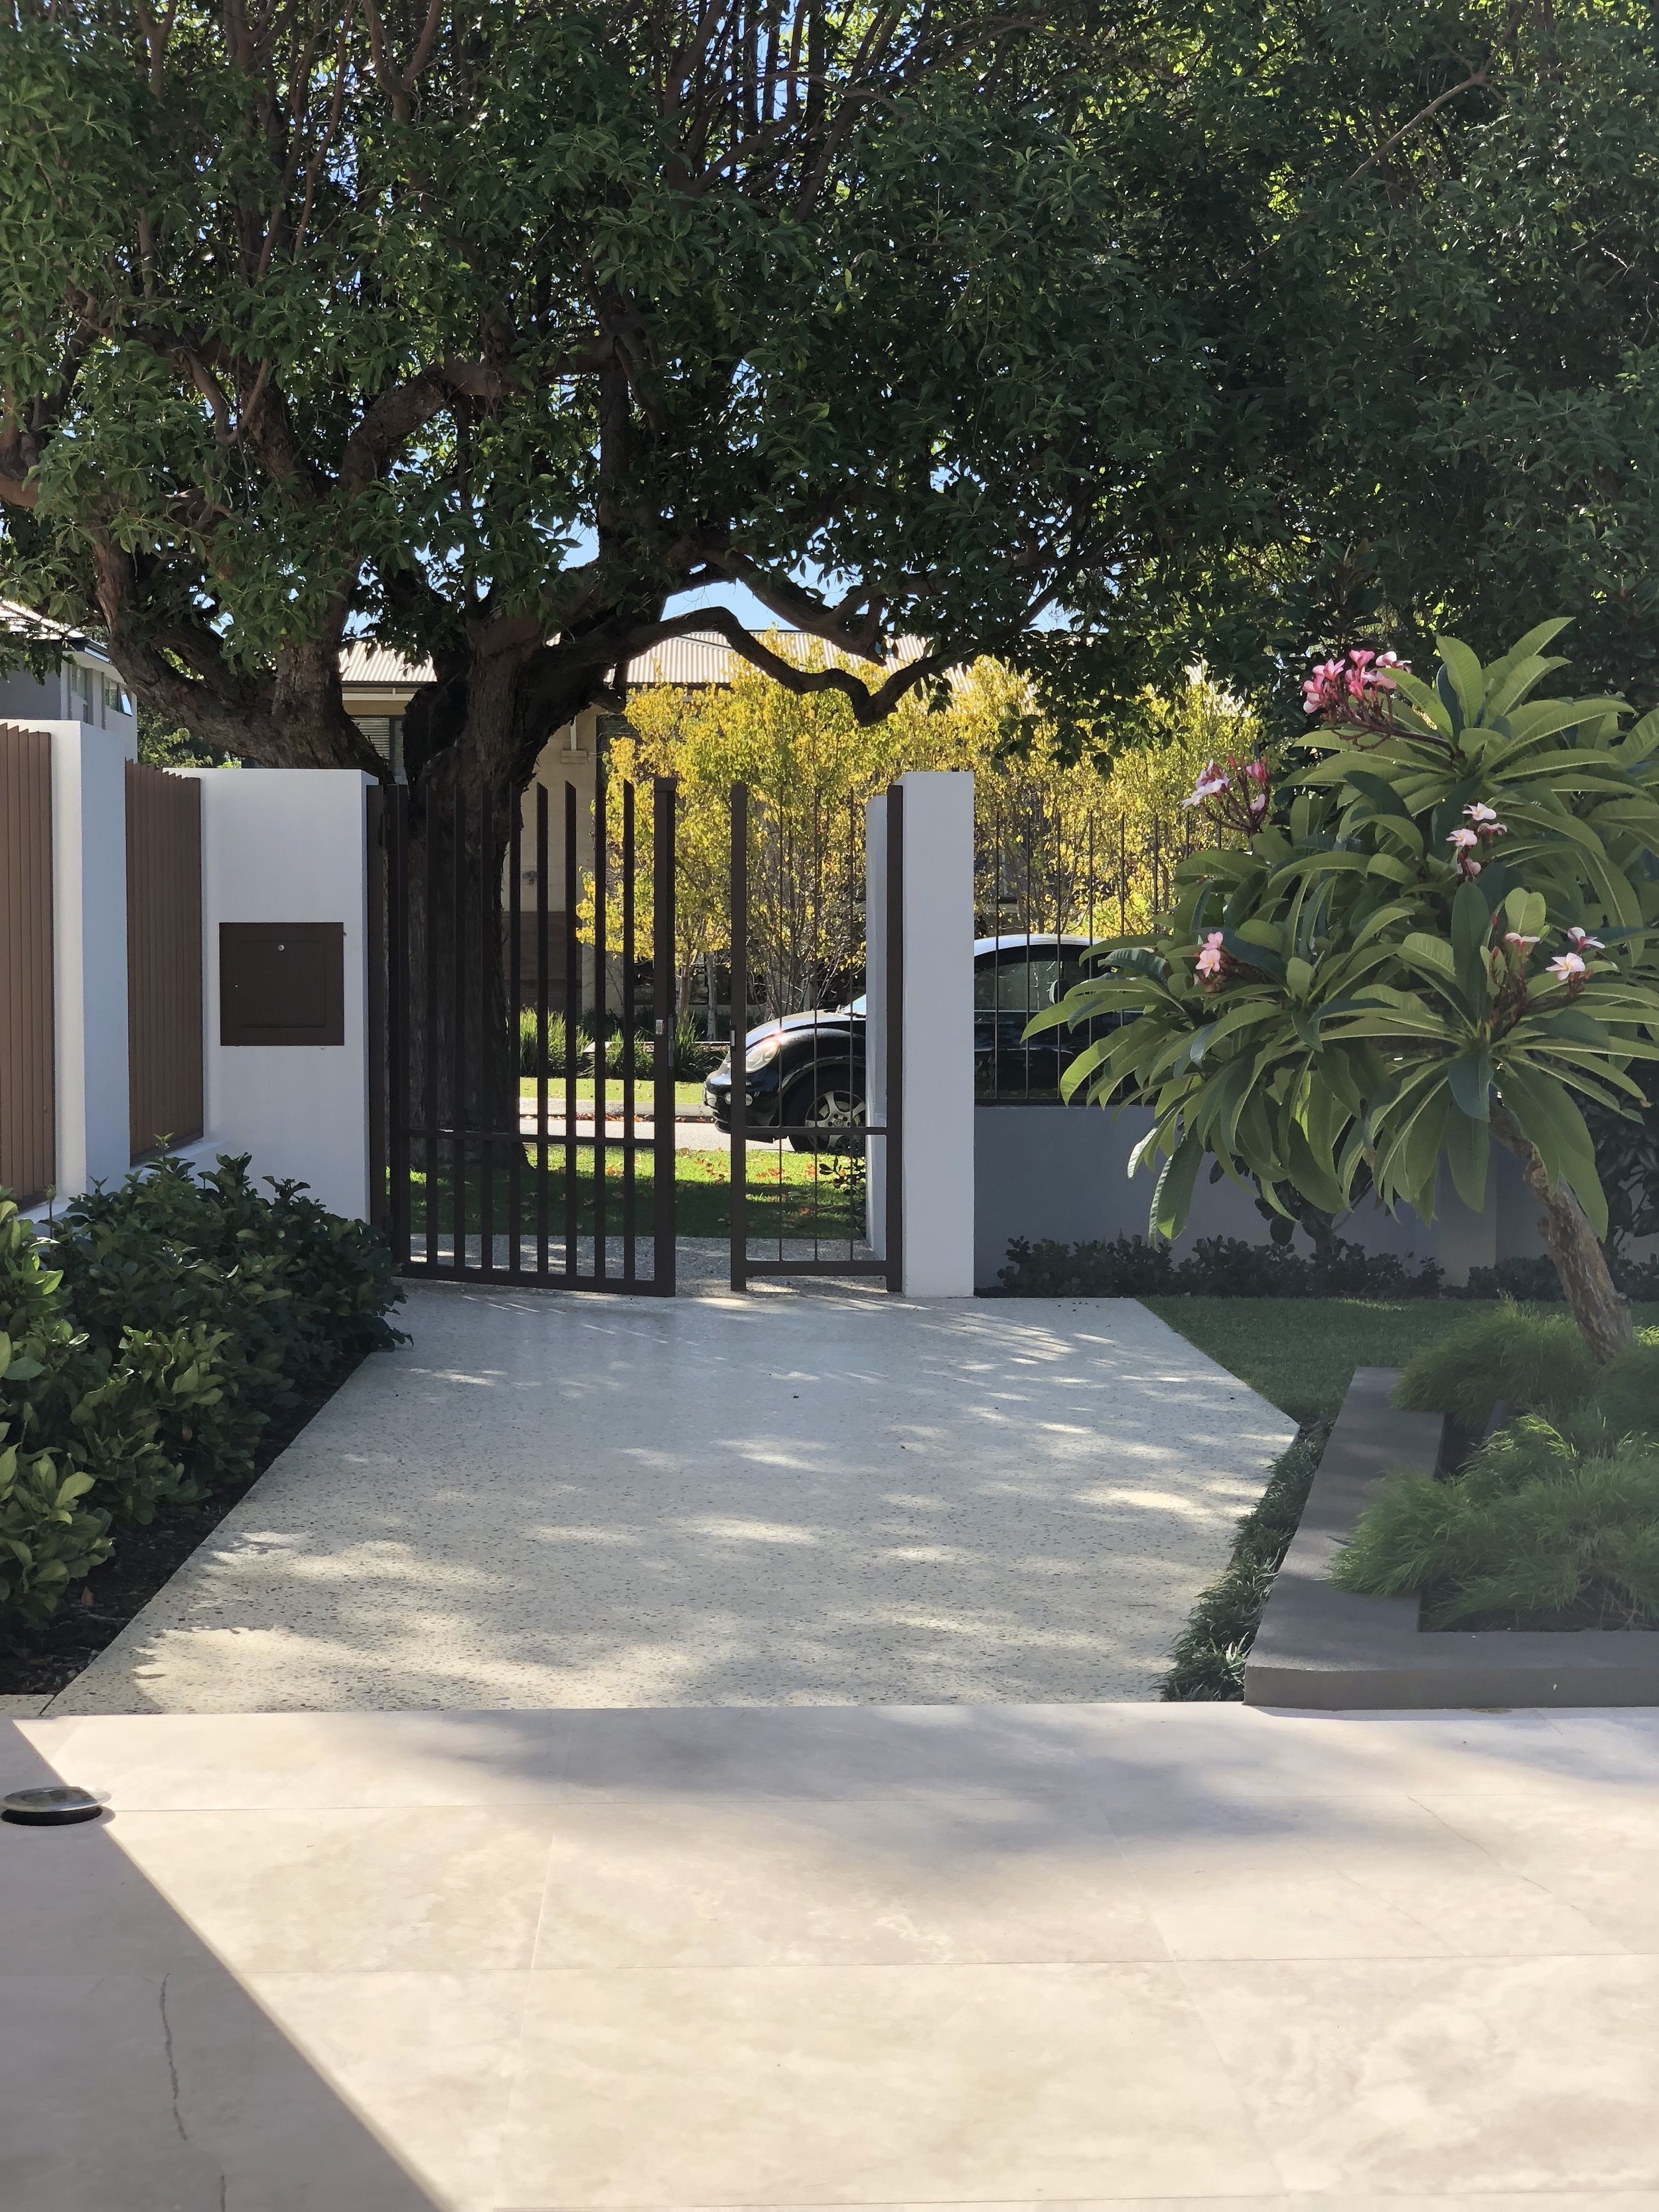
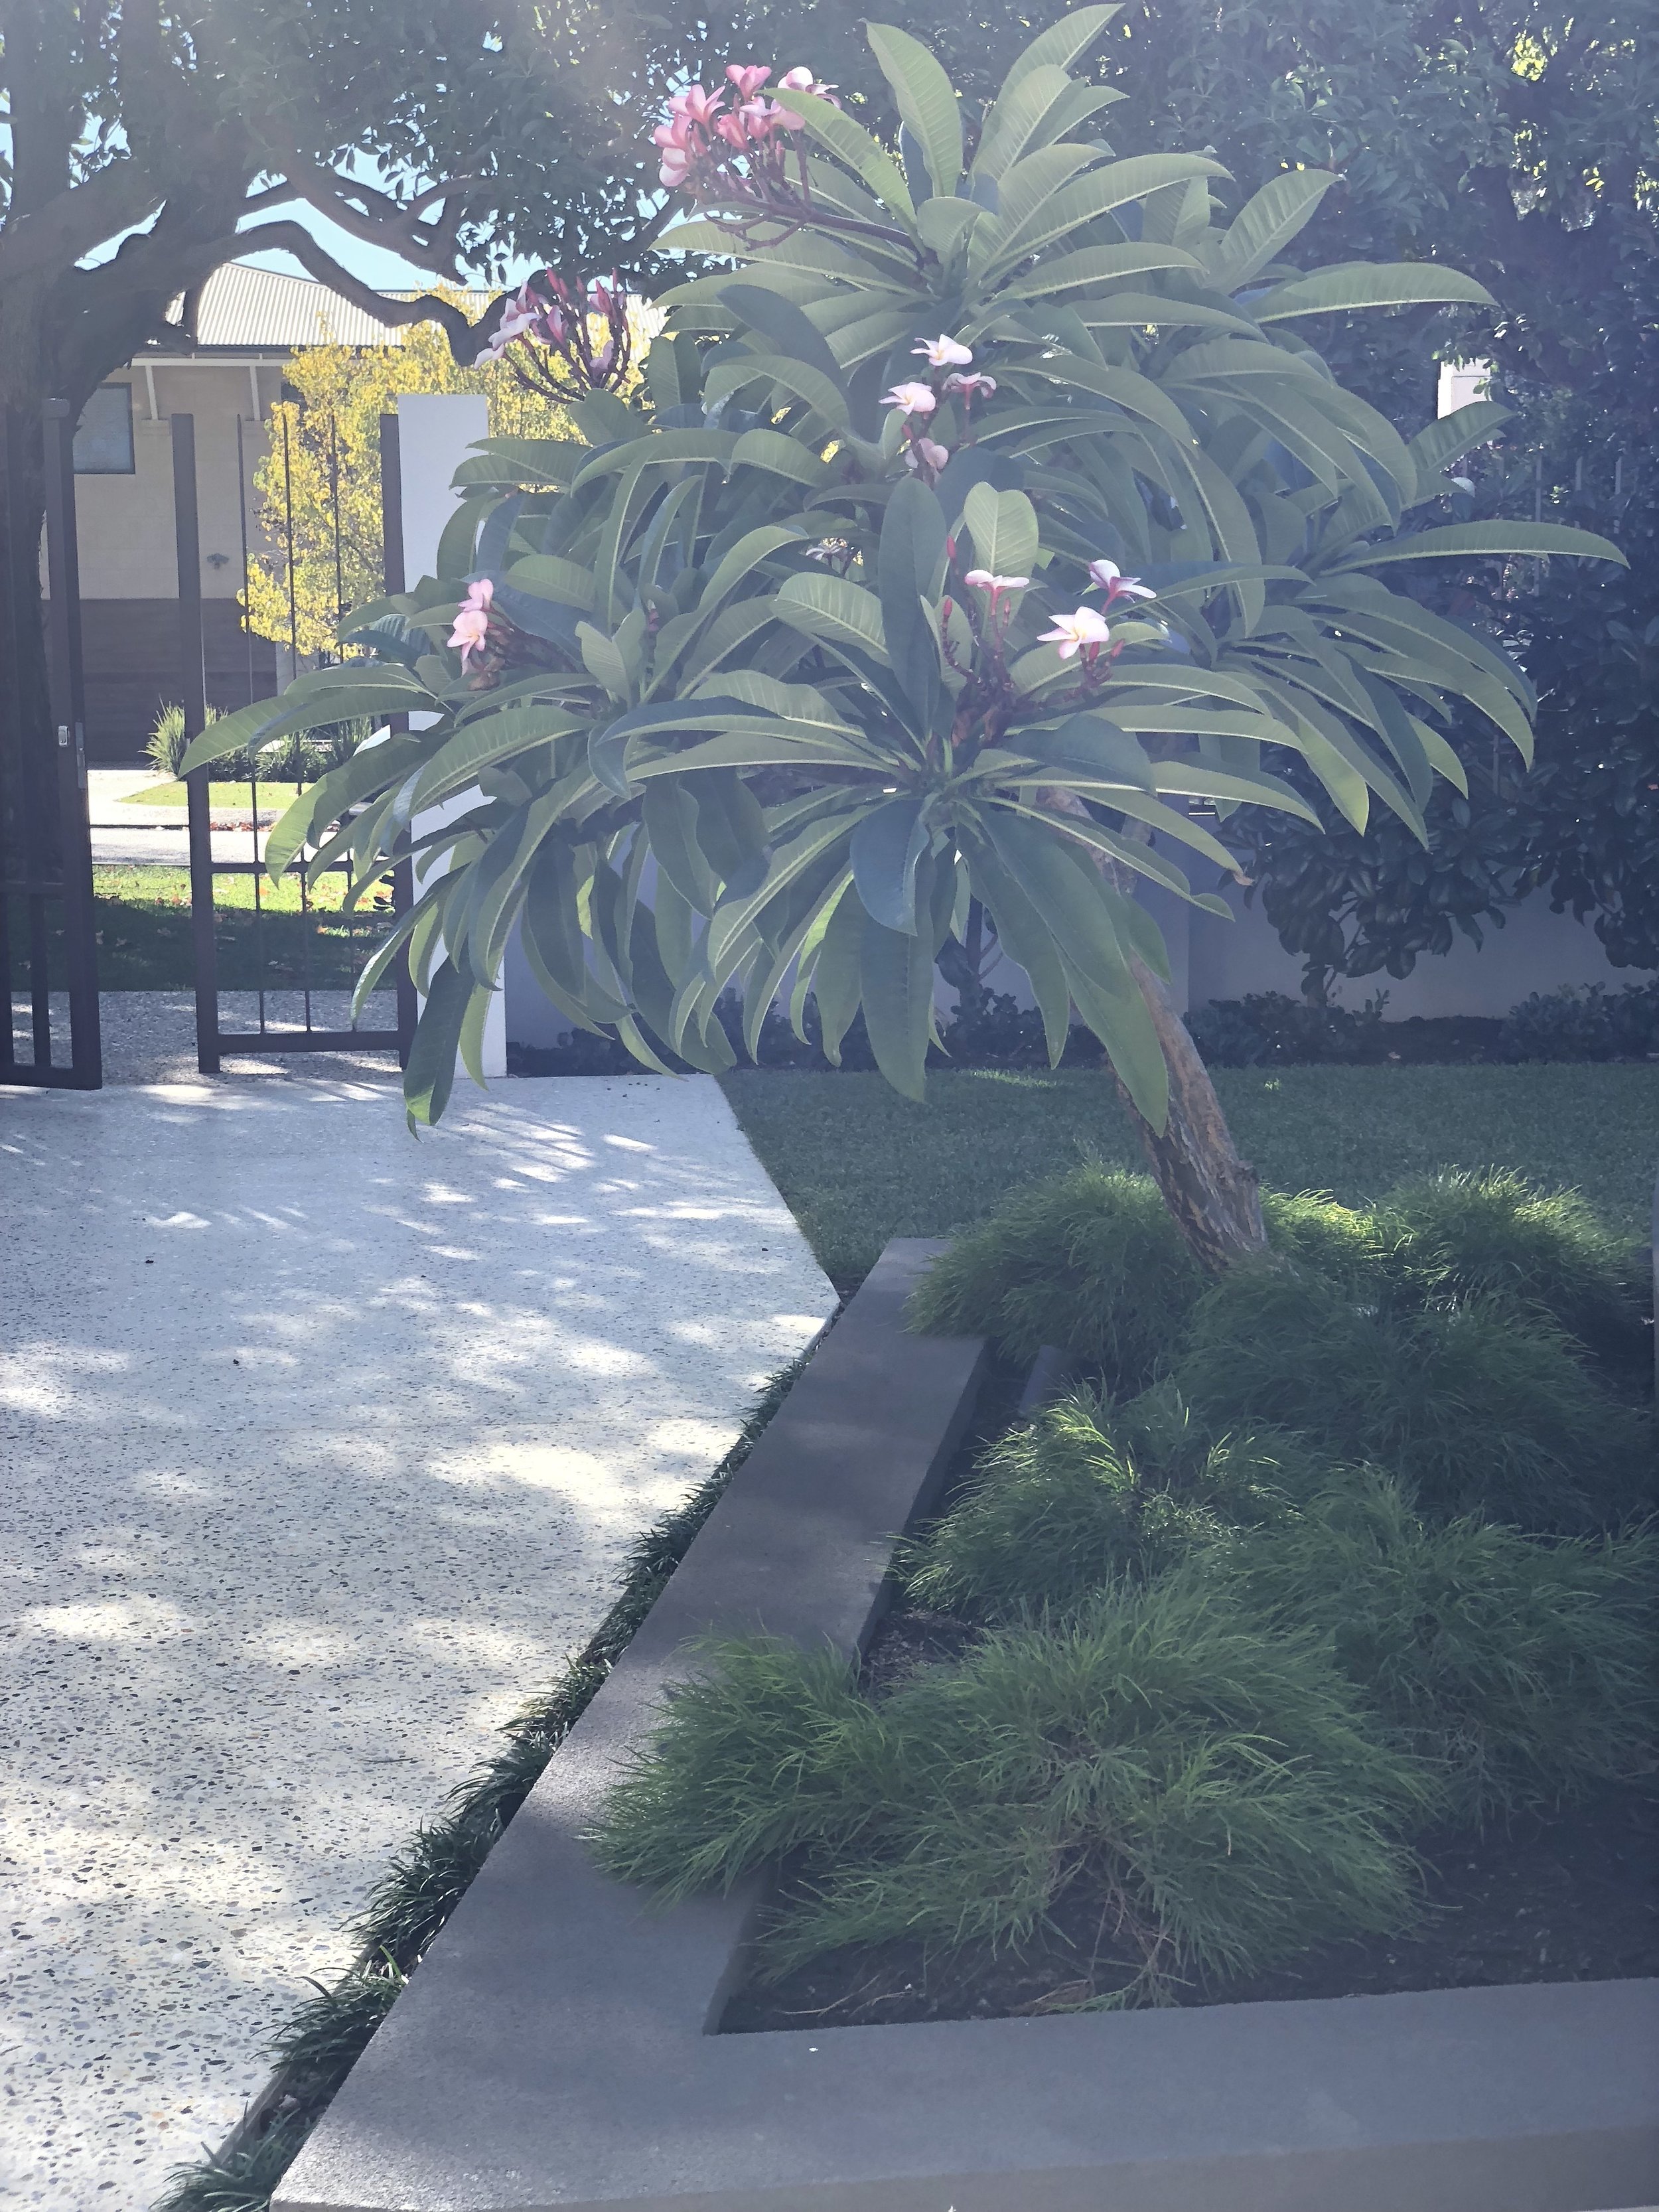
Goldsmith St........ 9 months on....
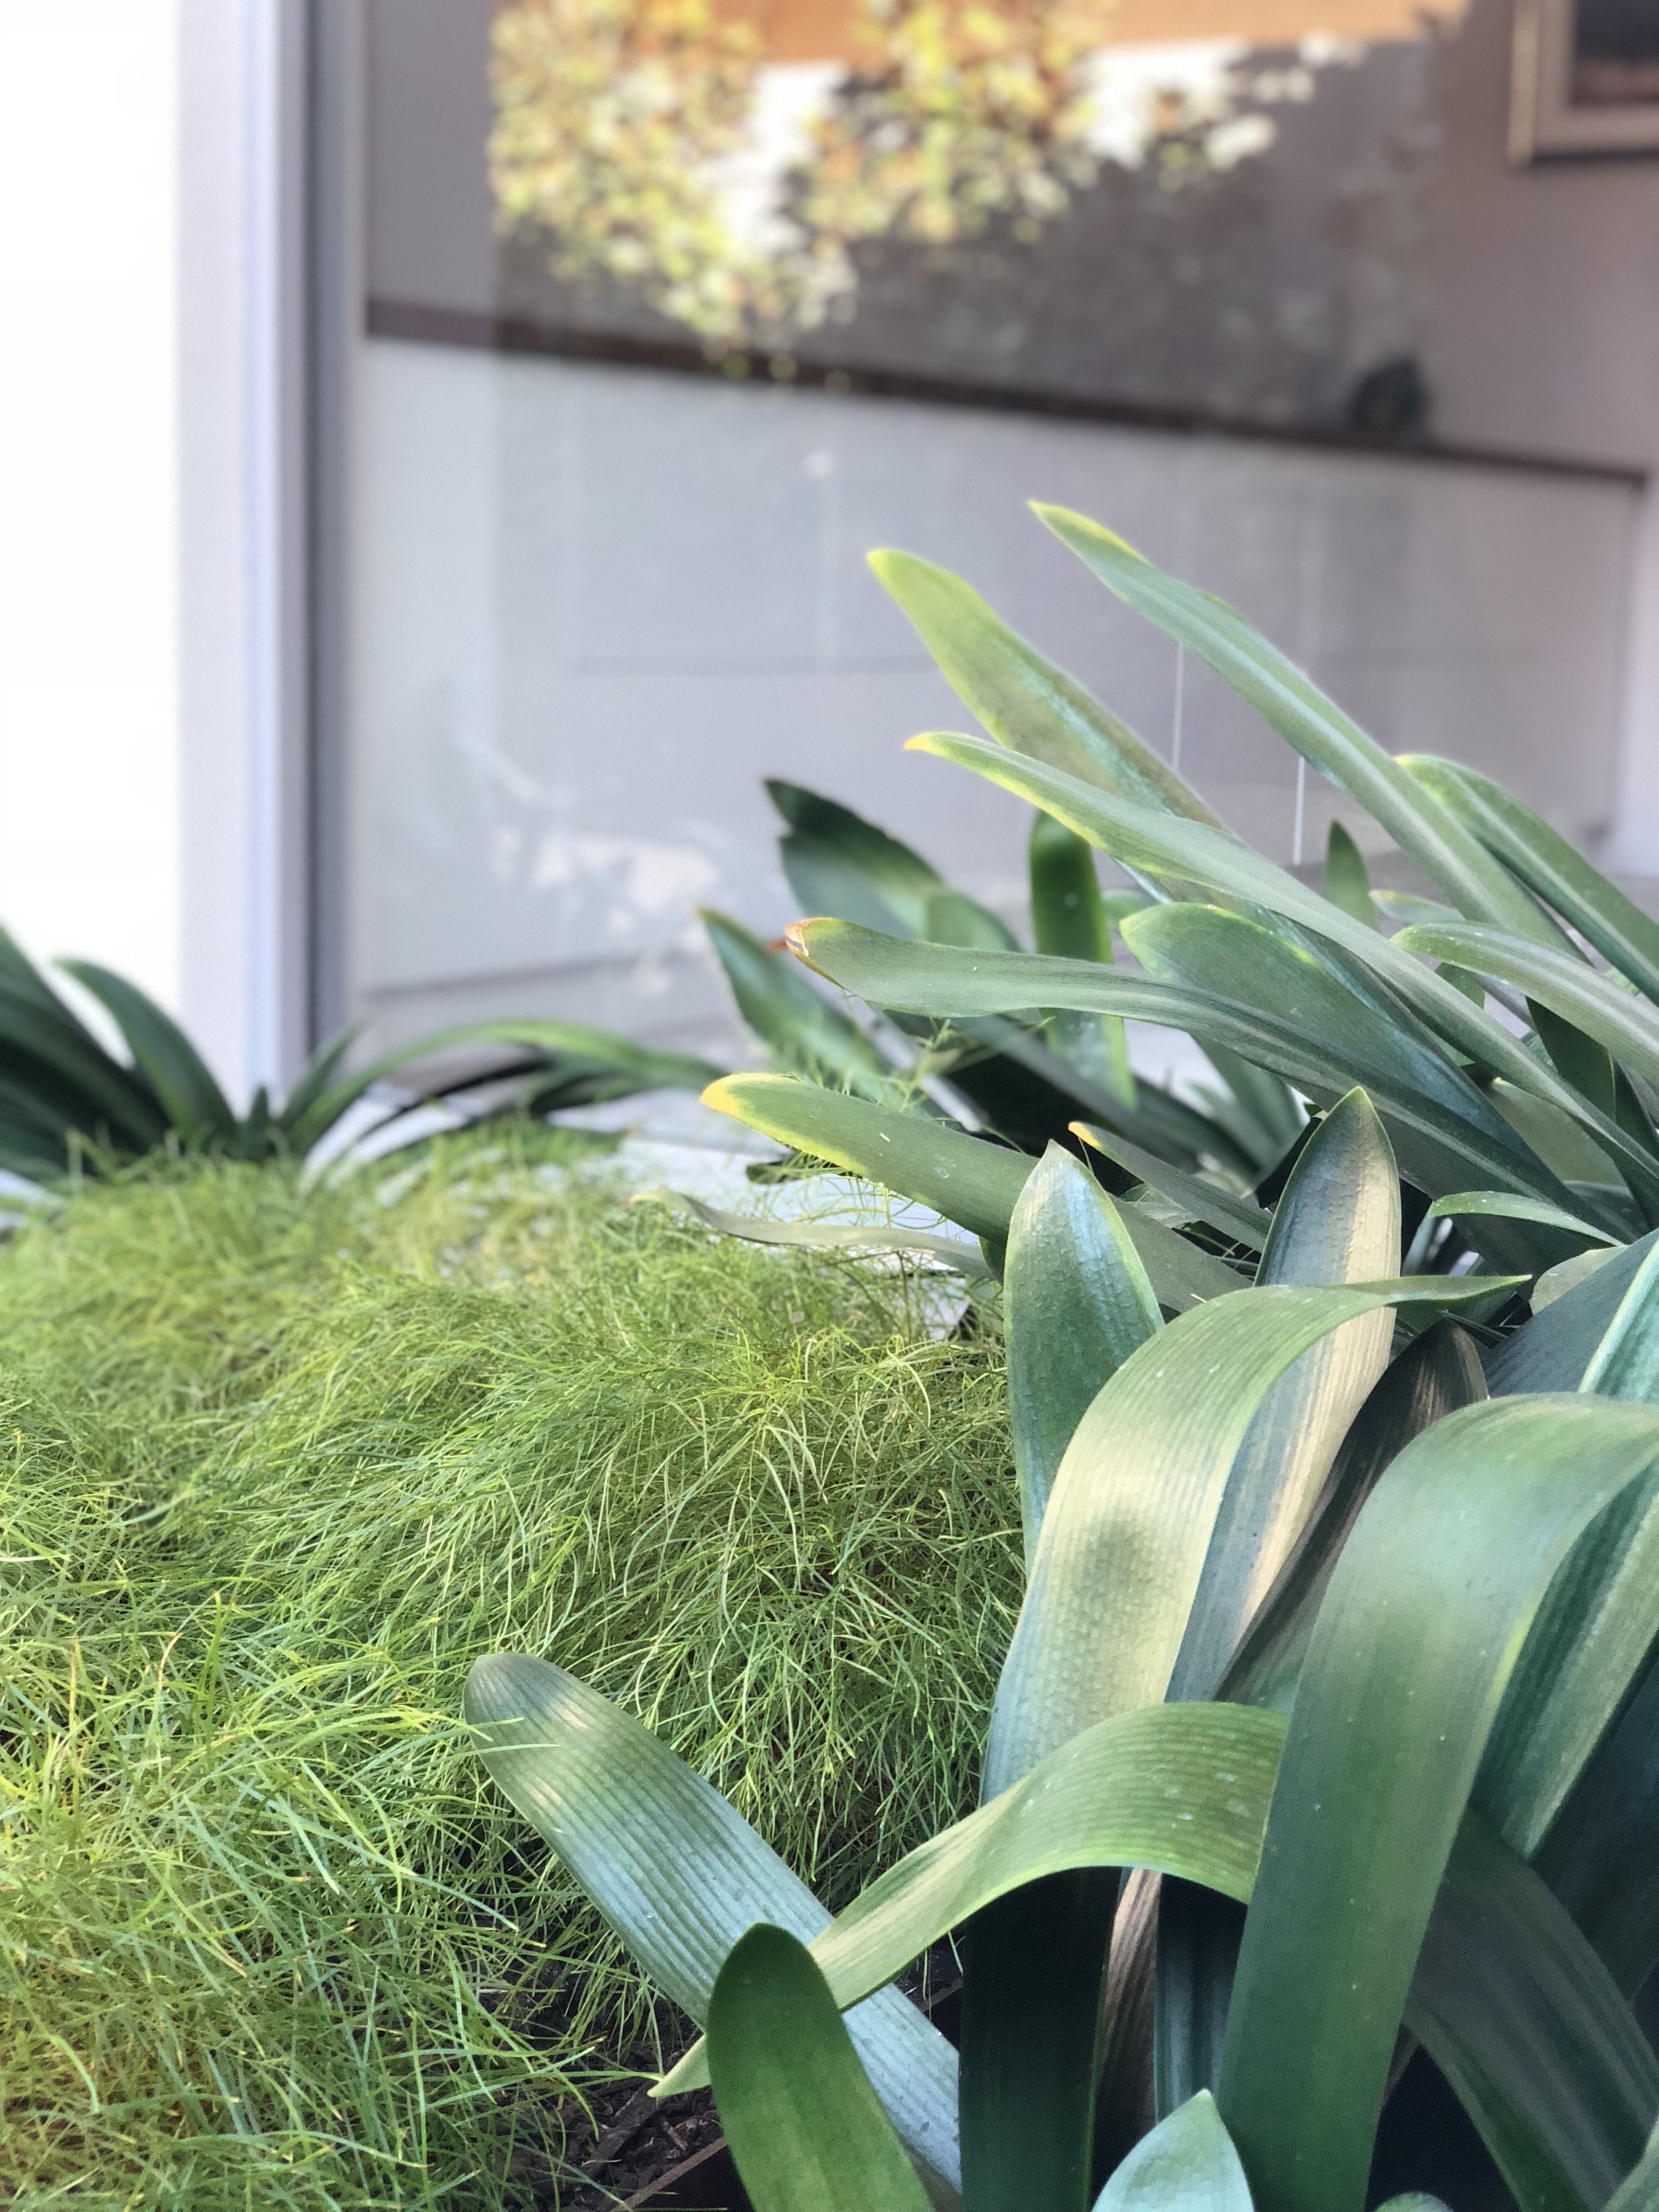
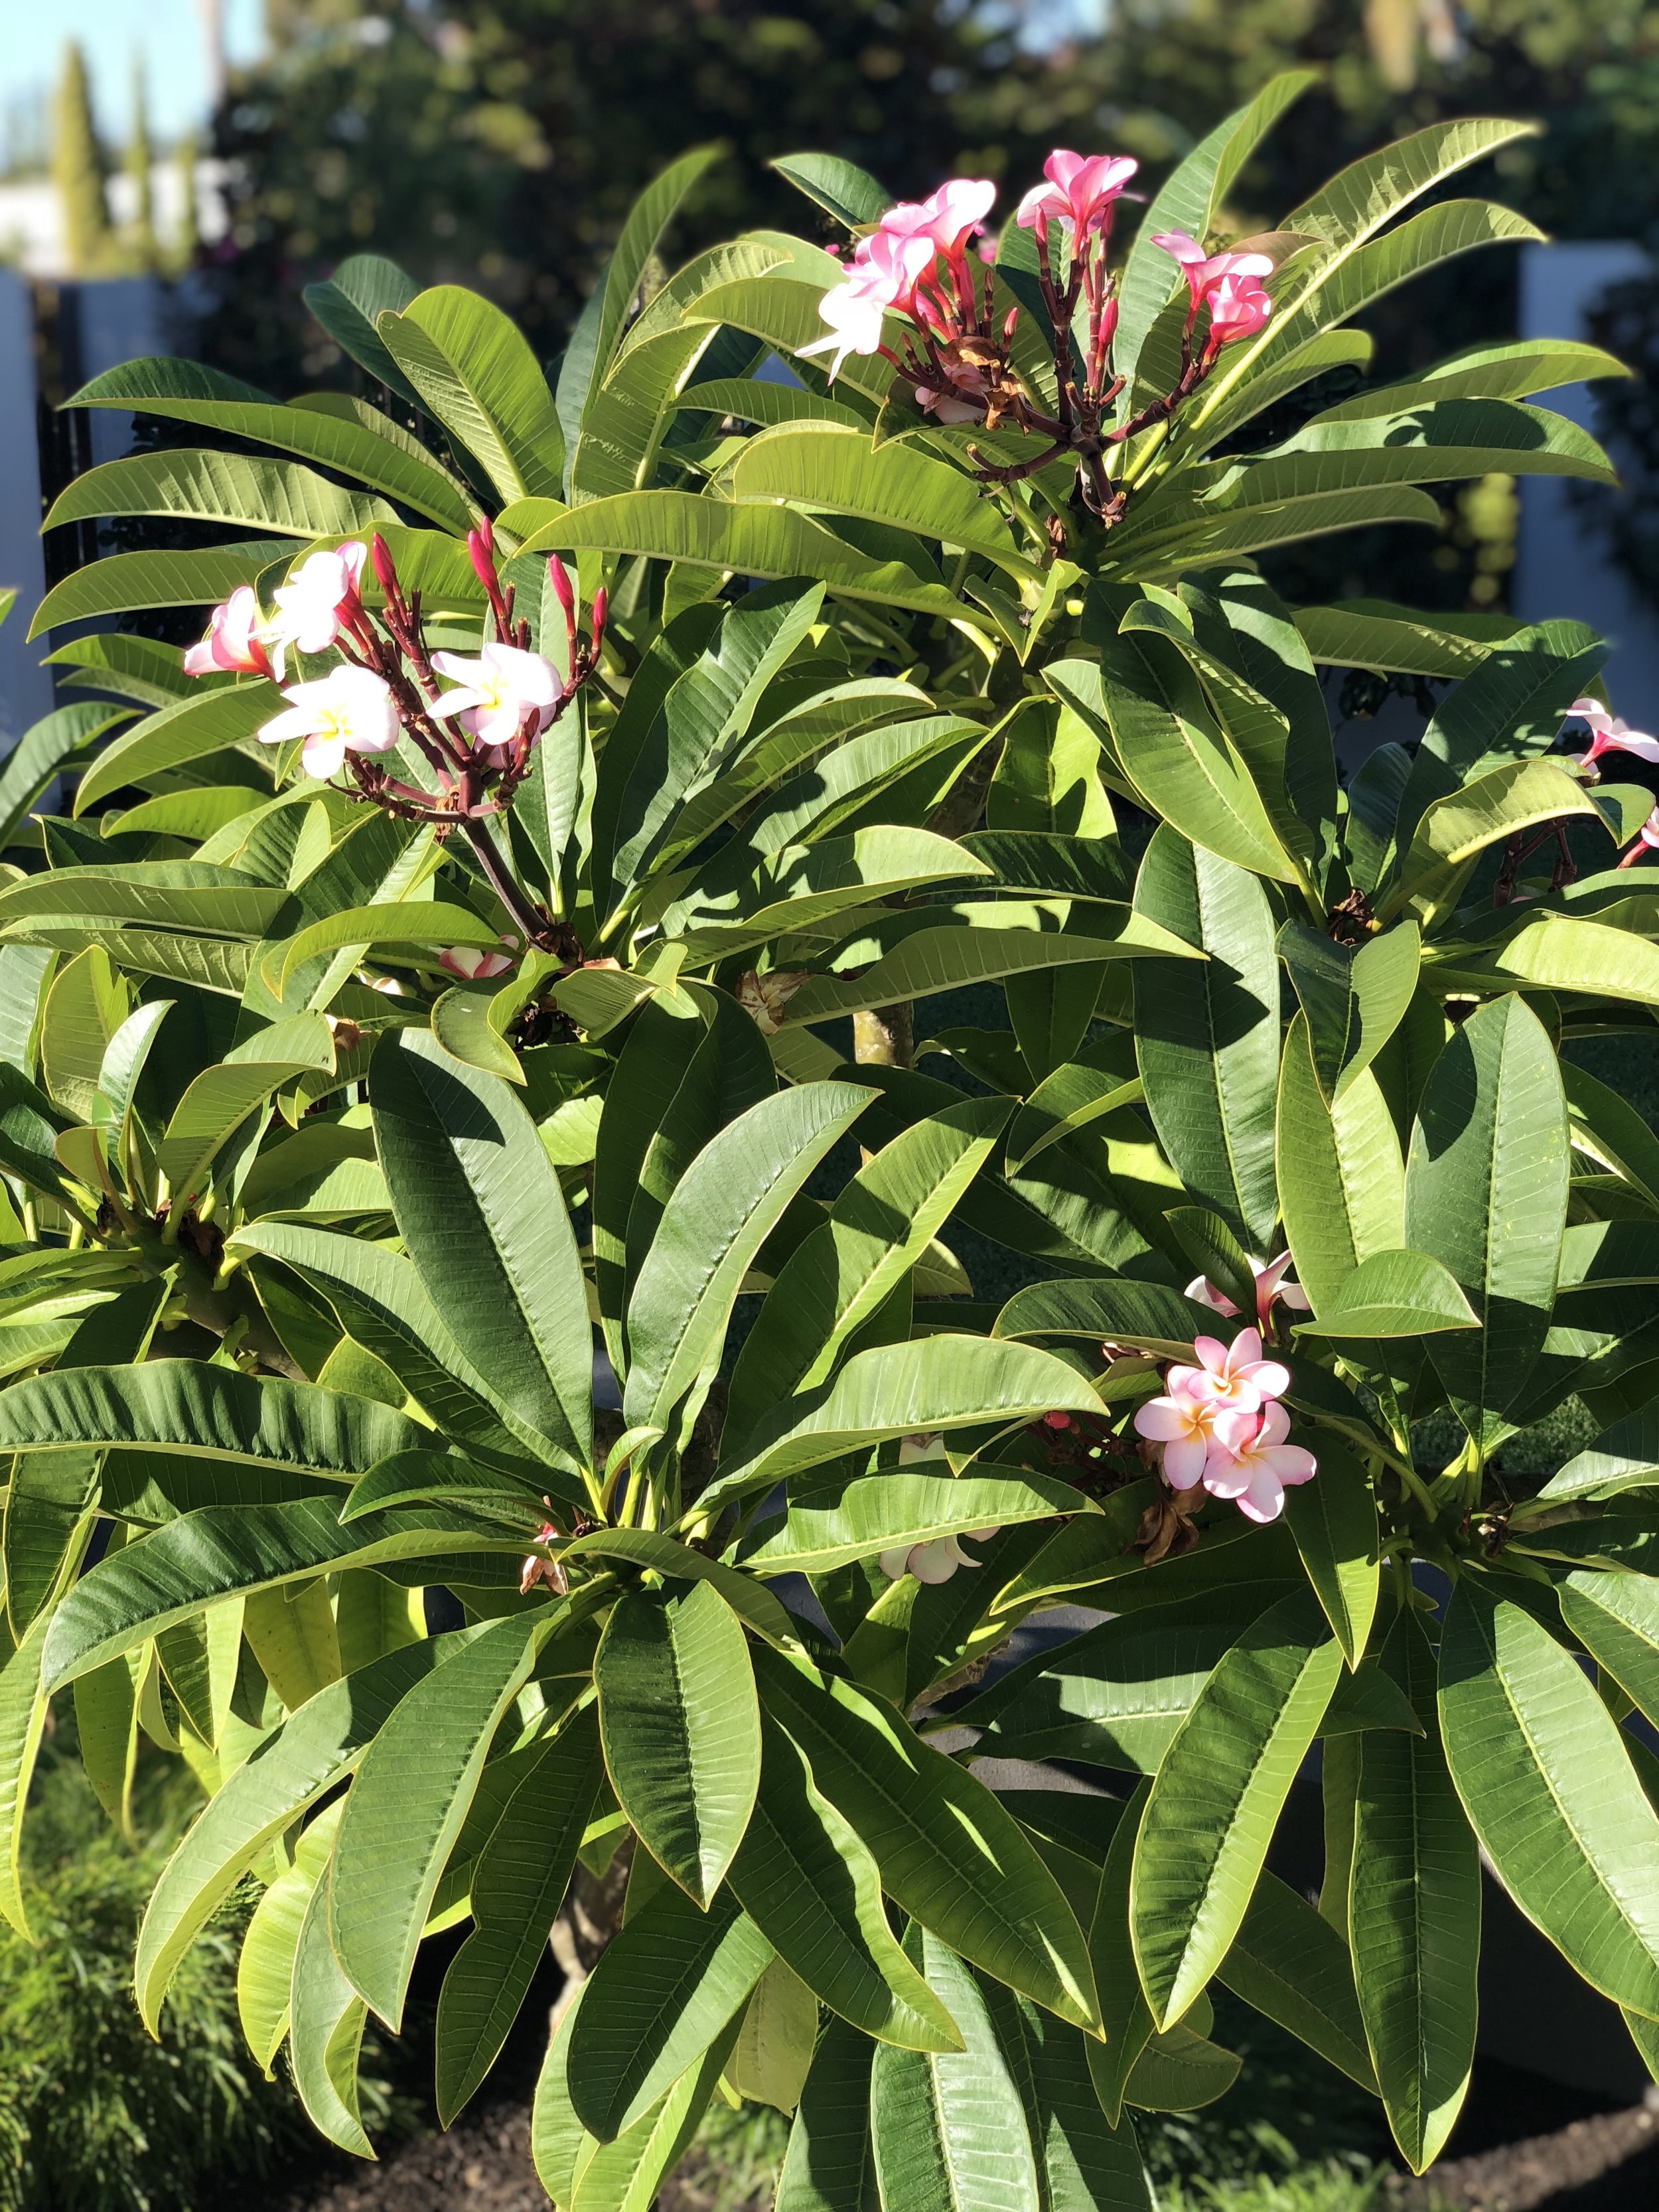
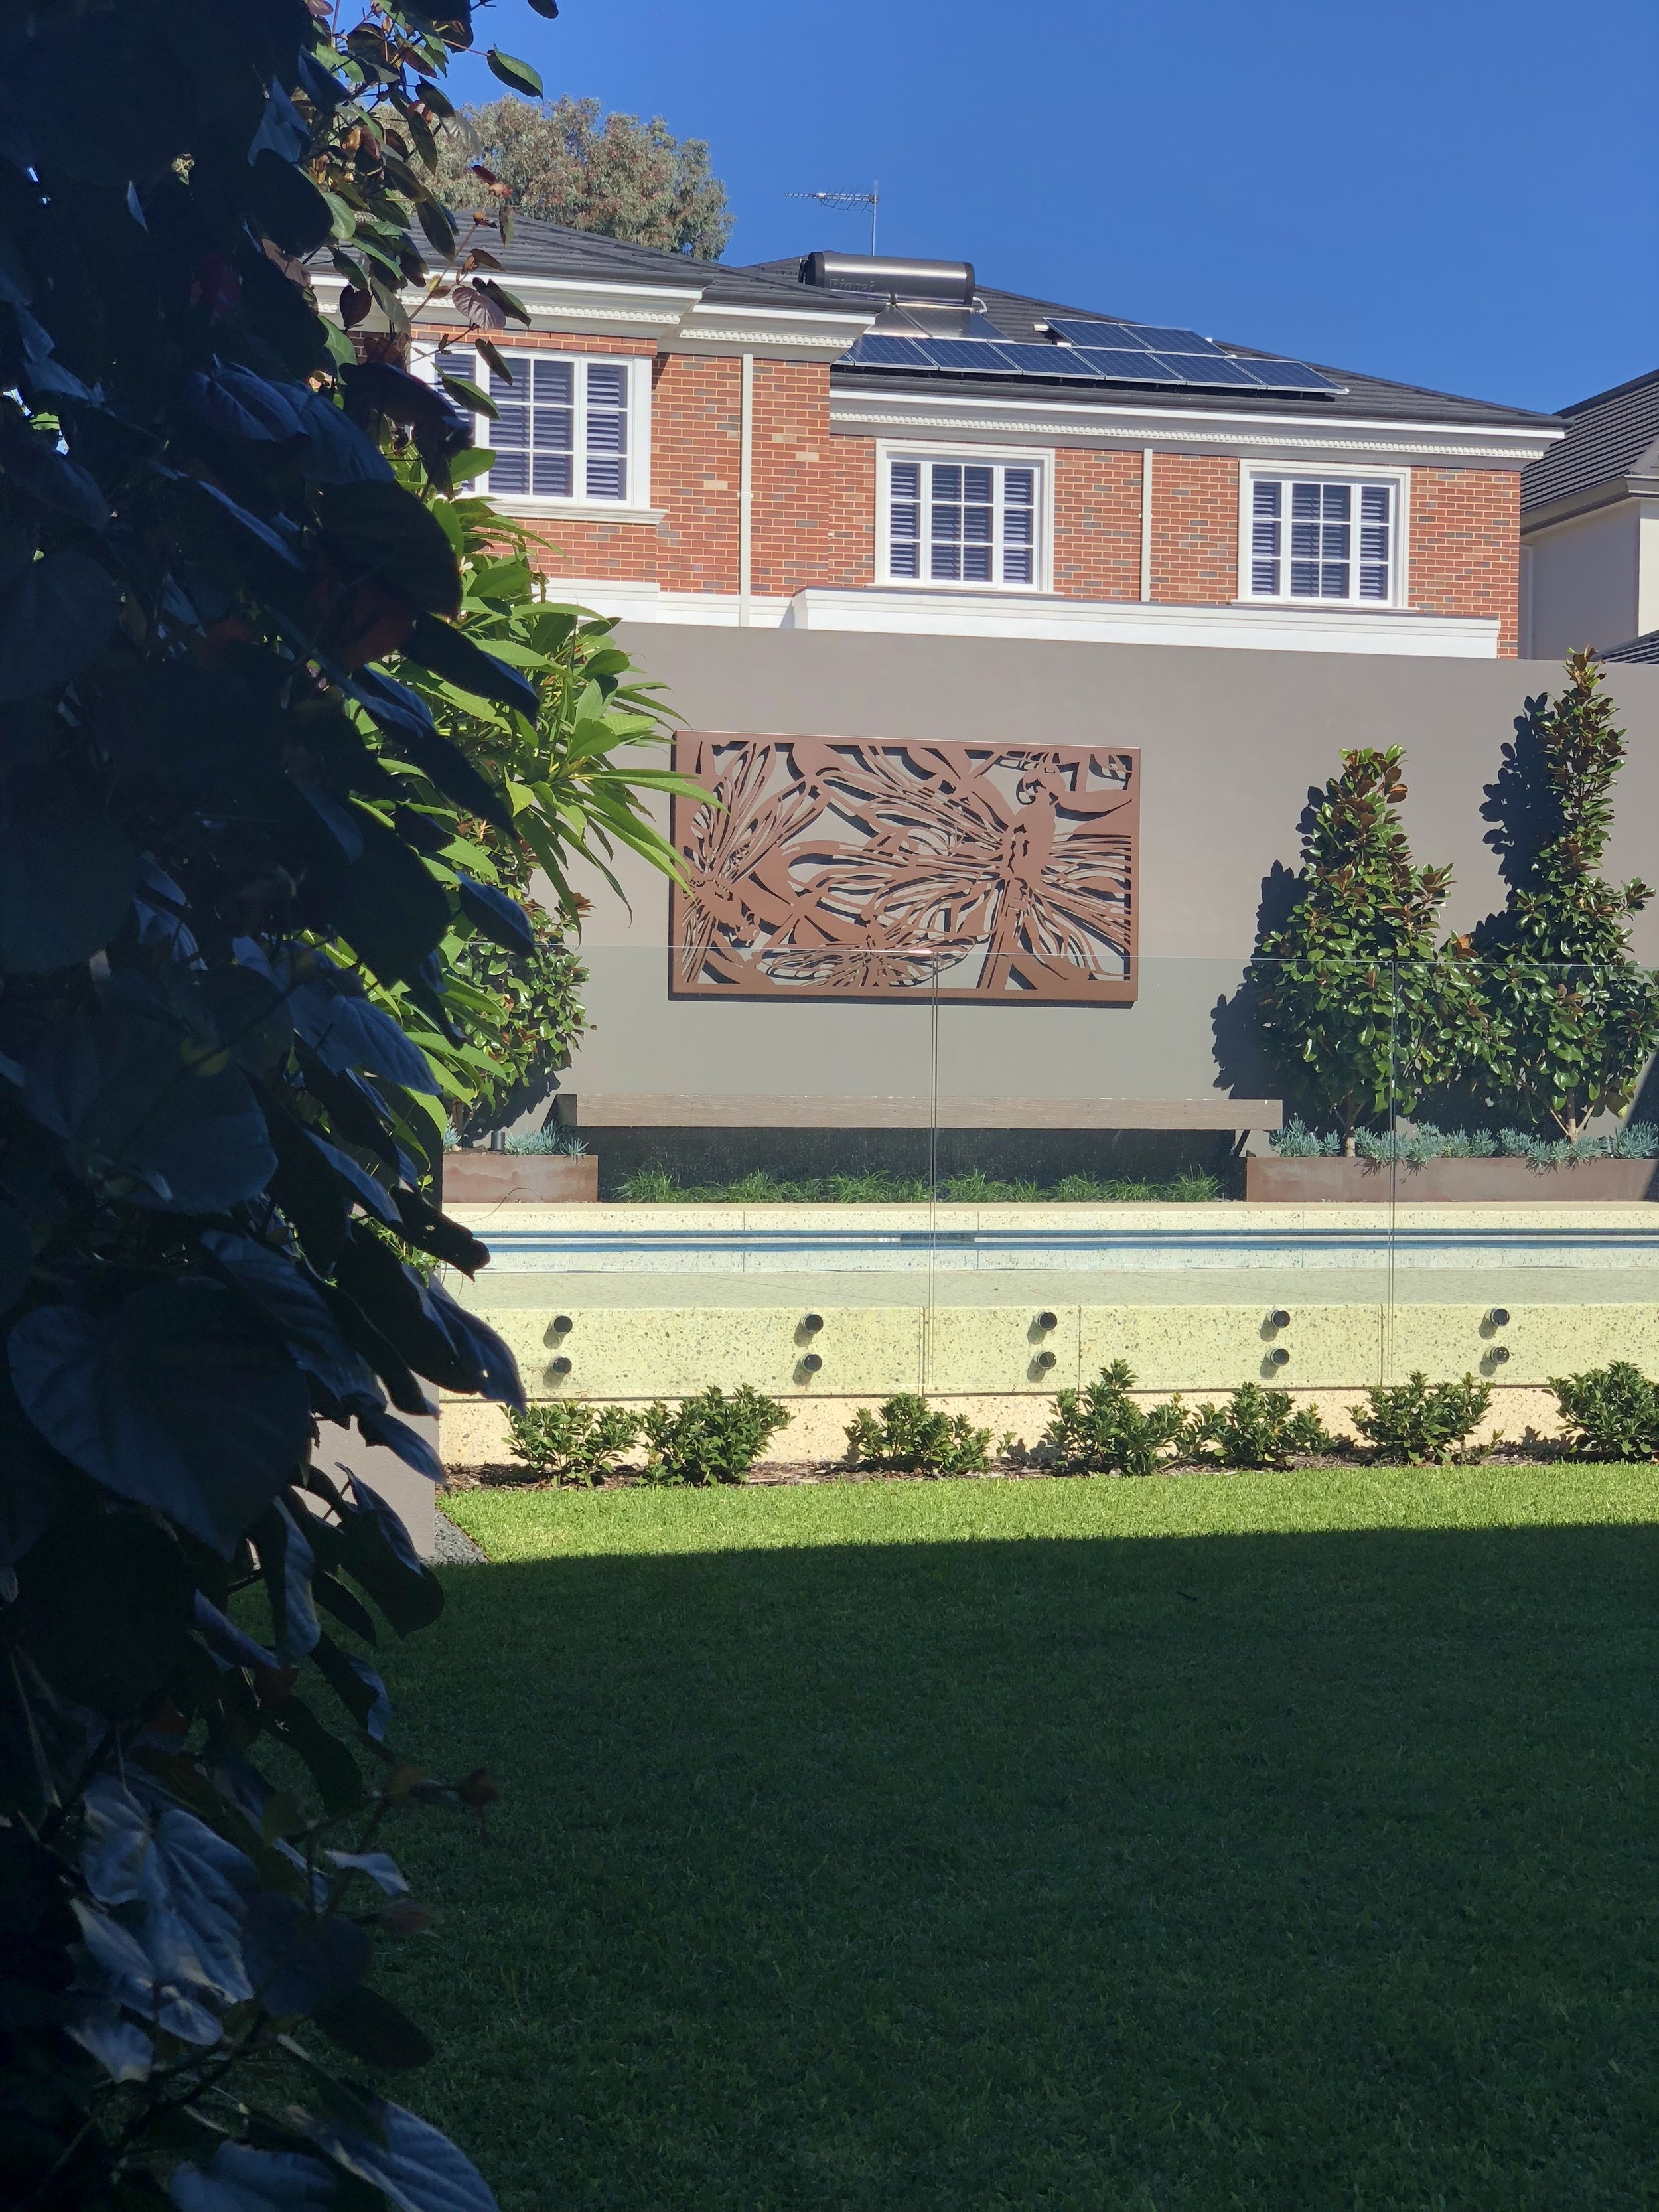
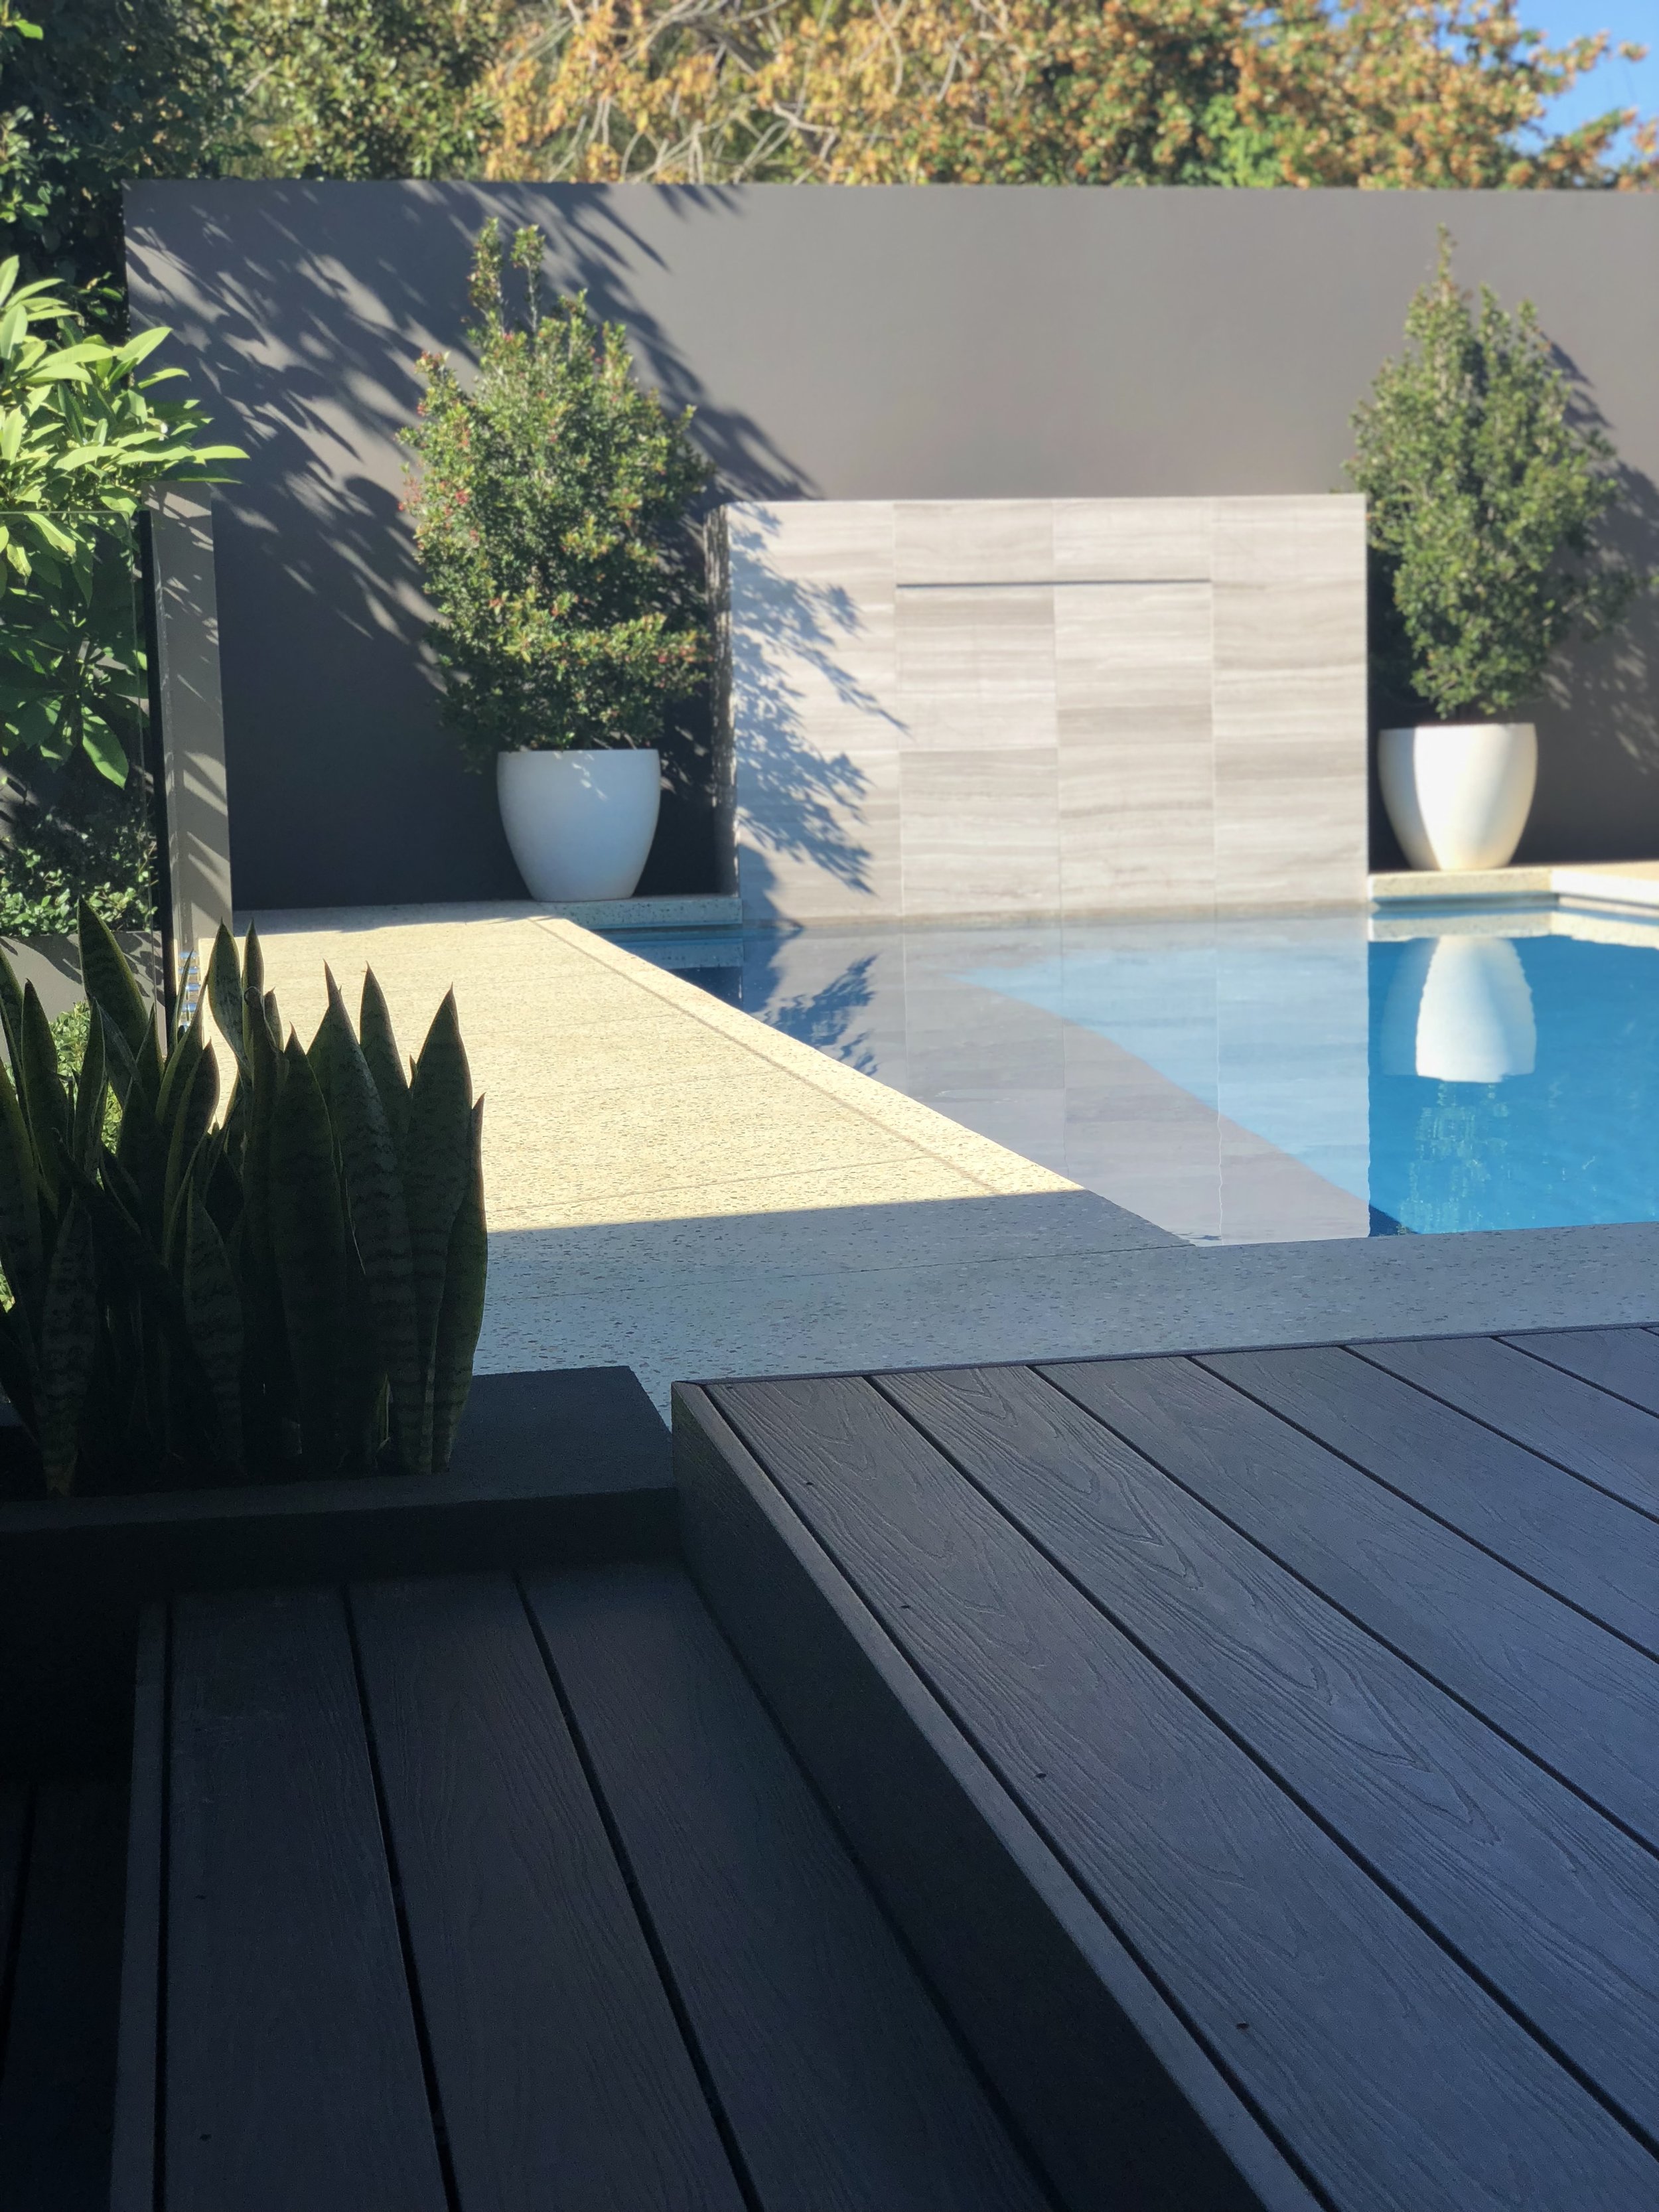
Its always very humbling to visit a garden once it has become established. We do a lot of soil preparation before we put the plants in, to give them the best possible start to their new life.
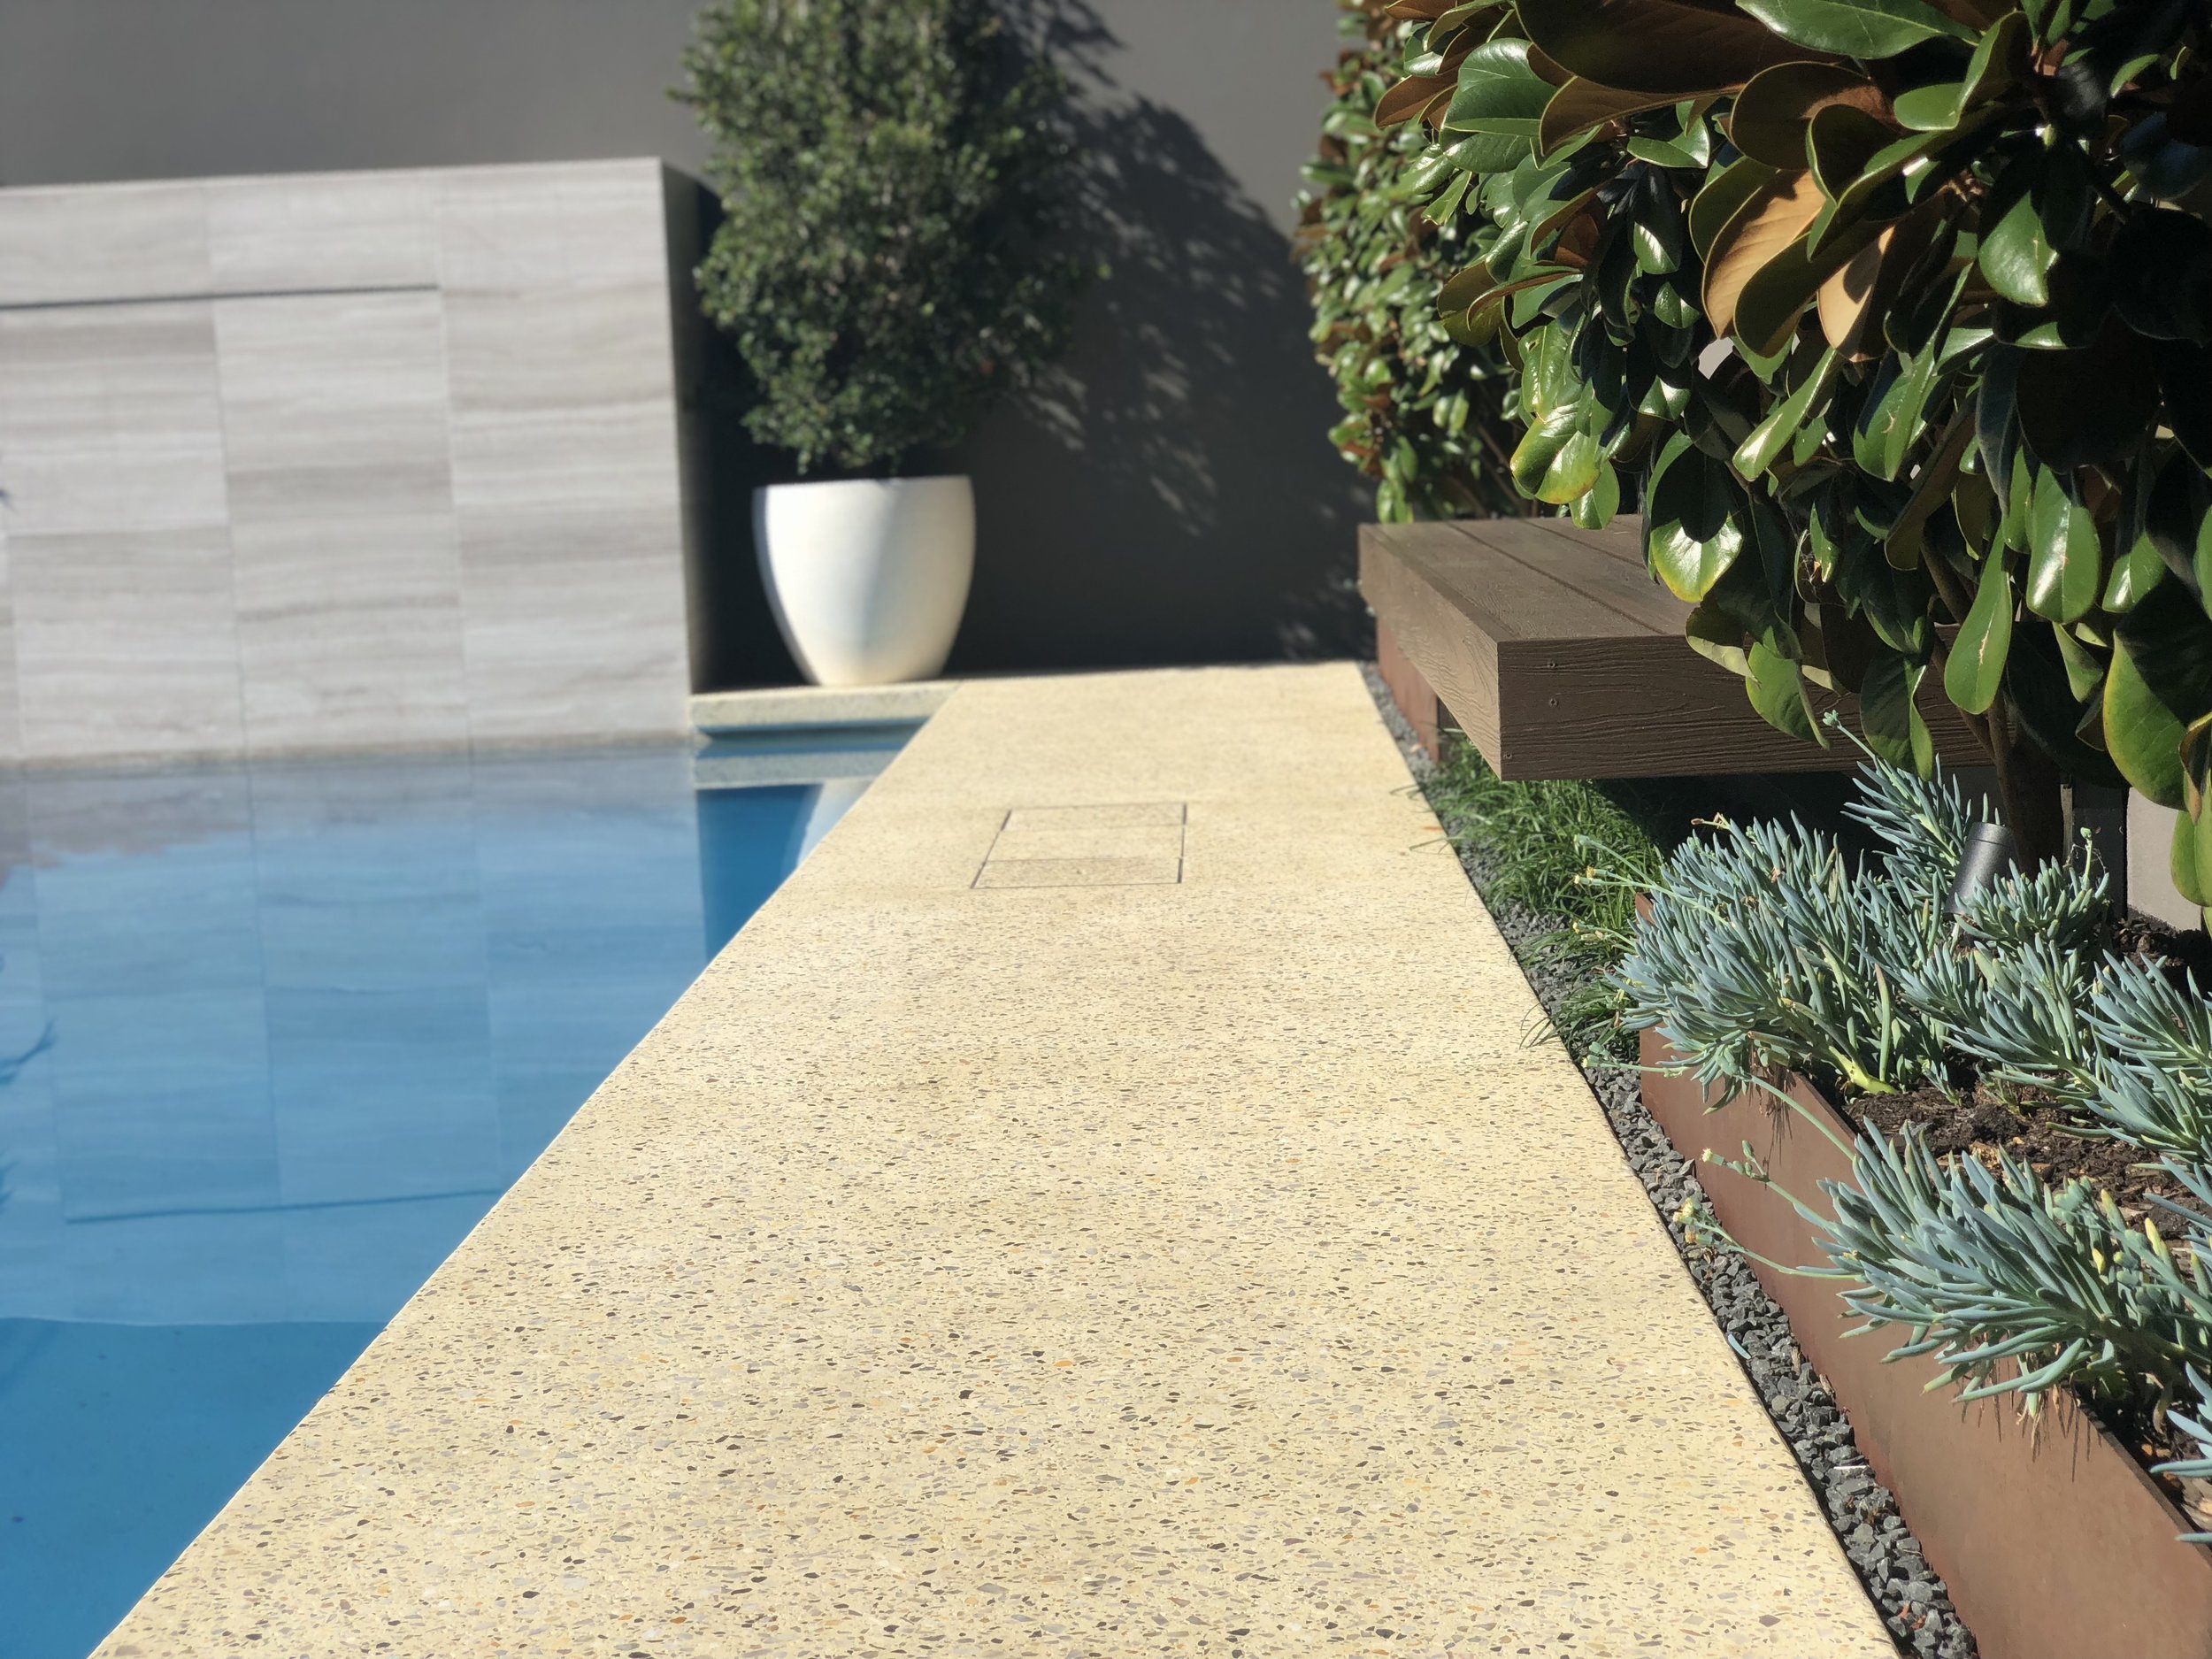
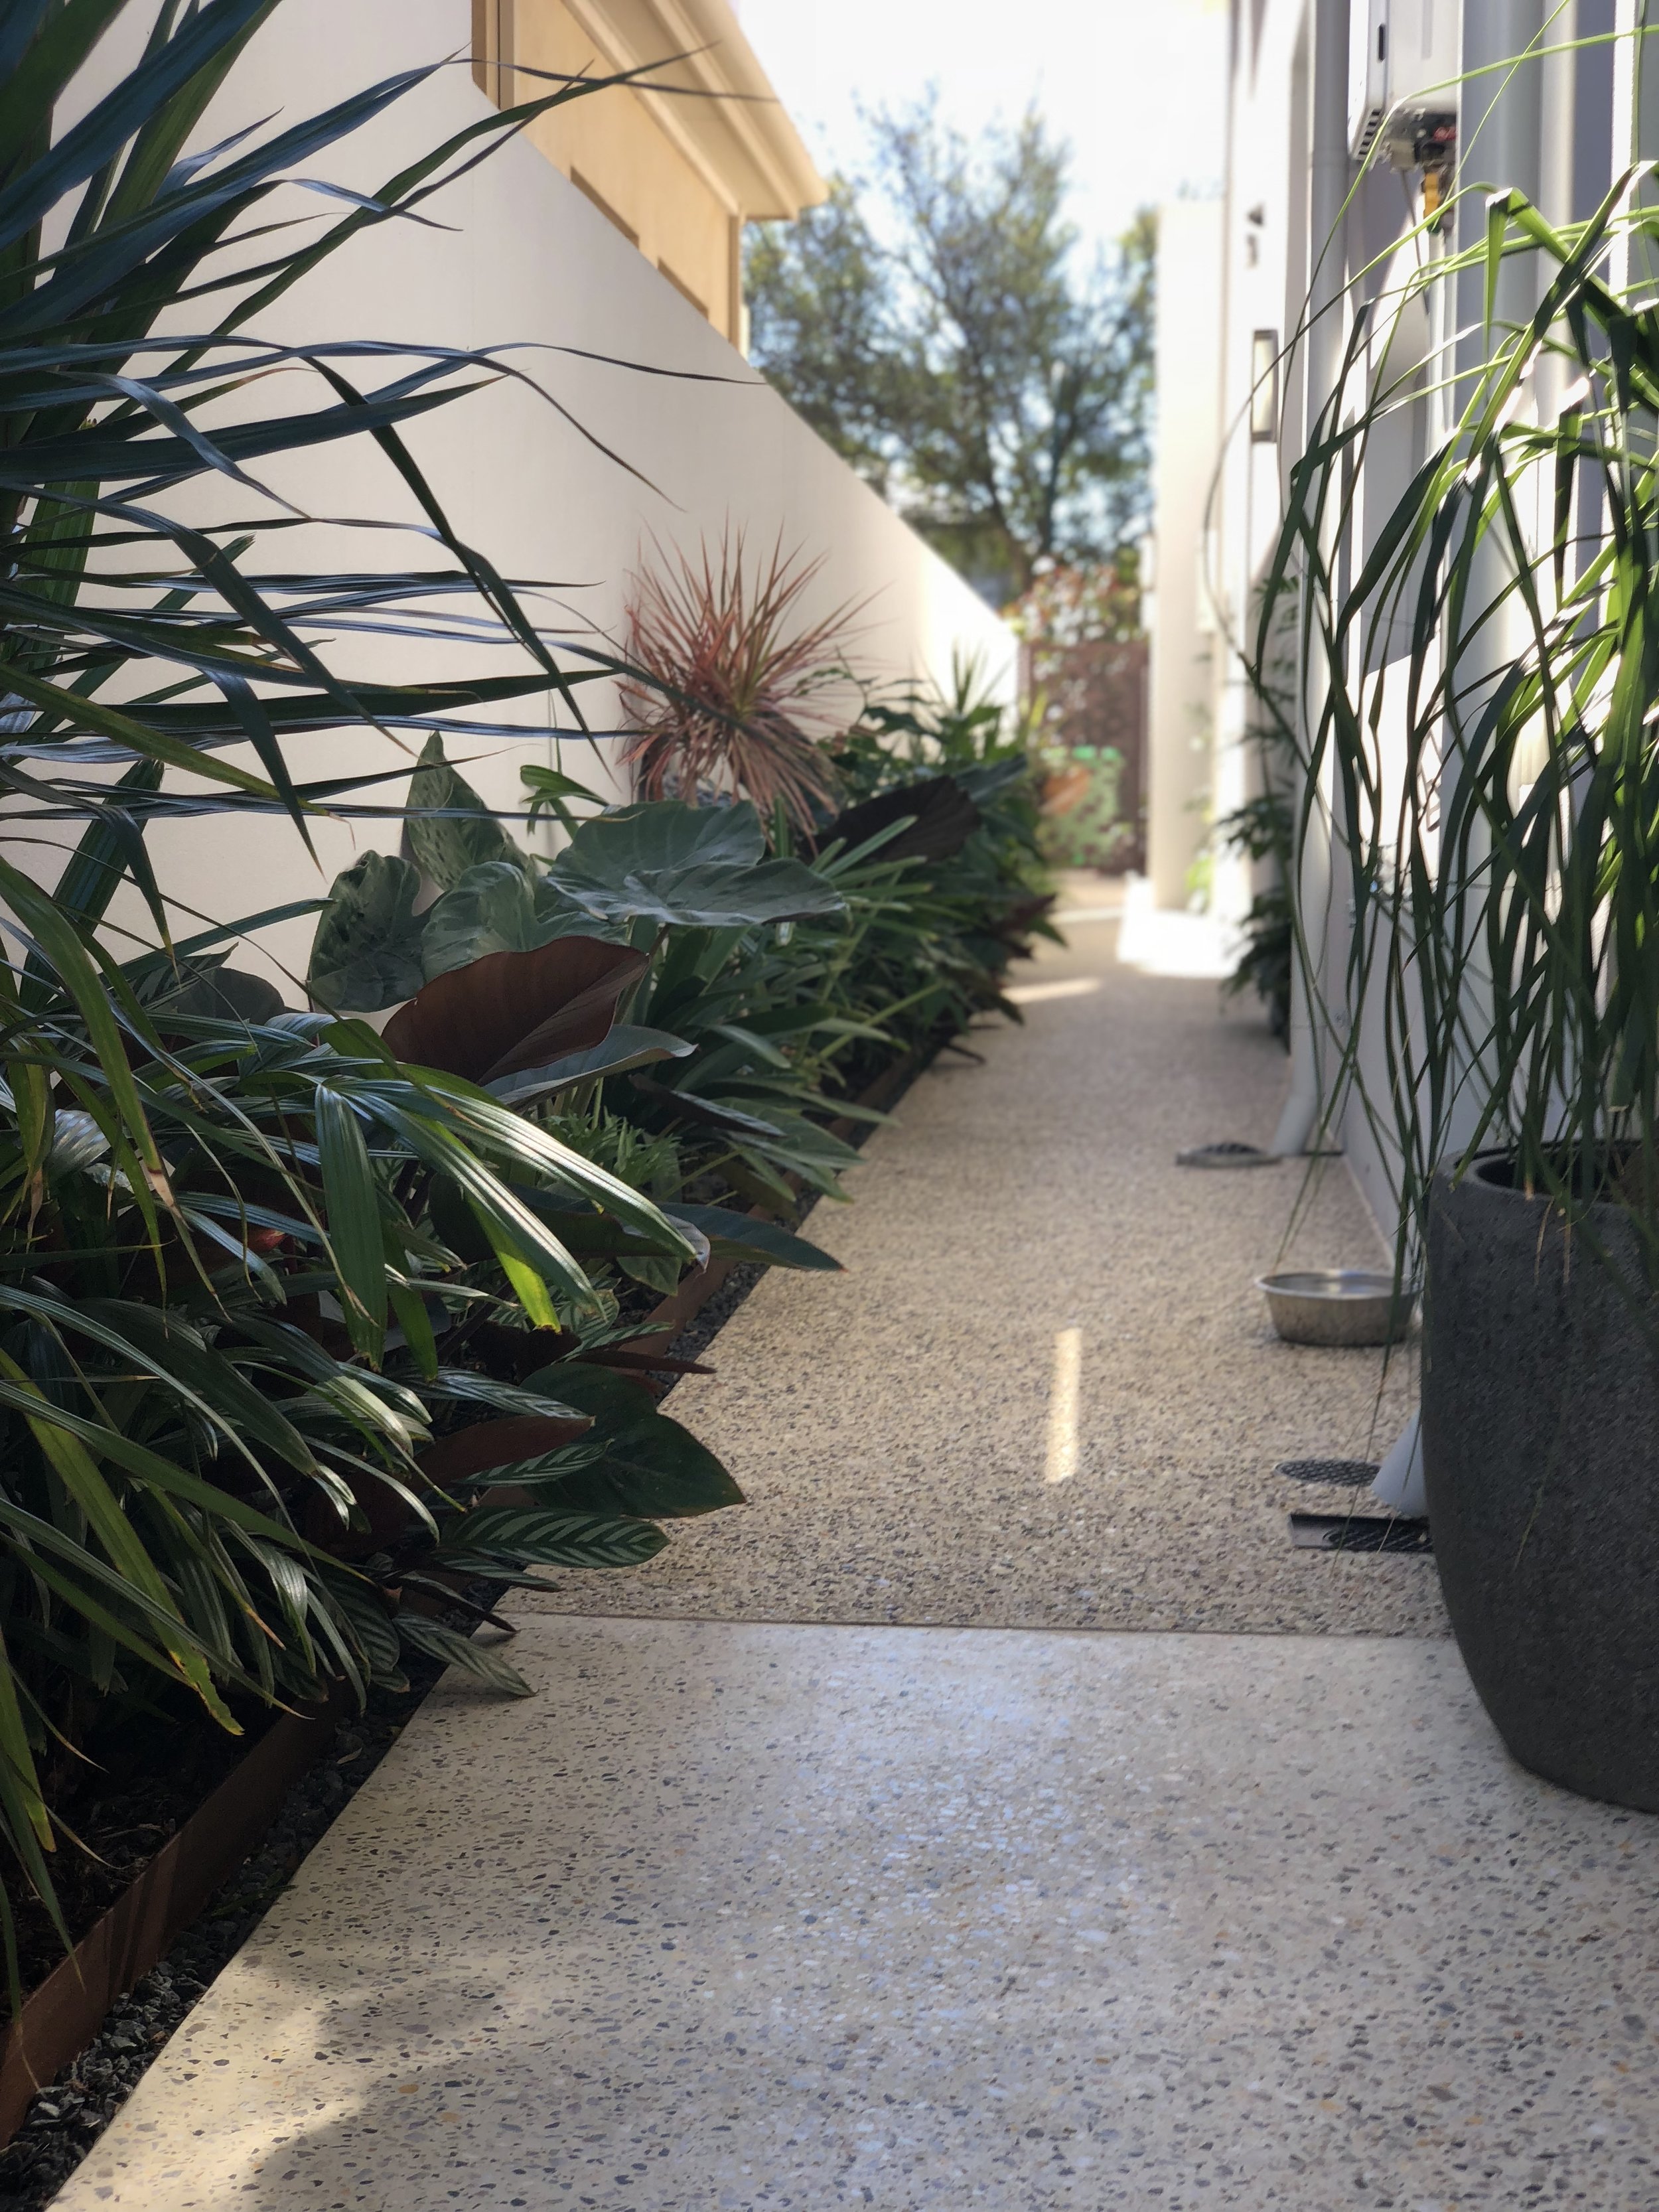
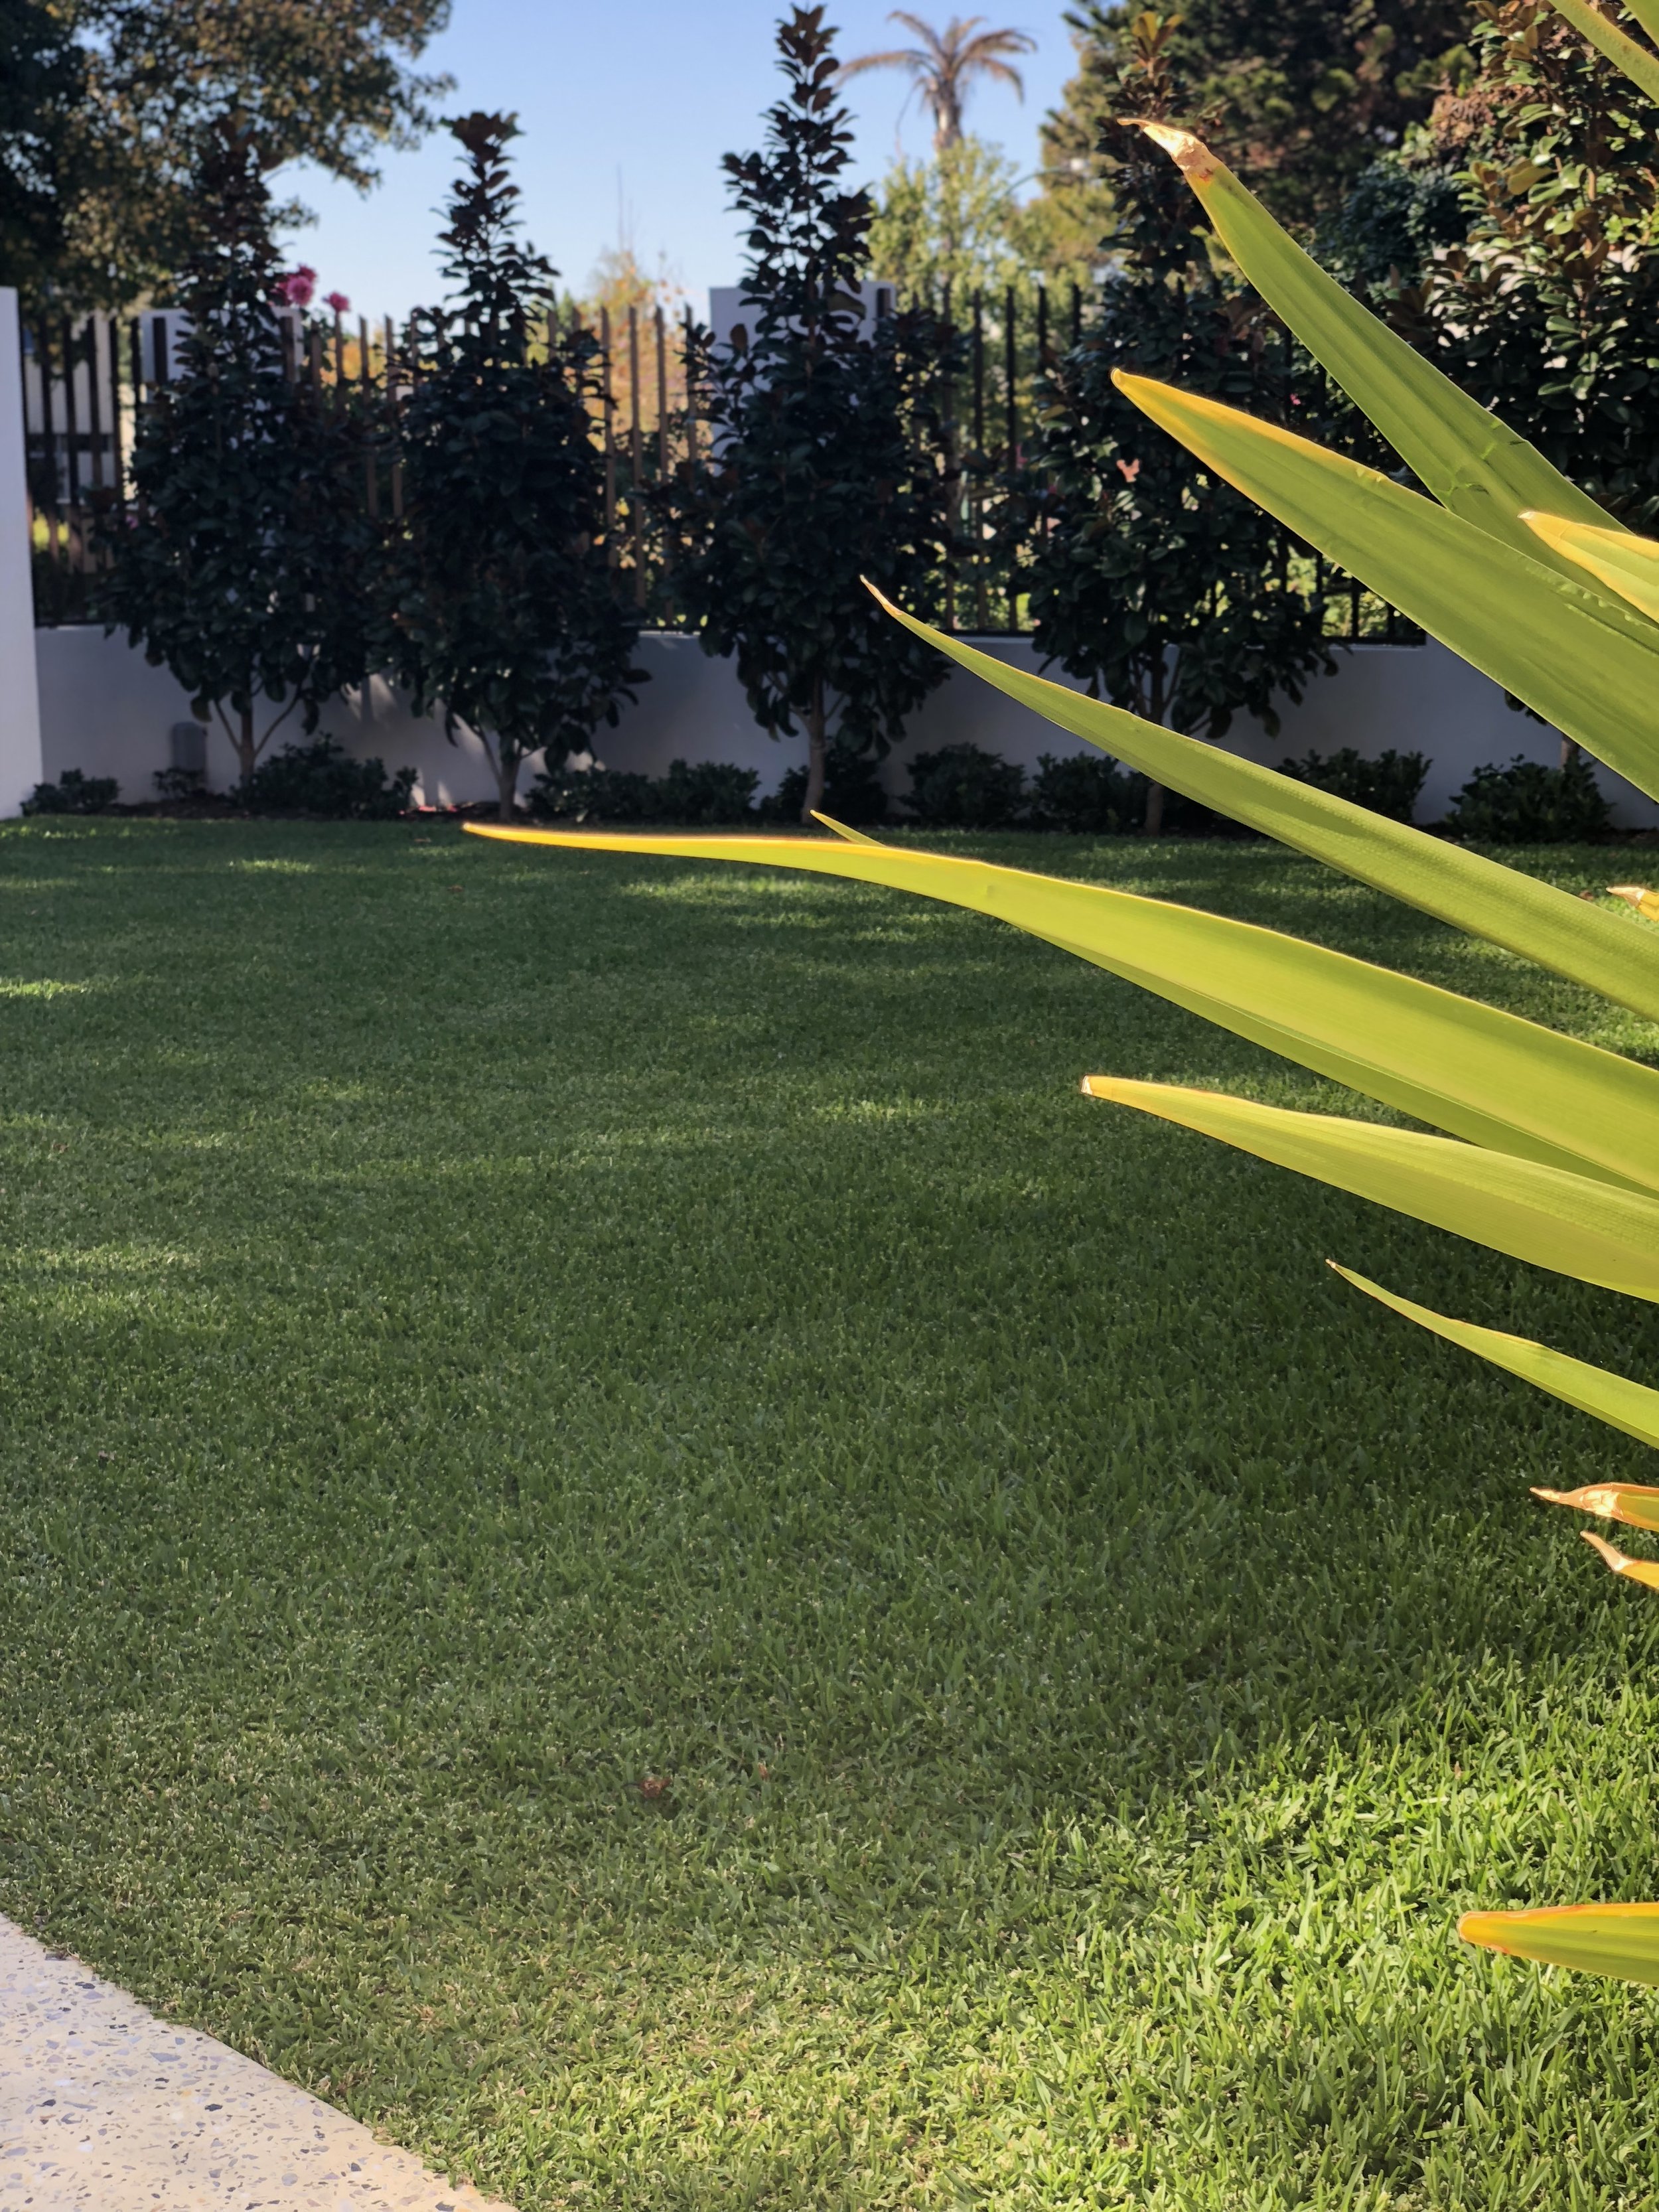
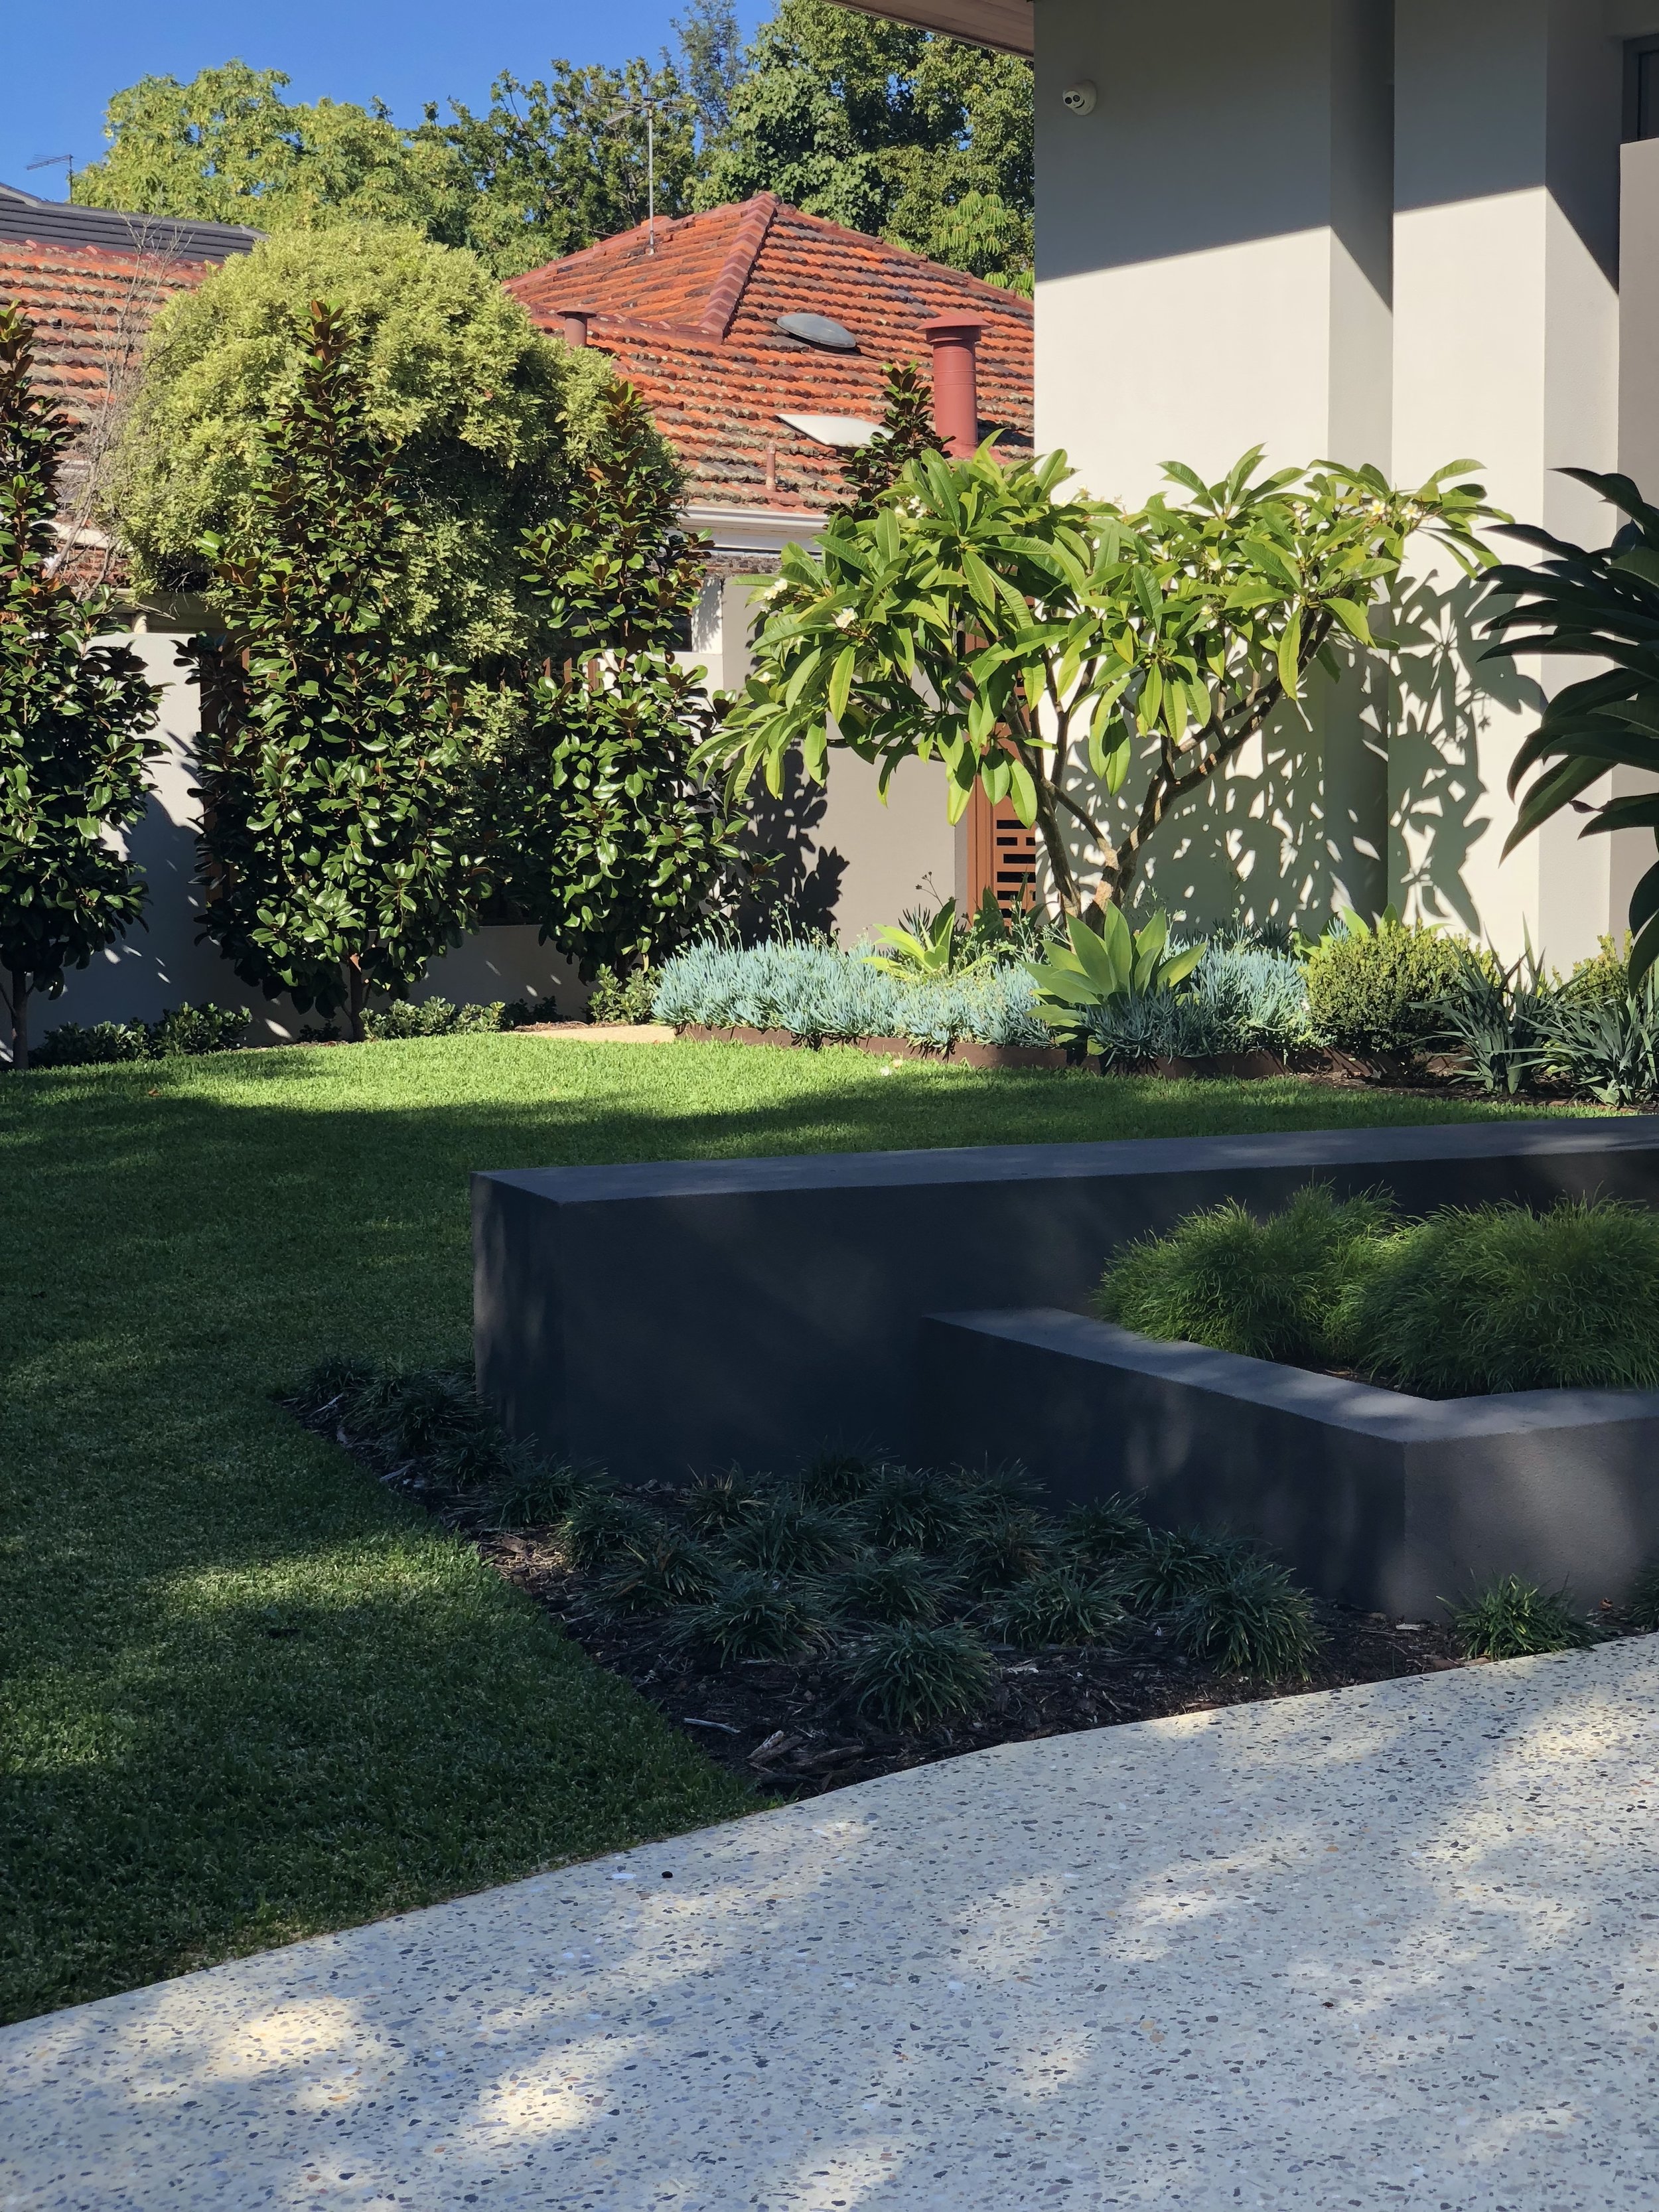
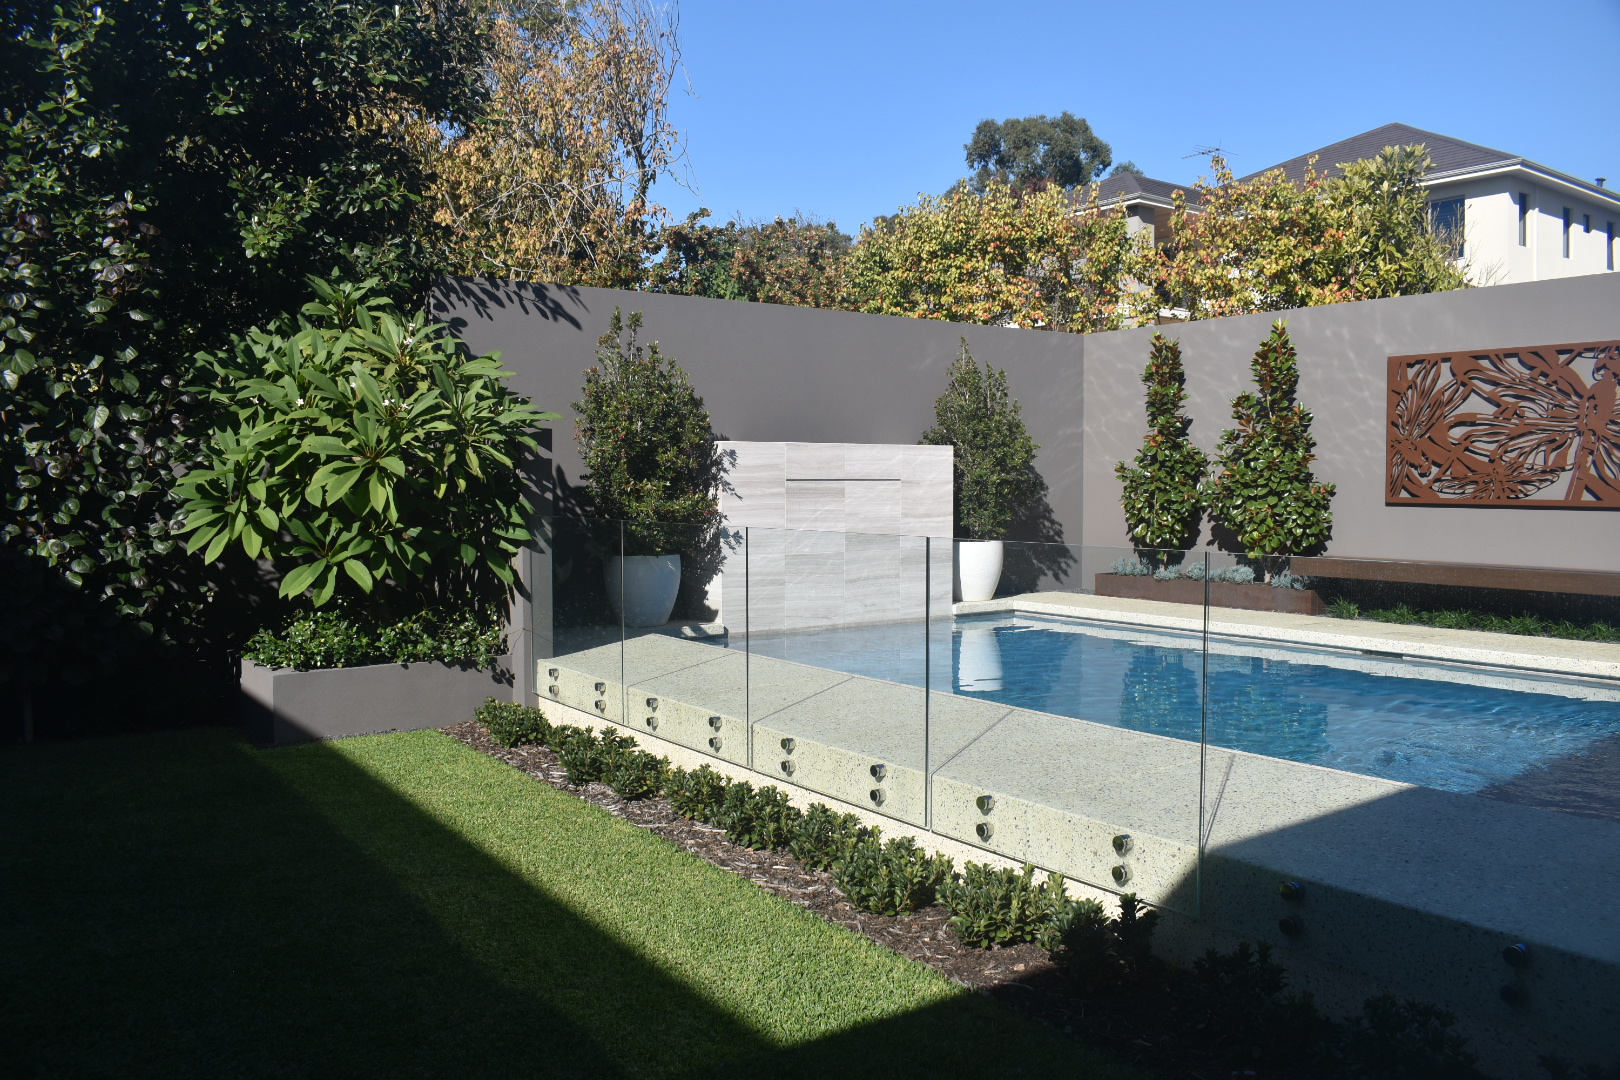
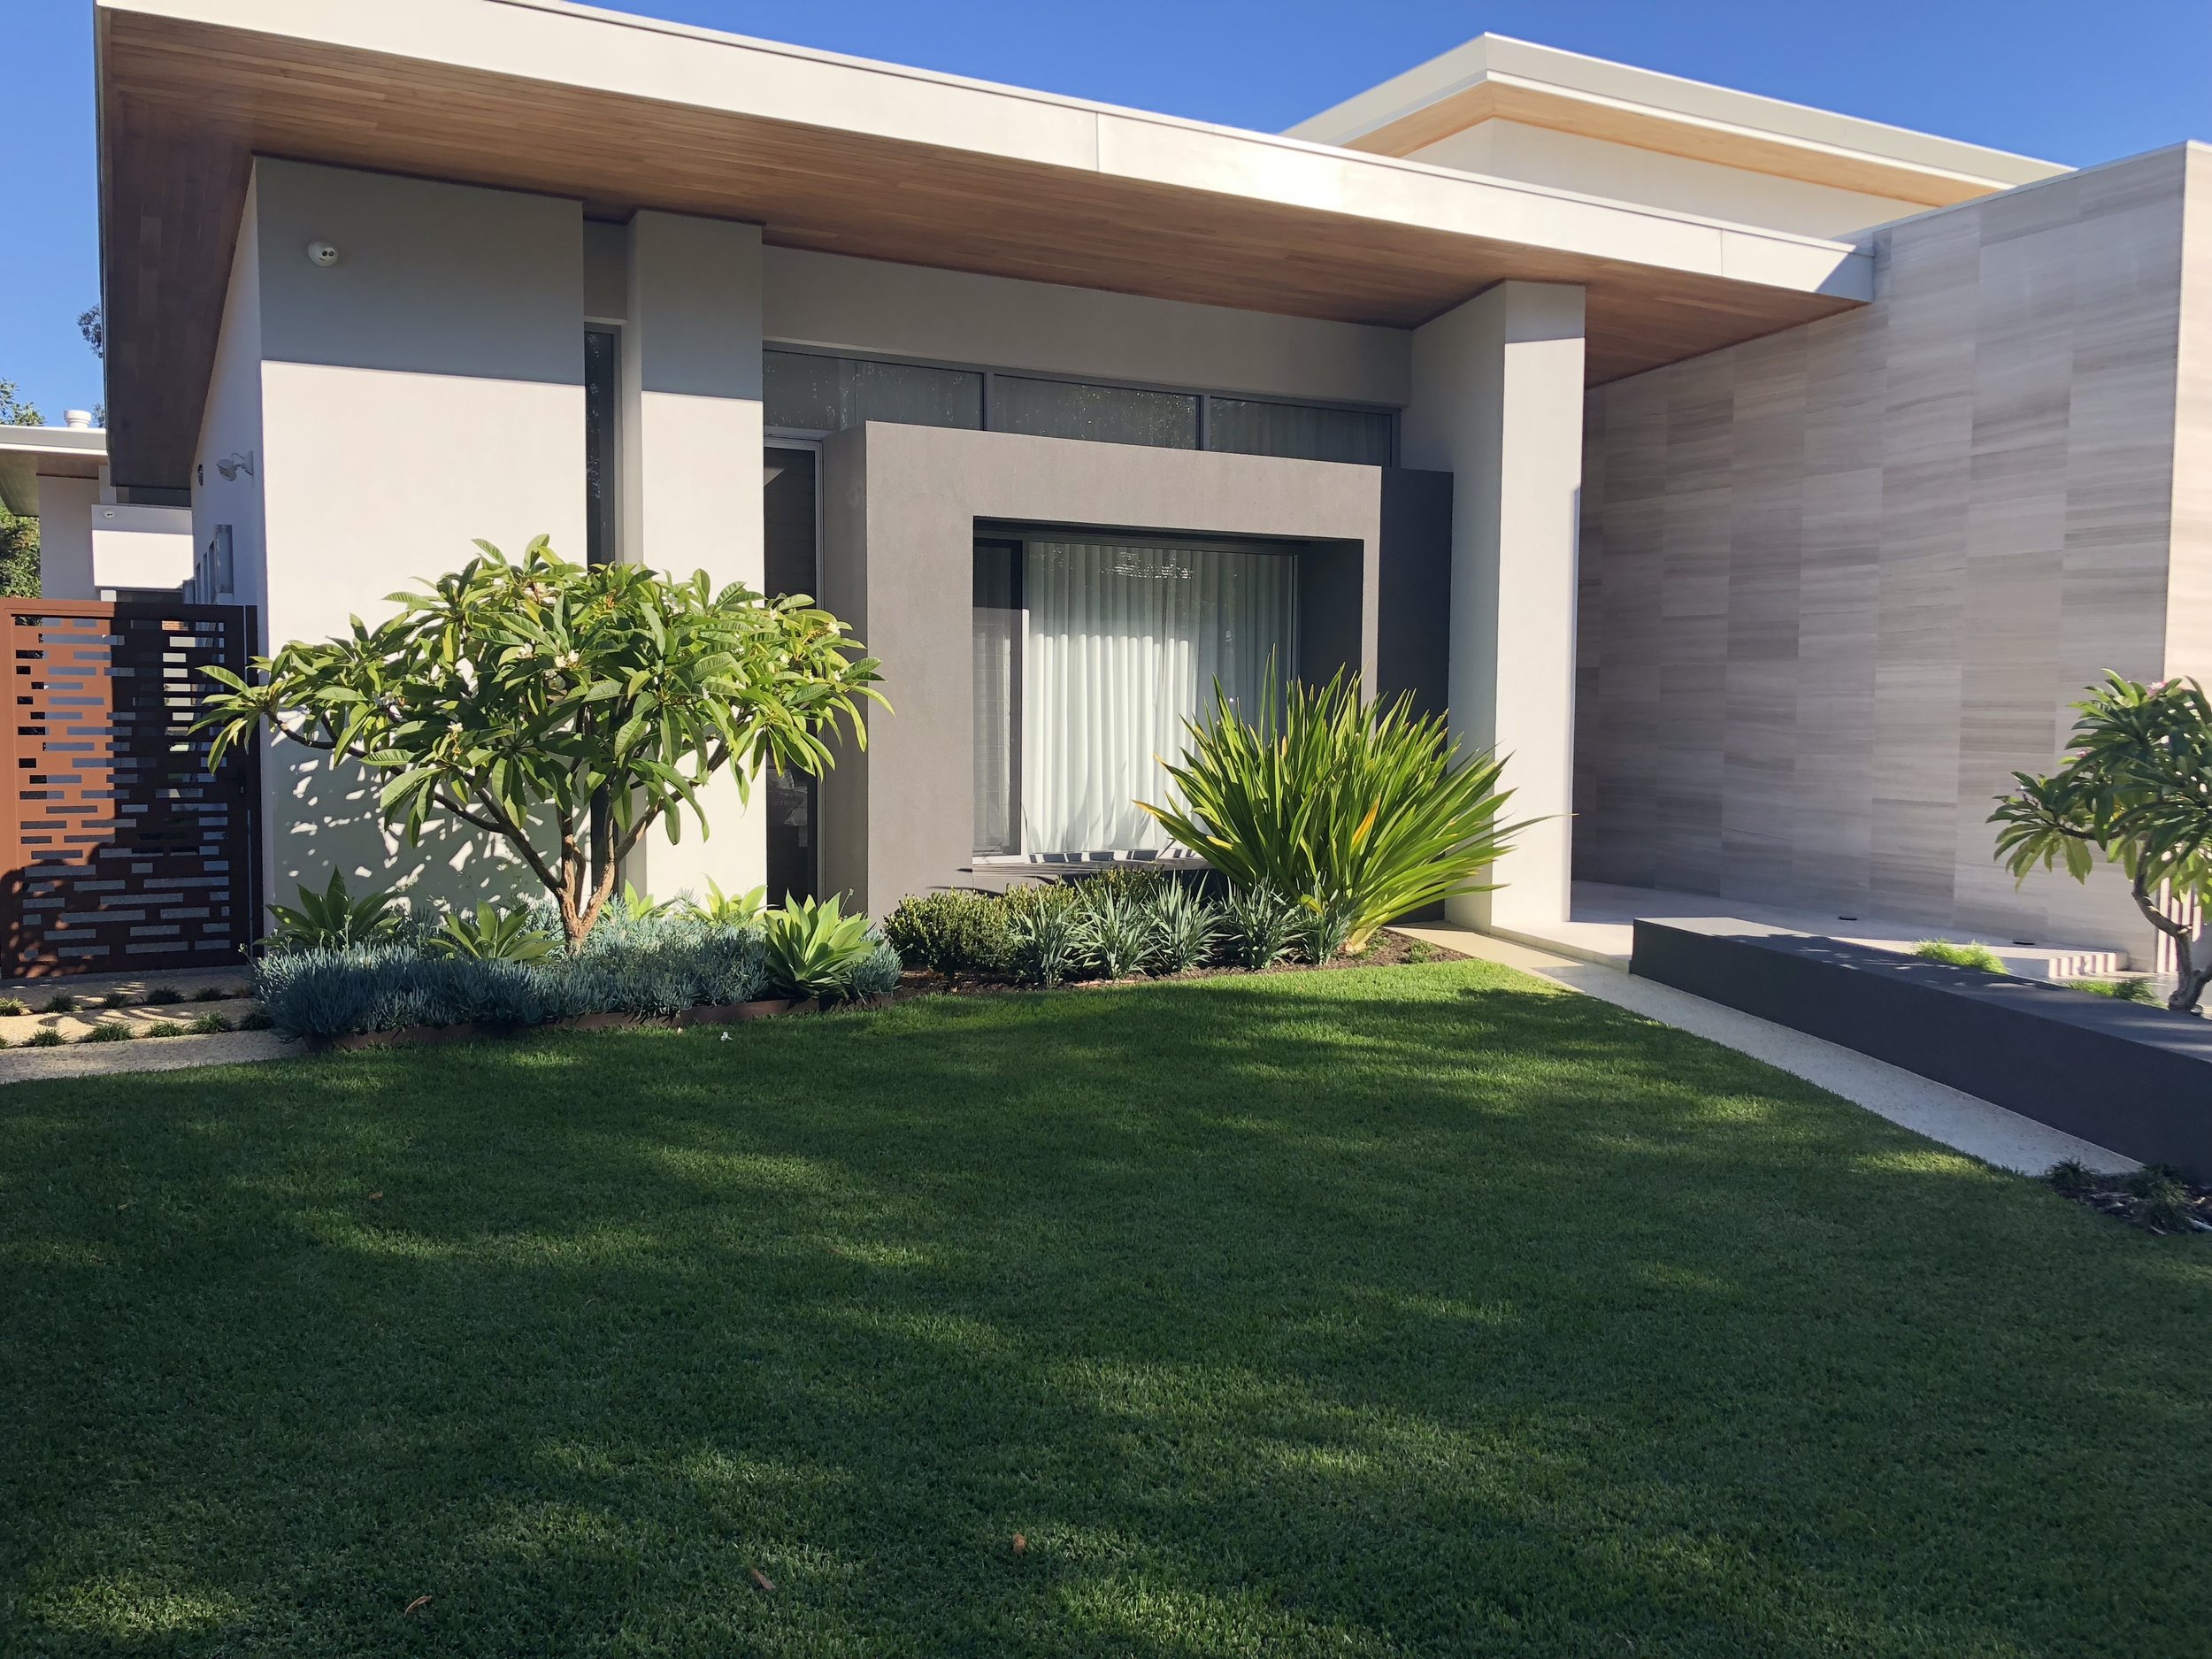
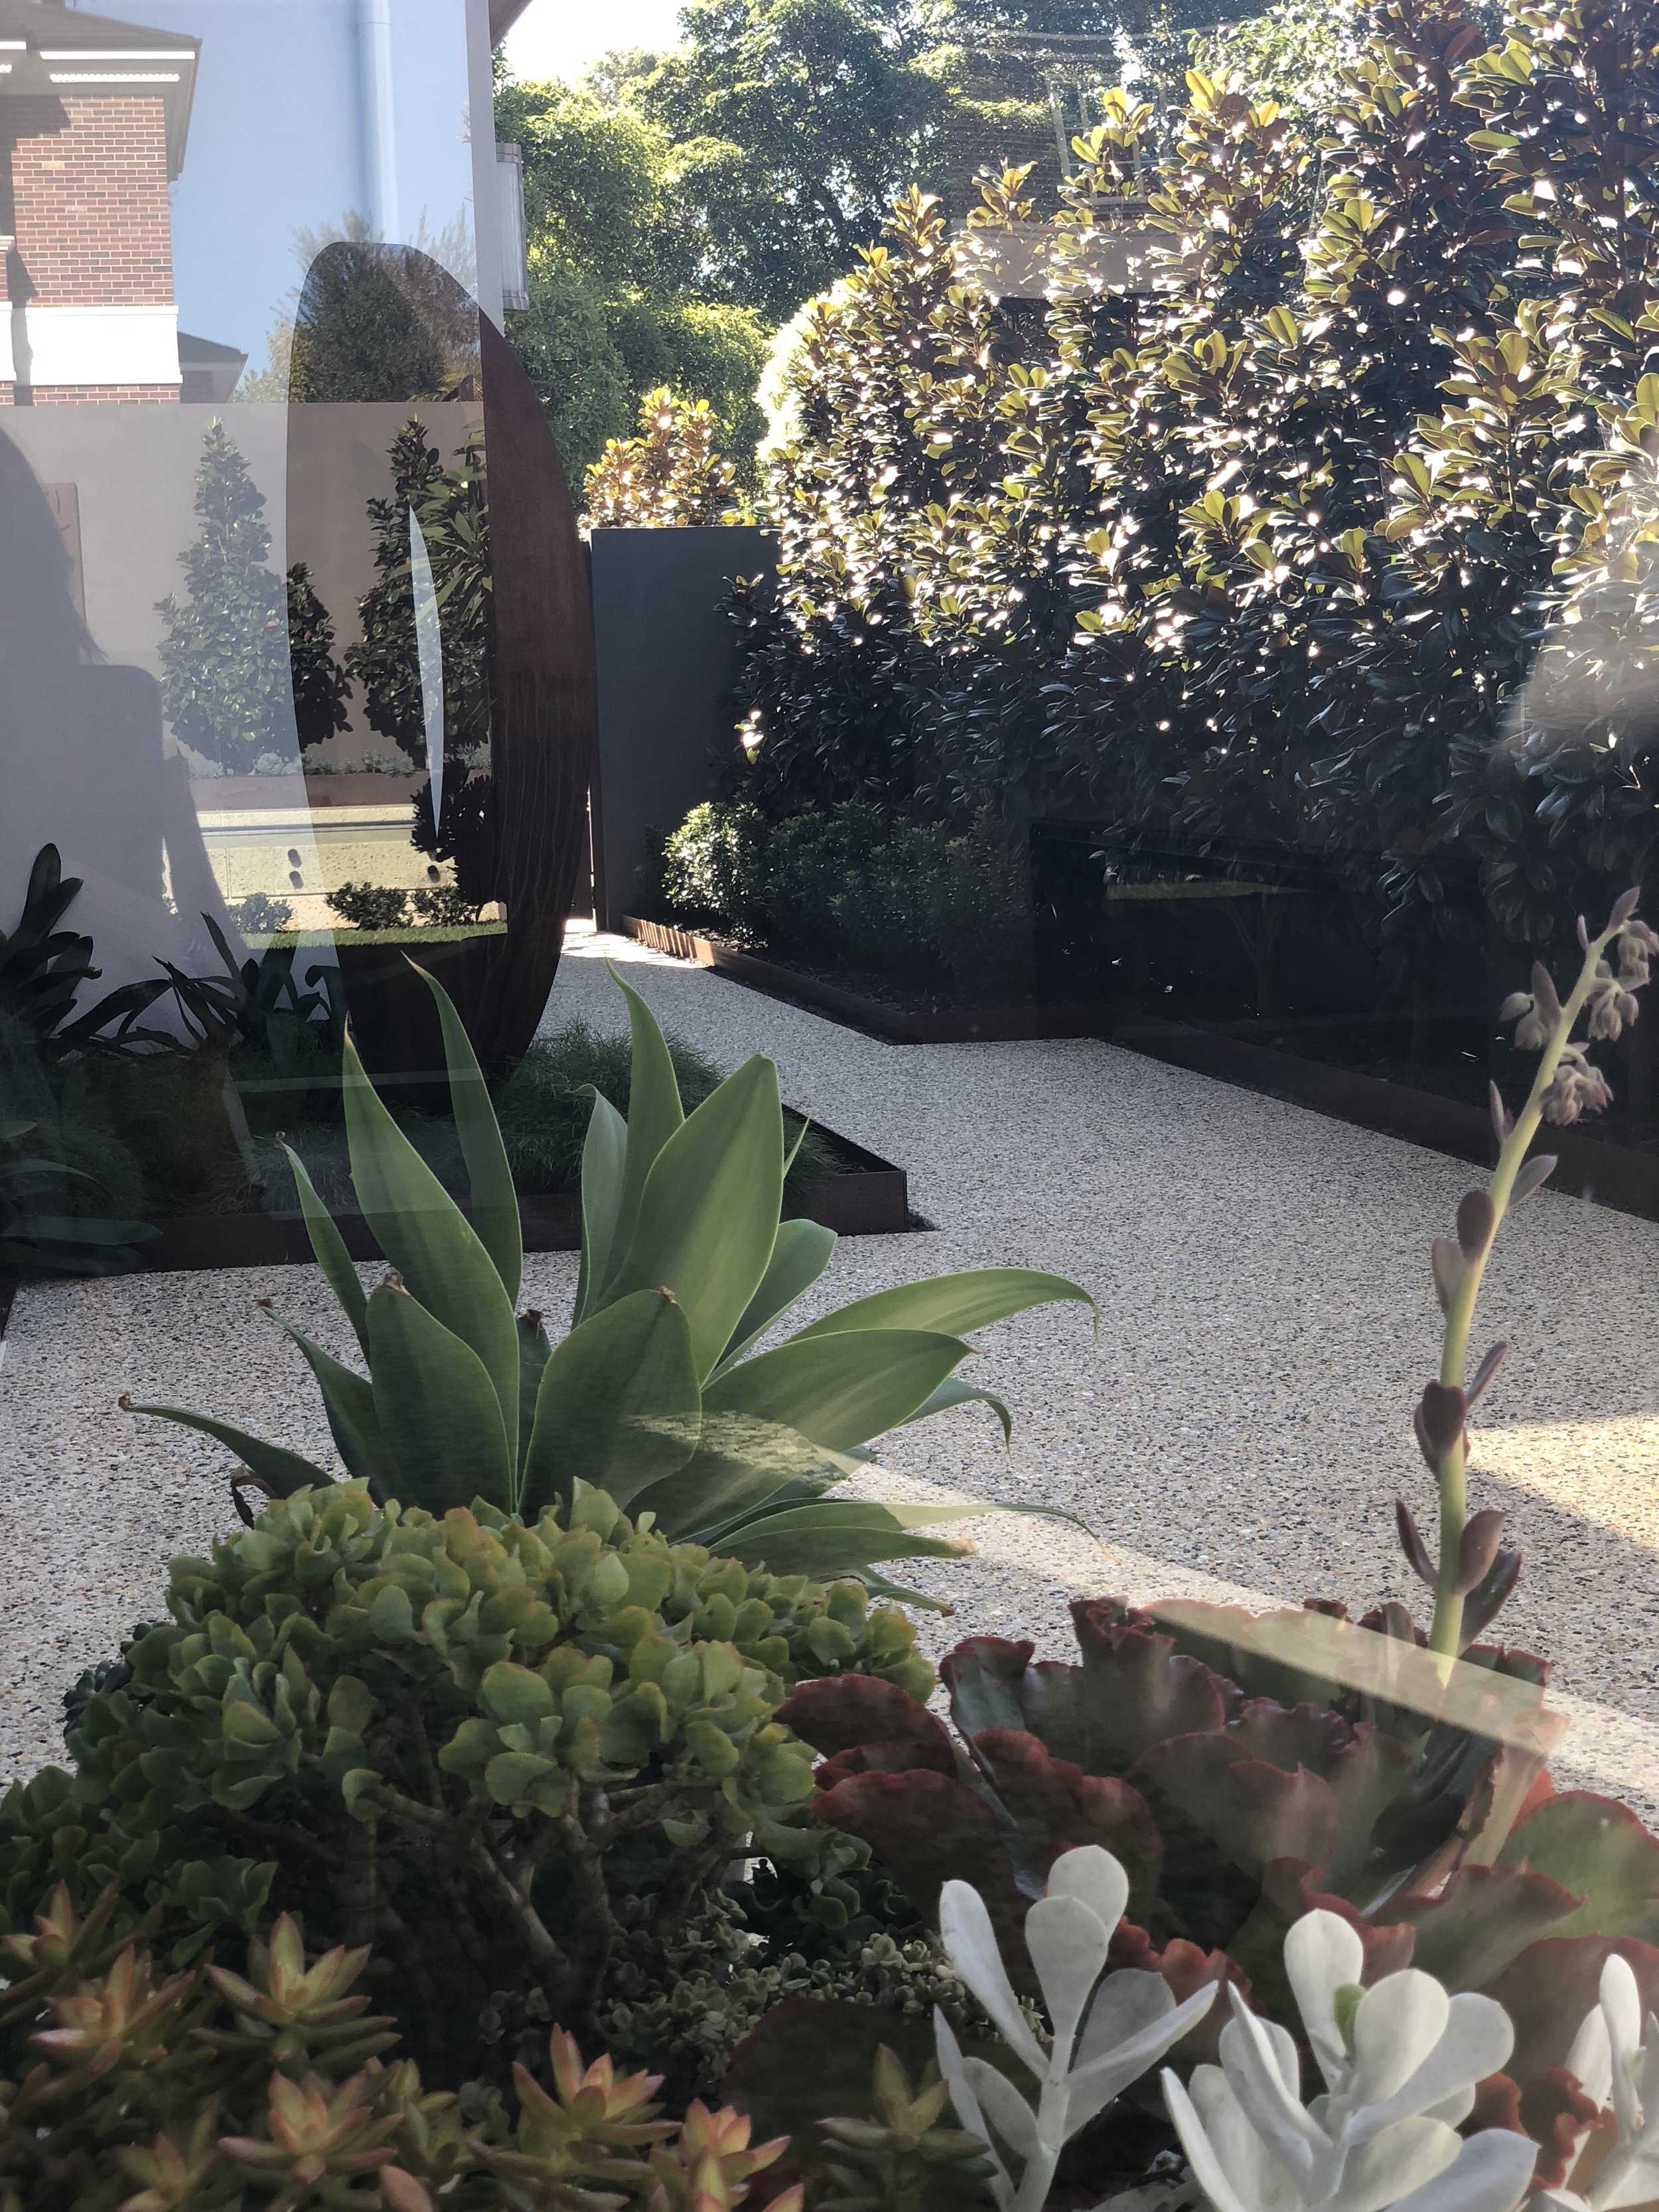
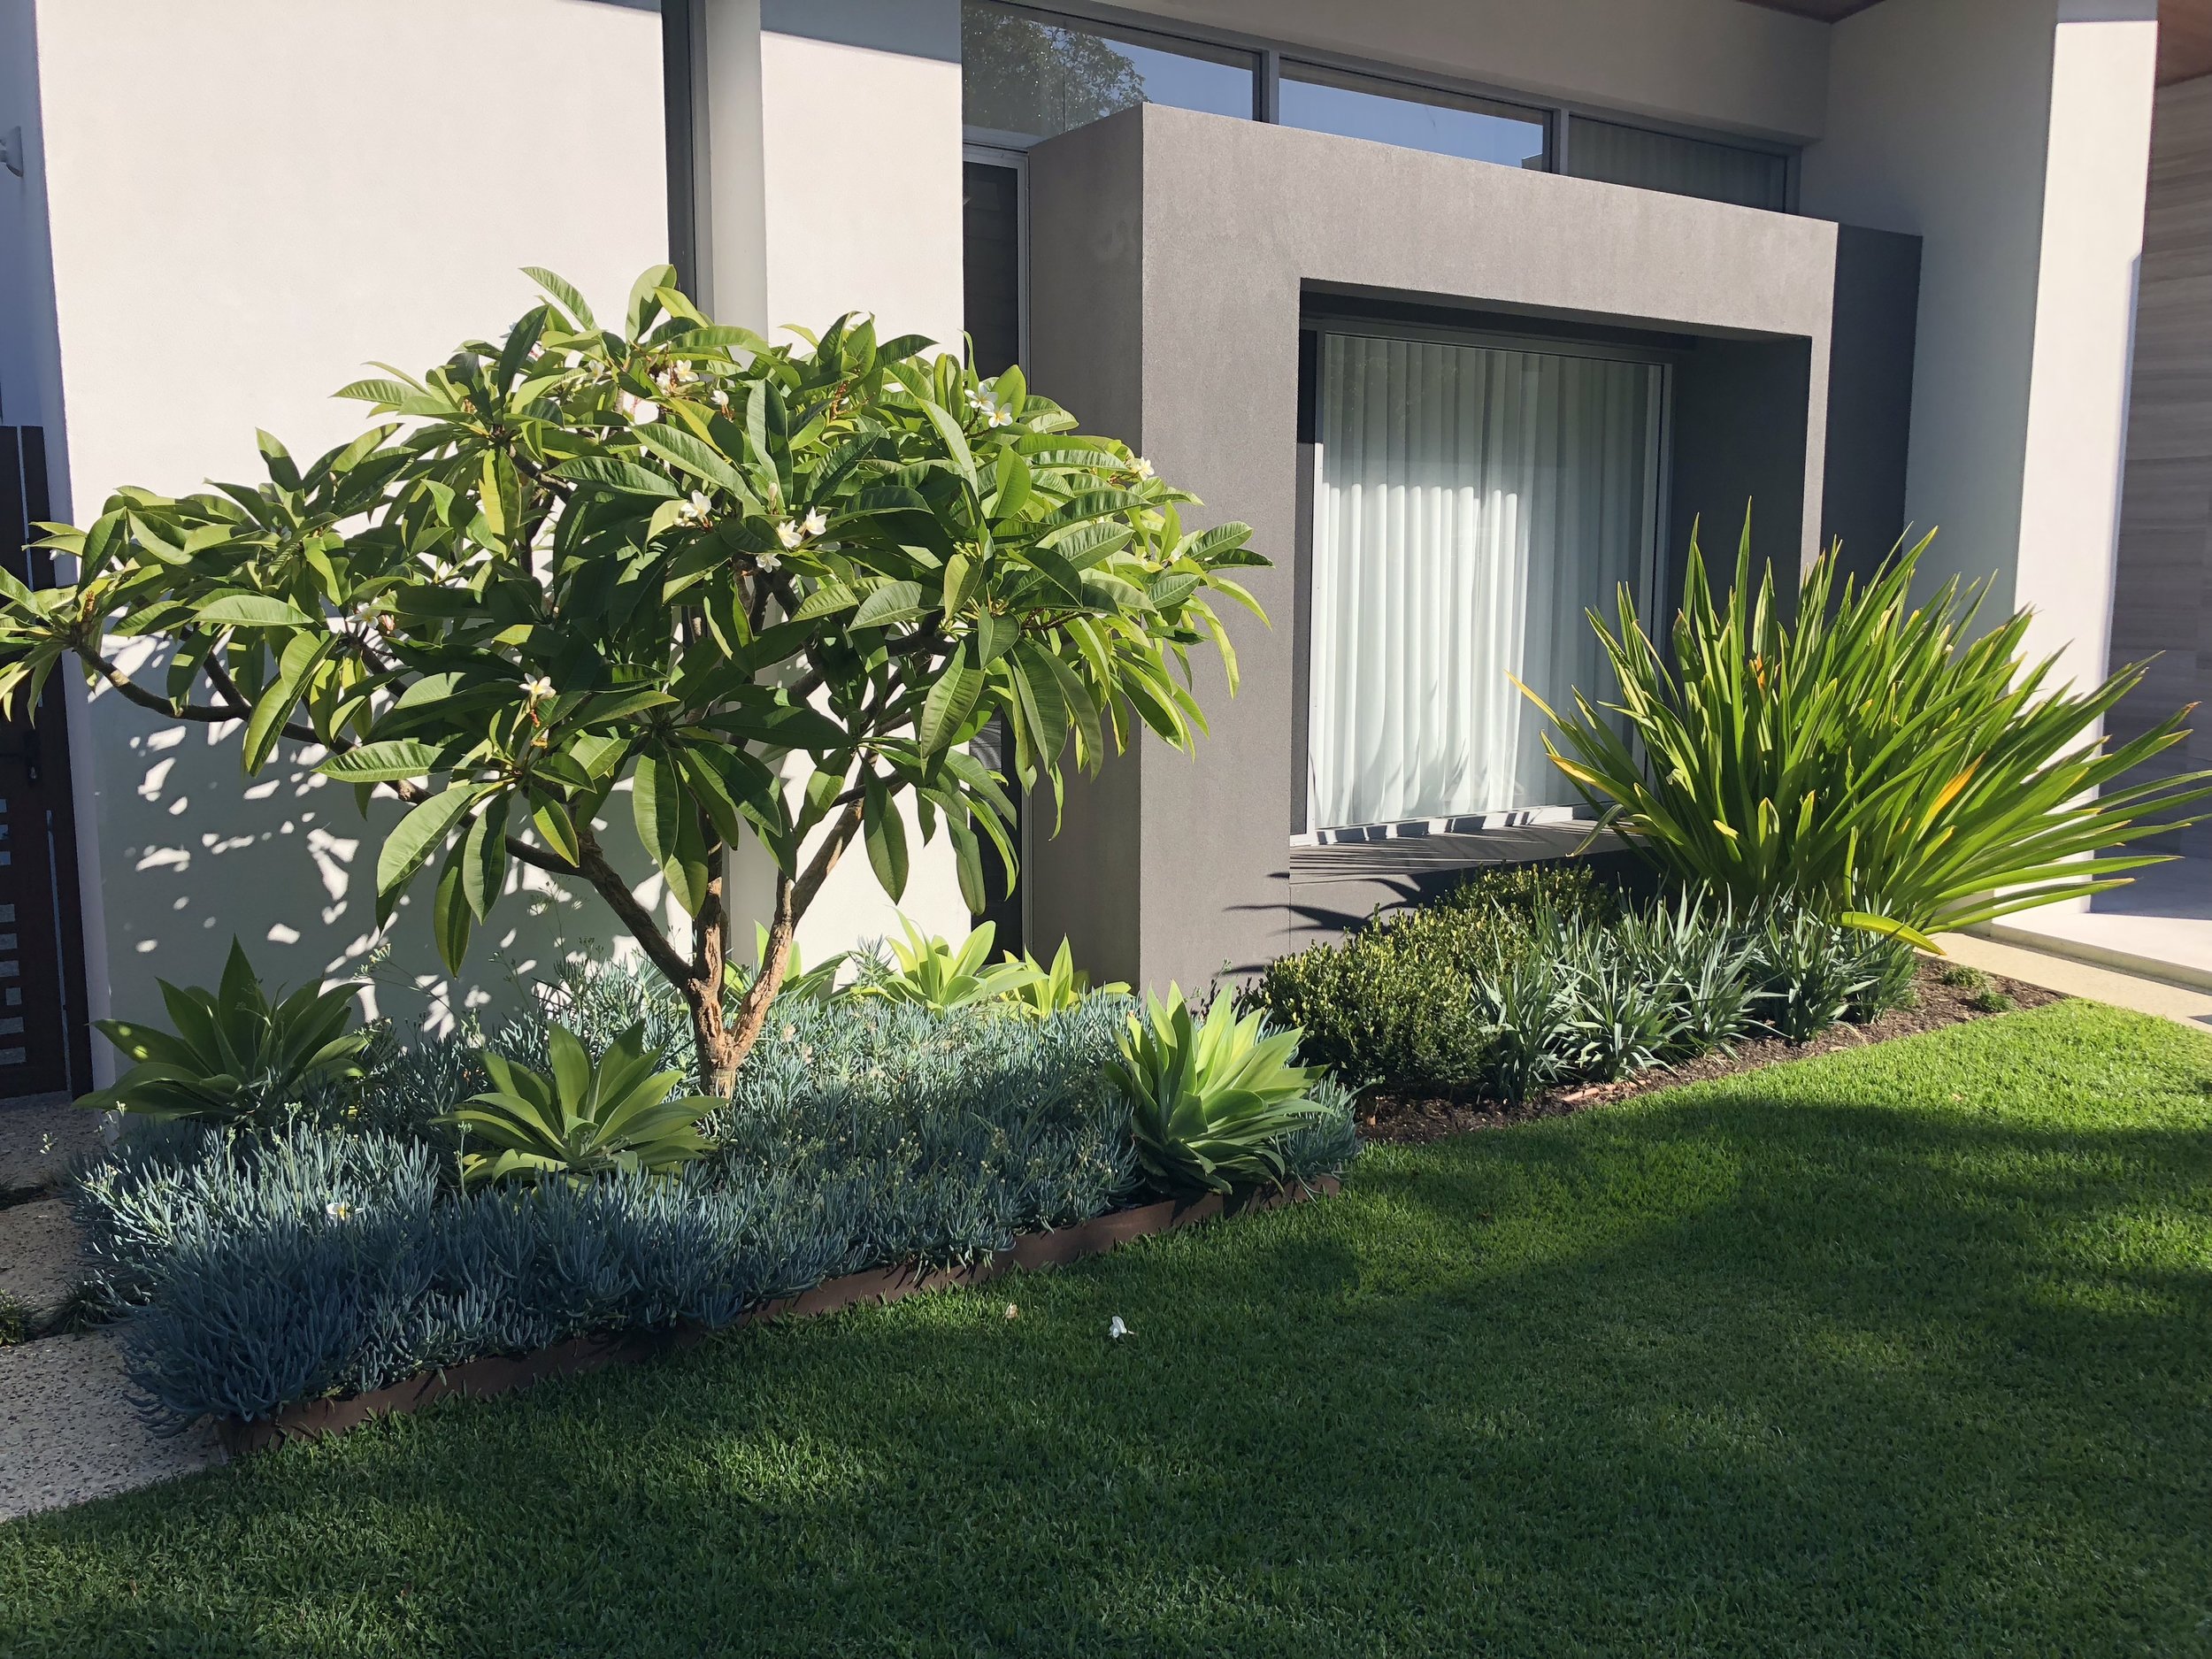
We visited this garden recently and I was very surprised to realise that we had only finished it 9 months earlier. Major kudos to the home owner who loves spending time in his new garden and takes great pride in how it looks.
To see the 'before' photos, go to the Projects page and click on the link for Goldsmith. This is how it looks now (May 2018)

What do I need for my initial consultation?
So you have decided to get professional help with your garden. What do you need for that first meeting?
- Plans - A site plan and a house plan. If you dont have one, you can usually get a copy from your local council. Some charge a small fee for this process.
- Likes - Pictures of gardens that you have seen and liked. Good places to find suitable pictures are books and magazines, but there is also some great online sources as well. Try Pinterest, Houzz and Homify. You can often save your favourite pictures to a file and then share them with your designer via email.
- Dislikes - Just as important as pictures of gardens you like, is a good idea of what you dont like.
- Budget - This is always a hard questions as most people dont know what it costs to build a garden or what they should spend on doing it. A good rule of thumb, for a new house is 15-20% of the capital value of the home. The cost of the garden will ultimately come down to the cost of finishes, the amount of space you have, the scale of the works that your are after and your access. By providing your designer with a rough budget, they should be able to design the garden to create a suitable outcome for the space. Alternatively, the designer can design the space with your wish list, then provide a costing that you can work through together, to remove and add items until you are happy with it. A designer can also tell you the best way to phase the works, so if budget doesnt allow, then get the best use of your money now and then add the extras down the track.
- Function - A good thing to think about before meeting your designer is 'How do I want to use my garden?' Do you want to entertaining large groups of people regularly, large lawn areas for children to play, a lap pool for the swimmer in the family or just a small plunge pool for chillaxing in summer? Do you need a shed, a clothesline, somewhere for the bins, veggie garden, trees.....the list goes on? The best thing to do is to start writing a list and bring it to the consultation.
Recycling filing cabinets as planter boxes...
Being a Landscape designer, I am often specc'ing products into my clients gardens that I can rarely afford myself. One of my big loves is rusted steel planter boxes. I custom design these to fit into particular spaces, and they take up a lot less room than building in a brick version. The offer a great contrast to other surfaces around them and the thin nature of them means more soil and space for the plants.

A steel planter that I designed into a TDL garden. This one hides an ugly junction between retaining walls.
When I purchased my little town house with its tiny courtyard, I knew I wanted to plant bamboo, to provide a little privacy, but also to block out the ugly walls of the two storey townhouses. I wanted the bamboo to be in planters so there was no fear of them getting out of hand, or growing into neighbouring gardens. So of course steel planters were the perfect solutions. But there was no way I could afford the outlay to purchase the number required to put around the perimeter of the garden.
Pinterest to the rescue! I was scrolling through one day and spotted an old filing cabinet that had been spray painted a bright colour and it was filled with home grown veggies.....yum.

Found on Pinterest. Author unknown.
So off to the tip I went, and purchased 3 x 4 drawer cabinets and 1 x 3 drawer cabinet for under $100. Then to Bunnings and purchased some Crommelins Blackseal and spray paint in a hammered brown finish (2 cans per cabinet)

Working out how I am going to lay them out. The kids insisted the ugly water feature has to stay, so Im hoping the bamboo will hide it a bit :)
First, I removed and discarded the rails etc, then drilled a heap of holes in the bottom for drainage.
Painted the insides with 2 coats of Crommelins Blackseal to slow down any rusting from the inside out, following the manufacturers instructions.
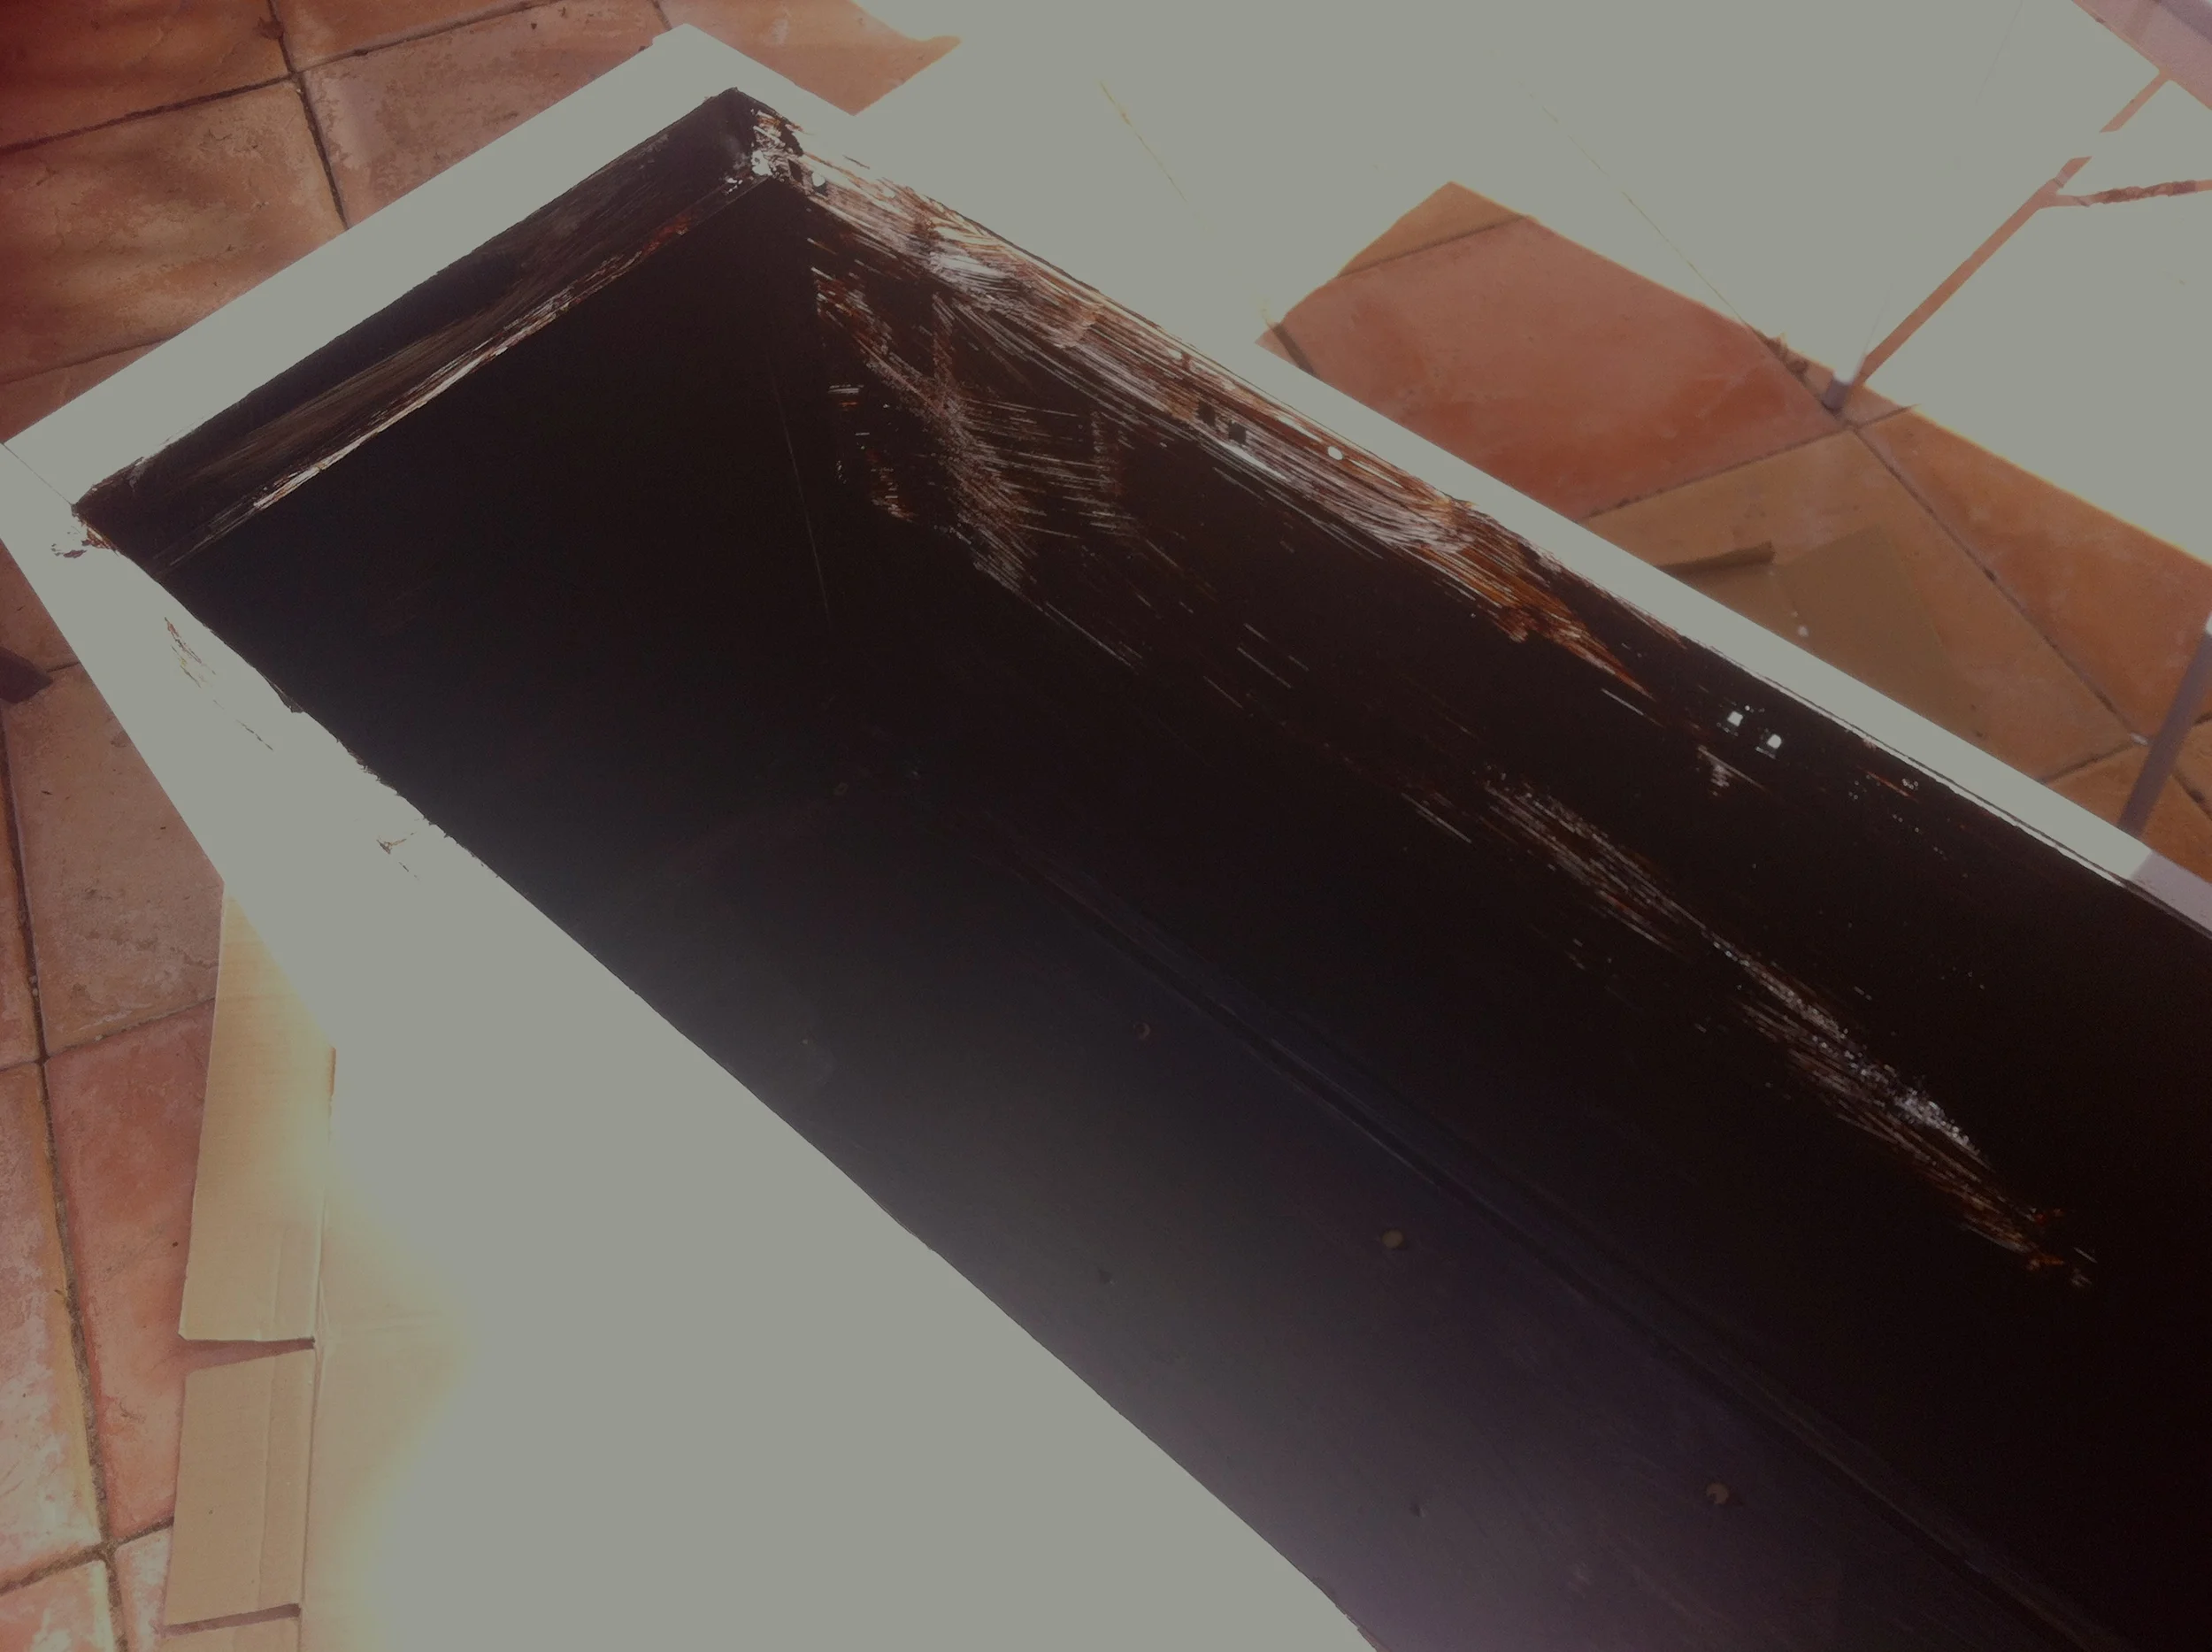
After the first coat. Make sure to add at least 2-3 coats to give a nice thick, even coverage. Sealed with Crommelins Blackseal
Once that is dry, then comes the fun part. Using your chosen colour of spray paint, coat the outside of the cabinets several times. Make sure you get a good even coverage to all exposed areas, again to help protect it from surface rust.

This colour is by Dy-Mark and is in a Hammered finish. Colour Hammered Brown
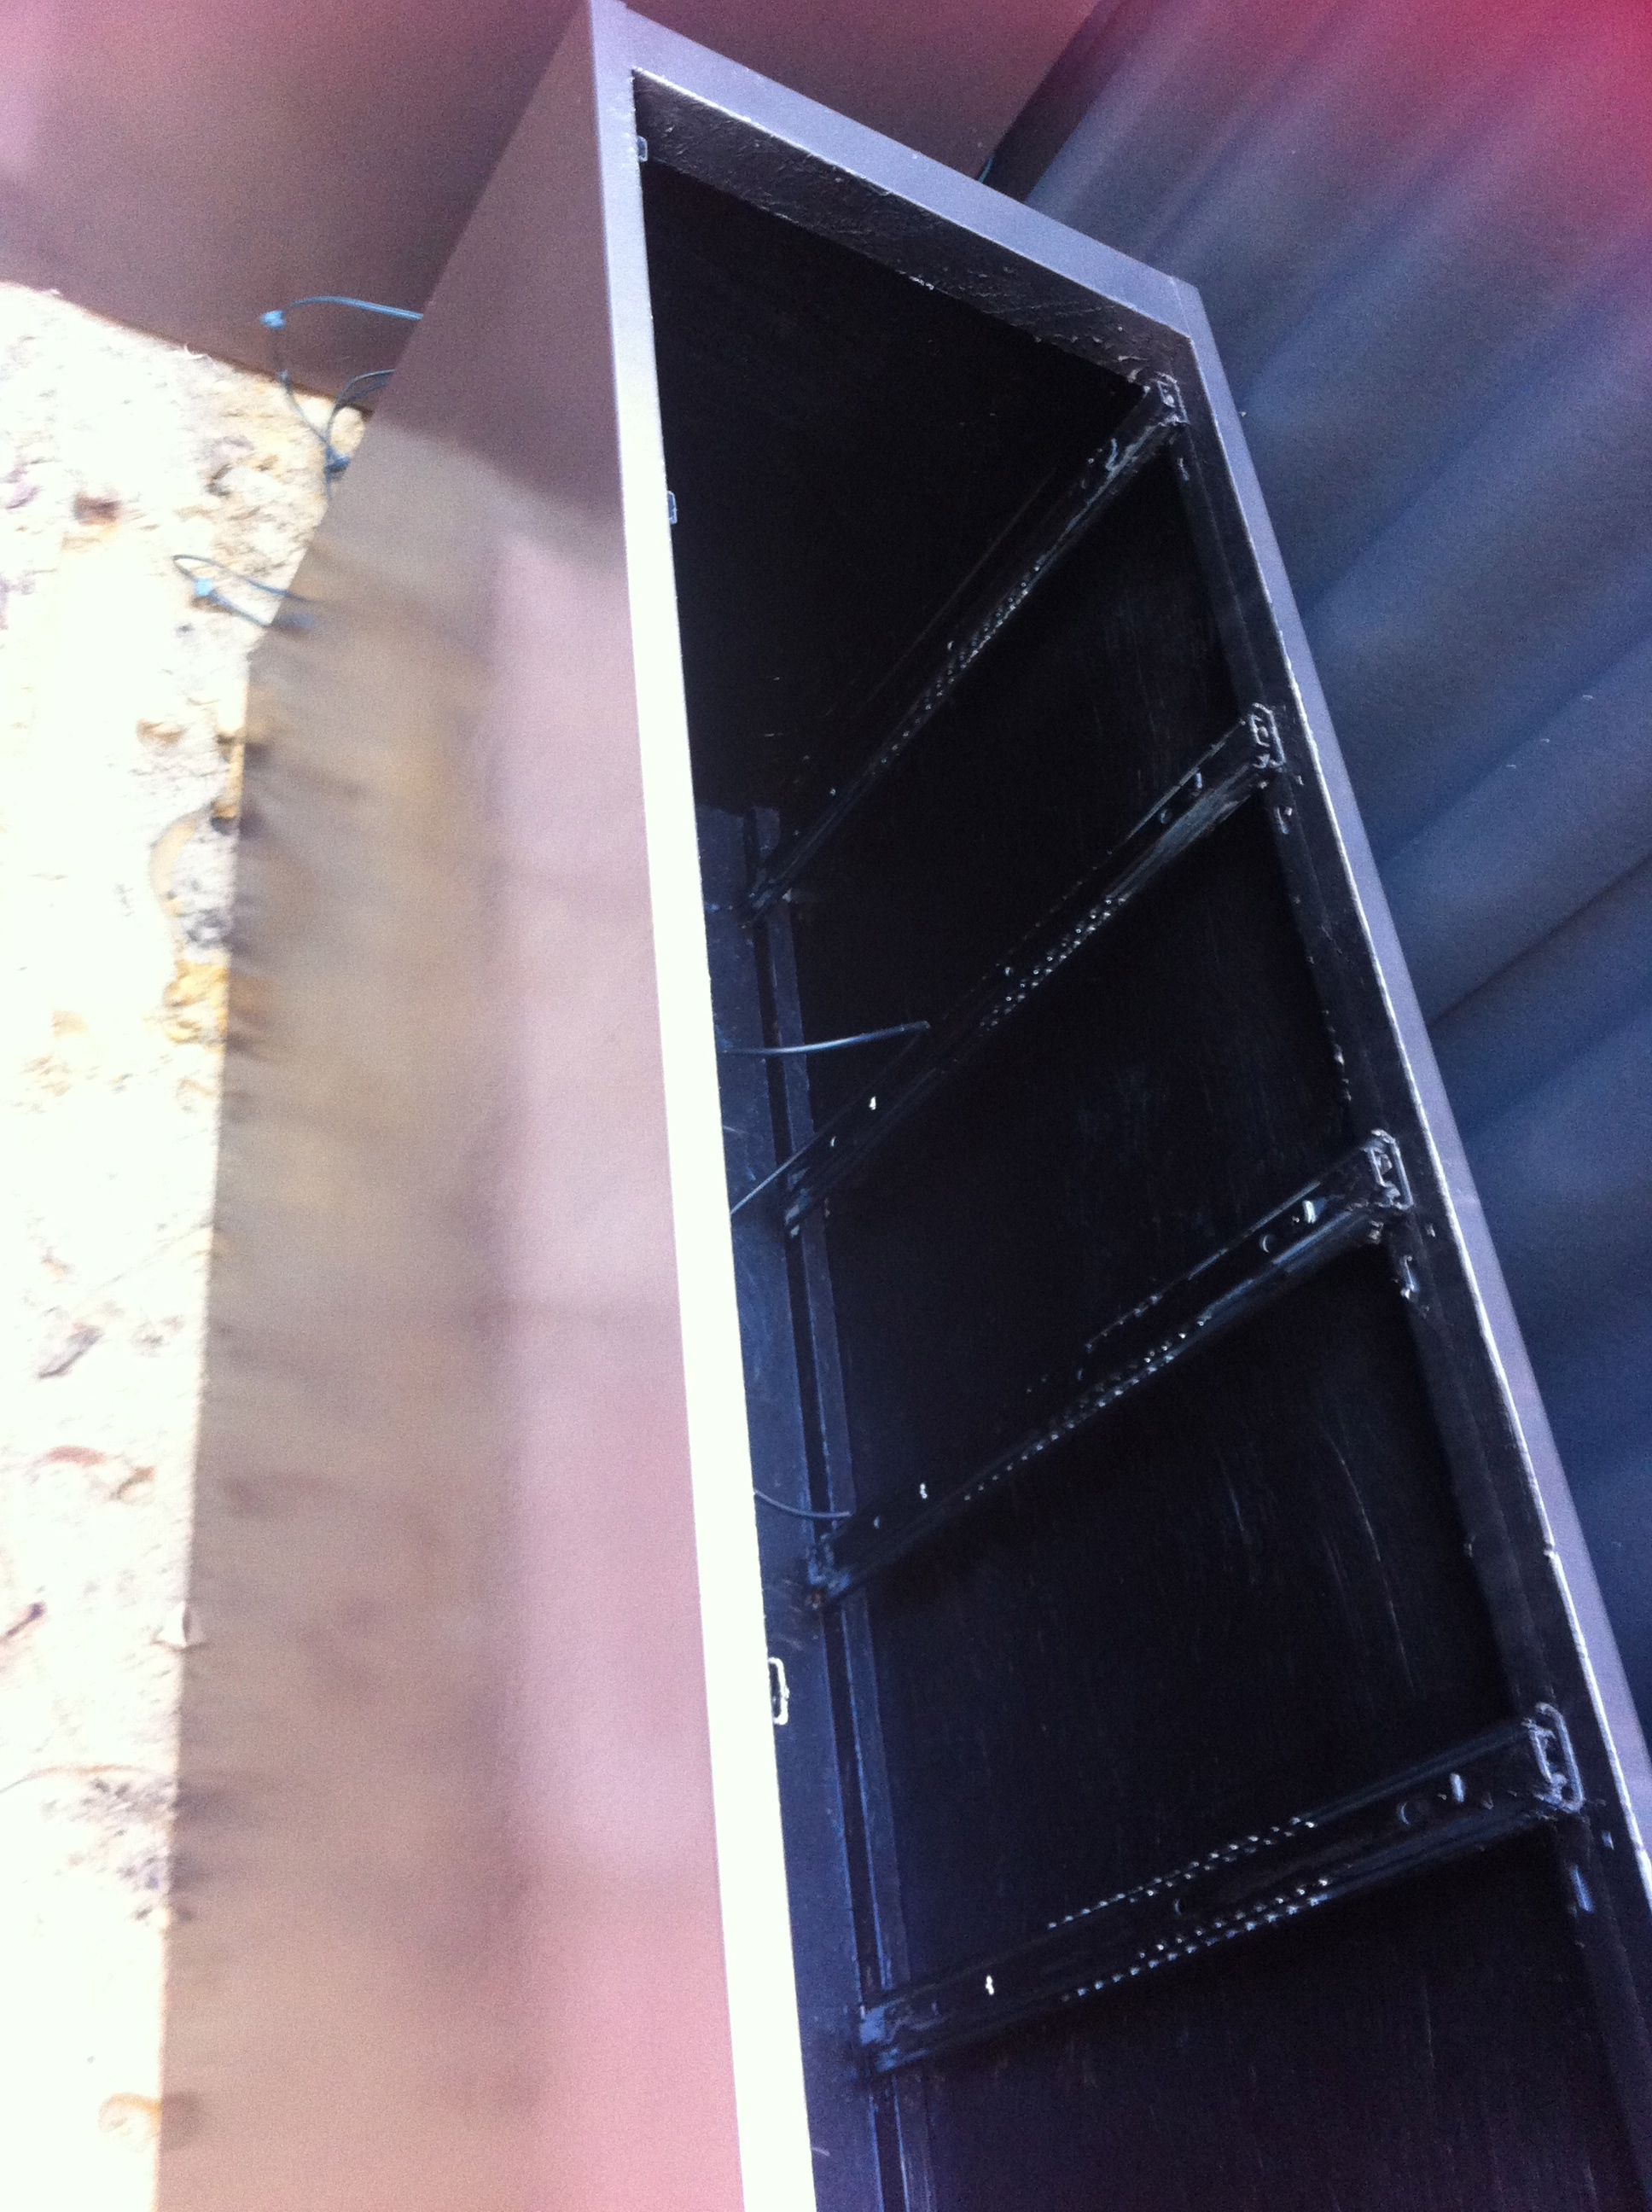
I then added my drip irrigation. This was fed through one of the holes in the base.
Locate your planters where you want them. Once the soil is in, they will be impossible to move!

A little paint on the fence helped improve the look of things too! Colorbond Monument is a colour I like to use on fences. Once the plants are in place, the fence then becomes the shadow and the plants stand out.
Add you irrigation, when they are all in place
Use a good quality potting mix and add your plants. These are Slender Weavers Bamboo (Bambusa textiles gracilis) which are fast growing, grow well in narrow spaces and get to a height of around 3m.

Some Lirope is added around the base to soften the edges.

One day, this paving will be removed and I will have decking....just one of those things I spec, but can't afford!
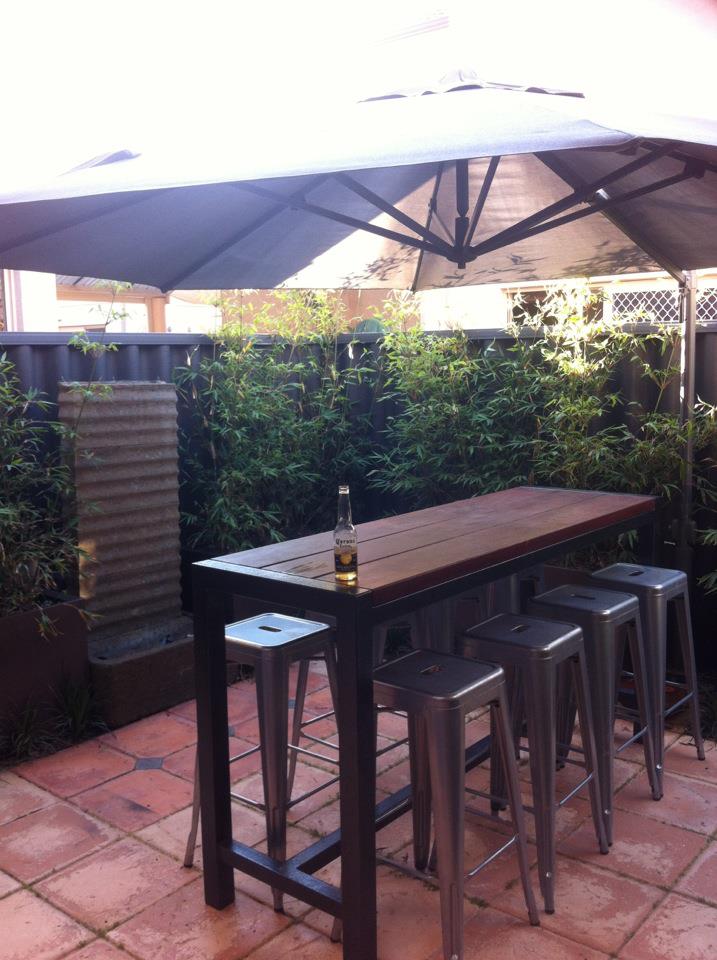
This is how the garden looked after one year...and how we use the courtyard in summer. Umbrella up and an ice cold Corona.
Today (2 years later) some of the canes easily reach 3-4 metres. The Liriope gigantia is going gangbusters and the pots are standing up strong. They could all use a little touch up paint, but rusting is not a problem yet.

Reducing the glare from those apricot coloured walls behind. And notice how the fence doesn't glare out from behind the plants

Kokedama, what, why and how.....
While trawling through through hundreds of Pinterest pictures a few weeks ago (something I like to do while I am having a horizontal moment on the couch) I found the most amazing pictures of hanging gardens or as they are more formally known 'Kokedama'. This of course immediately tweaked my creative interest and I HAD to try making one....or four!
There are a few websites that run through the process of making them and even YouTube videos. But here is how I made mine.
What you need

1 bag of Bonsai mix
1 bag of Peat moss
1 brick of sphagnum moss
1 bag of Richgro Sand to Soil (with bentonite clay) - not shown
string
baby plants - try maidenhair fern, succulents
green moss (available from florist supplies)

Firstly, mix 1/3 of each the bonsai mix, peat moss and clay into a container with a little water. Keep mixing until it comes together to form a ball. This ball should hold its shape if you toss it in the air.

Then you need to gently knock the soil off the roots of your plant. The more you can remove, the better. Then wrap the roots with a small amount of wet sphagnum moss.

Split the soil ball in half and put your root ball inside. Then work the soil firmly around the roots to seal the ball completely.


Then you can start placing large sheets of the green moss around the ball. I quite enjoyed how this felt. I think that the texture reminded me of playing with moss in the bush when I was a child.

Press each sheet on firmly and tear off smaller bits to fill any gaps.

Then start wrapping the ball firmly with the string, winding in many directions to secure all of the green moss. When you are happy with the finished look, and that the moss is secure, tie it off. This one was hanging by the string, but I've started cutting the string off and looping some fishing line through to hang it. For something different, try wrapping your ball in a brightly coloured string.
Sphagnum moss can be used to cover your ball if you are having trouble with the green moss.
Maintenance ... I've found the best way to water the plants is to dip the ball in a bucket of water for a few seconds. Also spray the leaves with a water bottle occasionally.

Ive hung 3 of these in a protected spot near my front door. My visitors see them when they arrive and they are right outside my office window..... Little bit of green in my concrete jungle.
Building a Vertical Garden using a recycled pallet...
Well its been a few months since my last post. Ive been flat out, and with Easter, school holidays thrown into the mix, and a heap of new clients. I have simply been too busy to write! BUT, I have also been busy creating and building, which I also love to do.
I live in a townhouse, with very limited garden space and I struggle with the 'want', to have a beautifully designed garden and the 'need' of practical plants that provide herbs, fruit and veggies for my cooking.

My entire yard. Mess and all!
But after seeing a few inspiring pics on Pinterest, I wondered if I could make a vertical pallet garden work, with some of my favourite herbs and small veg. I have a skinny side area, where I have my clothesline, bins and air-conditioning condensers. So I thought why not give it a go.
So what do you need:
A good strong pallet - available on building sites...but check before you take them, that they are rubbish. Some companies ask for a bond and the builders don't get it back unless they return them.
Weed mat or other horticultural material, that will hold the soil.
Good quality potting mix
An assortment of irrigation fittings - if you want to have it connected to your irrigation system
Staple gun and good staples
Scissors
Plants - planted seedlings of Rocket, lettuce, thyme, climbing spinach, cat nip and cat mint (for Monkee) Strawberries, tarragon. Once it was standing I added Cherry tomatoes and Artichoke to the top!
Firstly, check your pallet for exposed nails and staples and affix any loose boards.

Monkee the cat, checking for nails and loose boards
Then staple your weed mat to the back of the front...and I put staples along each rung to hold it tighter. On this one I had it curved over the back before stapling it securely along the front boards. (In subsequent ones I doubled up the length and then looped it back after adding the soil and stapled to the back)
I also added some staples to the sides, to keep the soil from escaping.

Staple the weed mat to the inside (with pallet face down)
Then I added my irrigation. Here I have black poly pipe affixed to the outside, which connects to my irrigation system. Then I have fed 6mm Netafim drip tube at intervals, positioned at the bottom of each rung on the front so they drip over the plants.

Install the irrigation. I used a black poly feed along the side and connect strips of 6mm Netafim.
Fill the pallet with the planting mix, then staple the weed mat to the back. Make sure you use plenty of staples to stop the soil escaping.

Add potting mix, and then the back cover of weed mat. Make sure to staple well to keep the soil in.
Stand the pallet up and let the soil settle, then fill with more potting mix to the top.

Stand it up and let the potting mix settle, then add more to the top.
I added some waterproof material to the back, as its going against my house wall and I don't want it to stain. This was actually some plastic root barrier that I had in the garage. Always take every opportunity to recycle :) You could also use some plastic or blue board to seal the back.

My waterproof backing is some root barrier that I had in the garage. Blueboard would work just as well, but you will need to nail it on.
Lay it down again to add your plants. Make a little slit in the weed mat, wherever you want a plant to go. I made a little hole with my hands, and then pushed my seedlings in (very carefully).

Lay it down again and cut holes for your plants. Carefully make room in the soil with your hands and put the plants in. Leave for 2-3 weeks for the roots to establish in the soil.
Leave it on the ground and keep it well watered for a couple of weeks so that the the roots establish. Once you are happy that its all growing well, stand it up and move it into position. Don't forget to hook it up to your irrigation system.
It's also a good idea to fix it to the wall with some dynabolts (or whatever is required for the surface you are putting it against) to stop it from falling and crushing someone.
This is my pallet garden today...3 months later, under my clothesline. The plants on top grow well as they get more of the sun. The cat mint and catnip are also going great guns at the bottom. I think I just need to find some herbs that like a bit more shade.


The Rocket is massive! Need to eat more of it :) and the climbing spinach is sensational!
You can use all sorts of plants in your vertical garden. I had another space which was in full shade and a bit boring, so I did a taller pallet with shade plants in it. I was going to paint the pallet to be the same colour as the fence...but in the end I liked having the pallet stand out as a pallet.

Any sort of plant can be used in your vertical garden. This one hides a fence in a shady spot, so is filled with shade loving plants. Unfortunately Monkee now uses it to climb the fence and visit the neighbours!