Defendable Space
This is an area of land around the buildings where the vegetation is modified and managed to reduce the effects of flame contact and radiant heat.
This is comprised of an inner and an outer zone with different vegetation management requirements, careful garden design considerations and requires regular maintenance as part of your Bushfire Survival Plan.
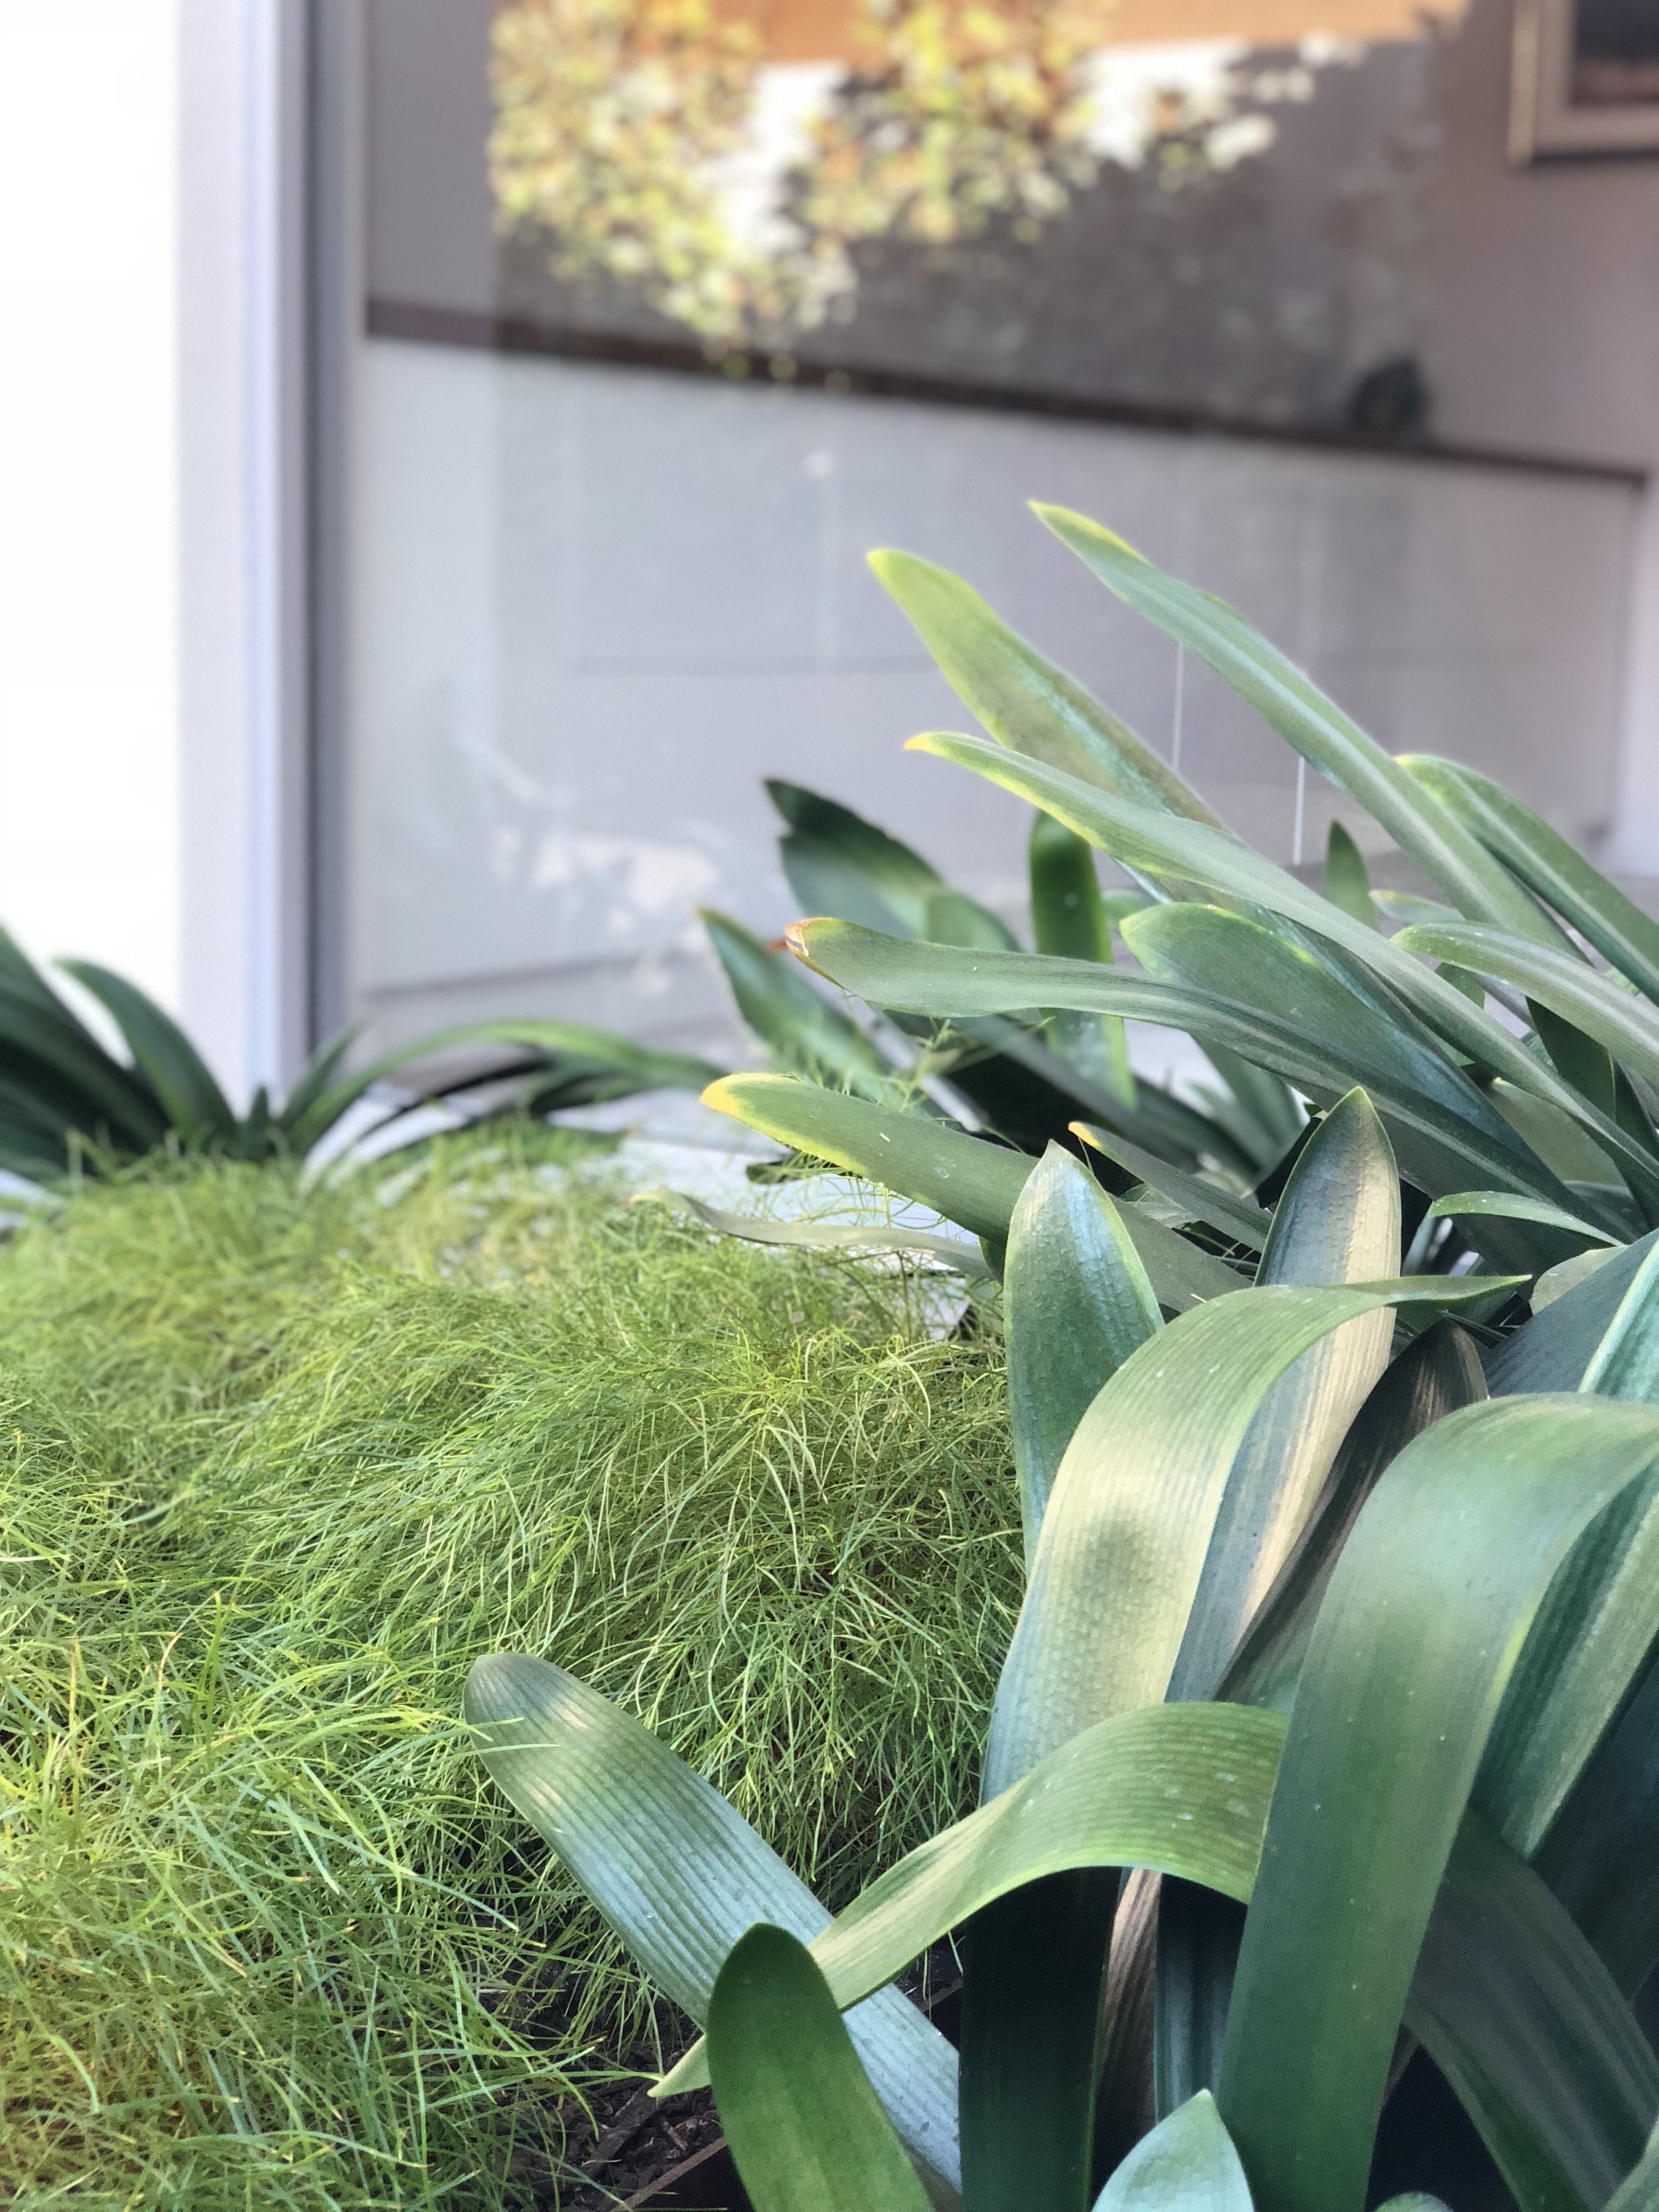
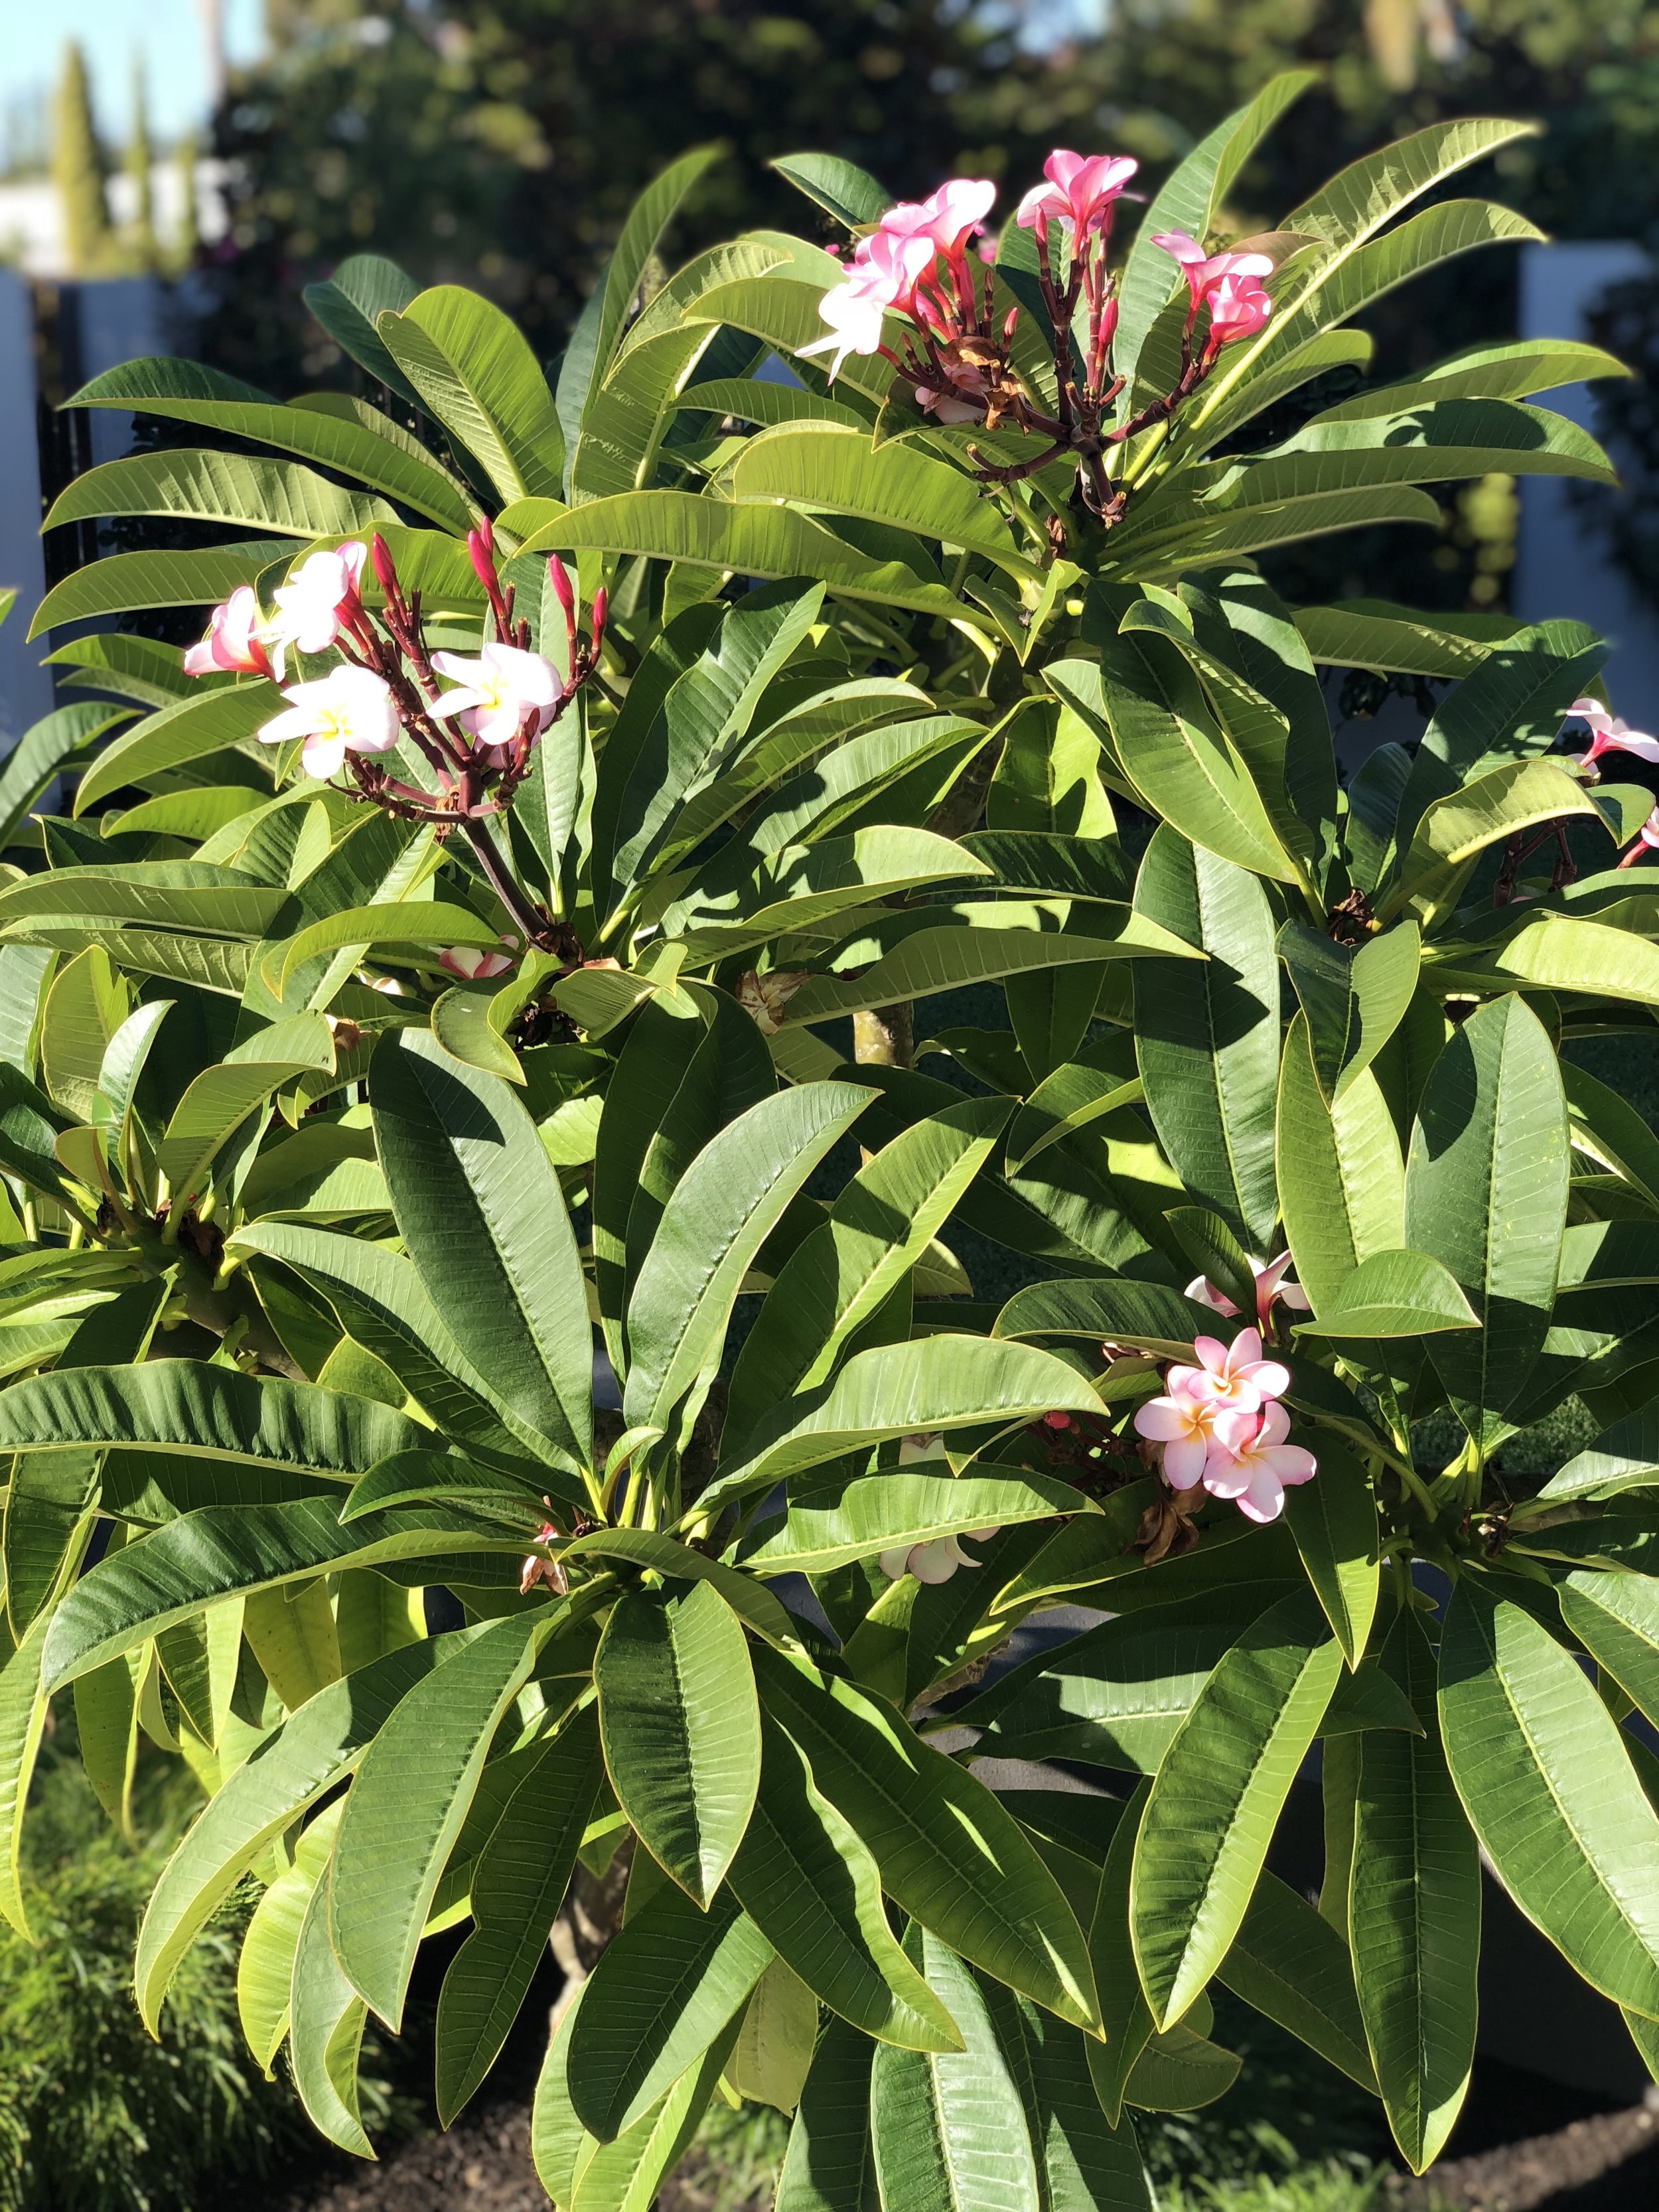
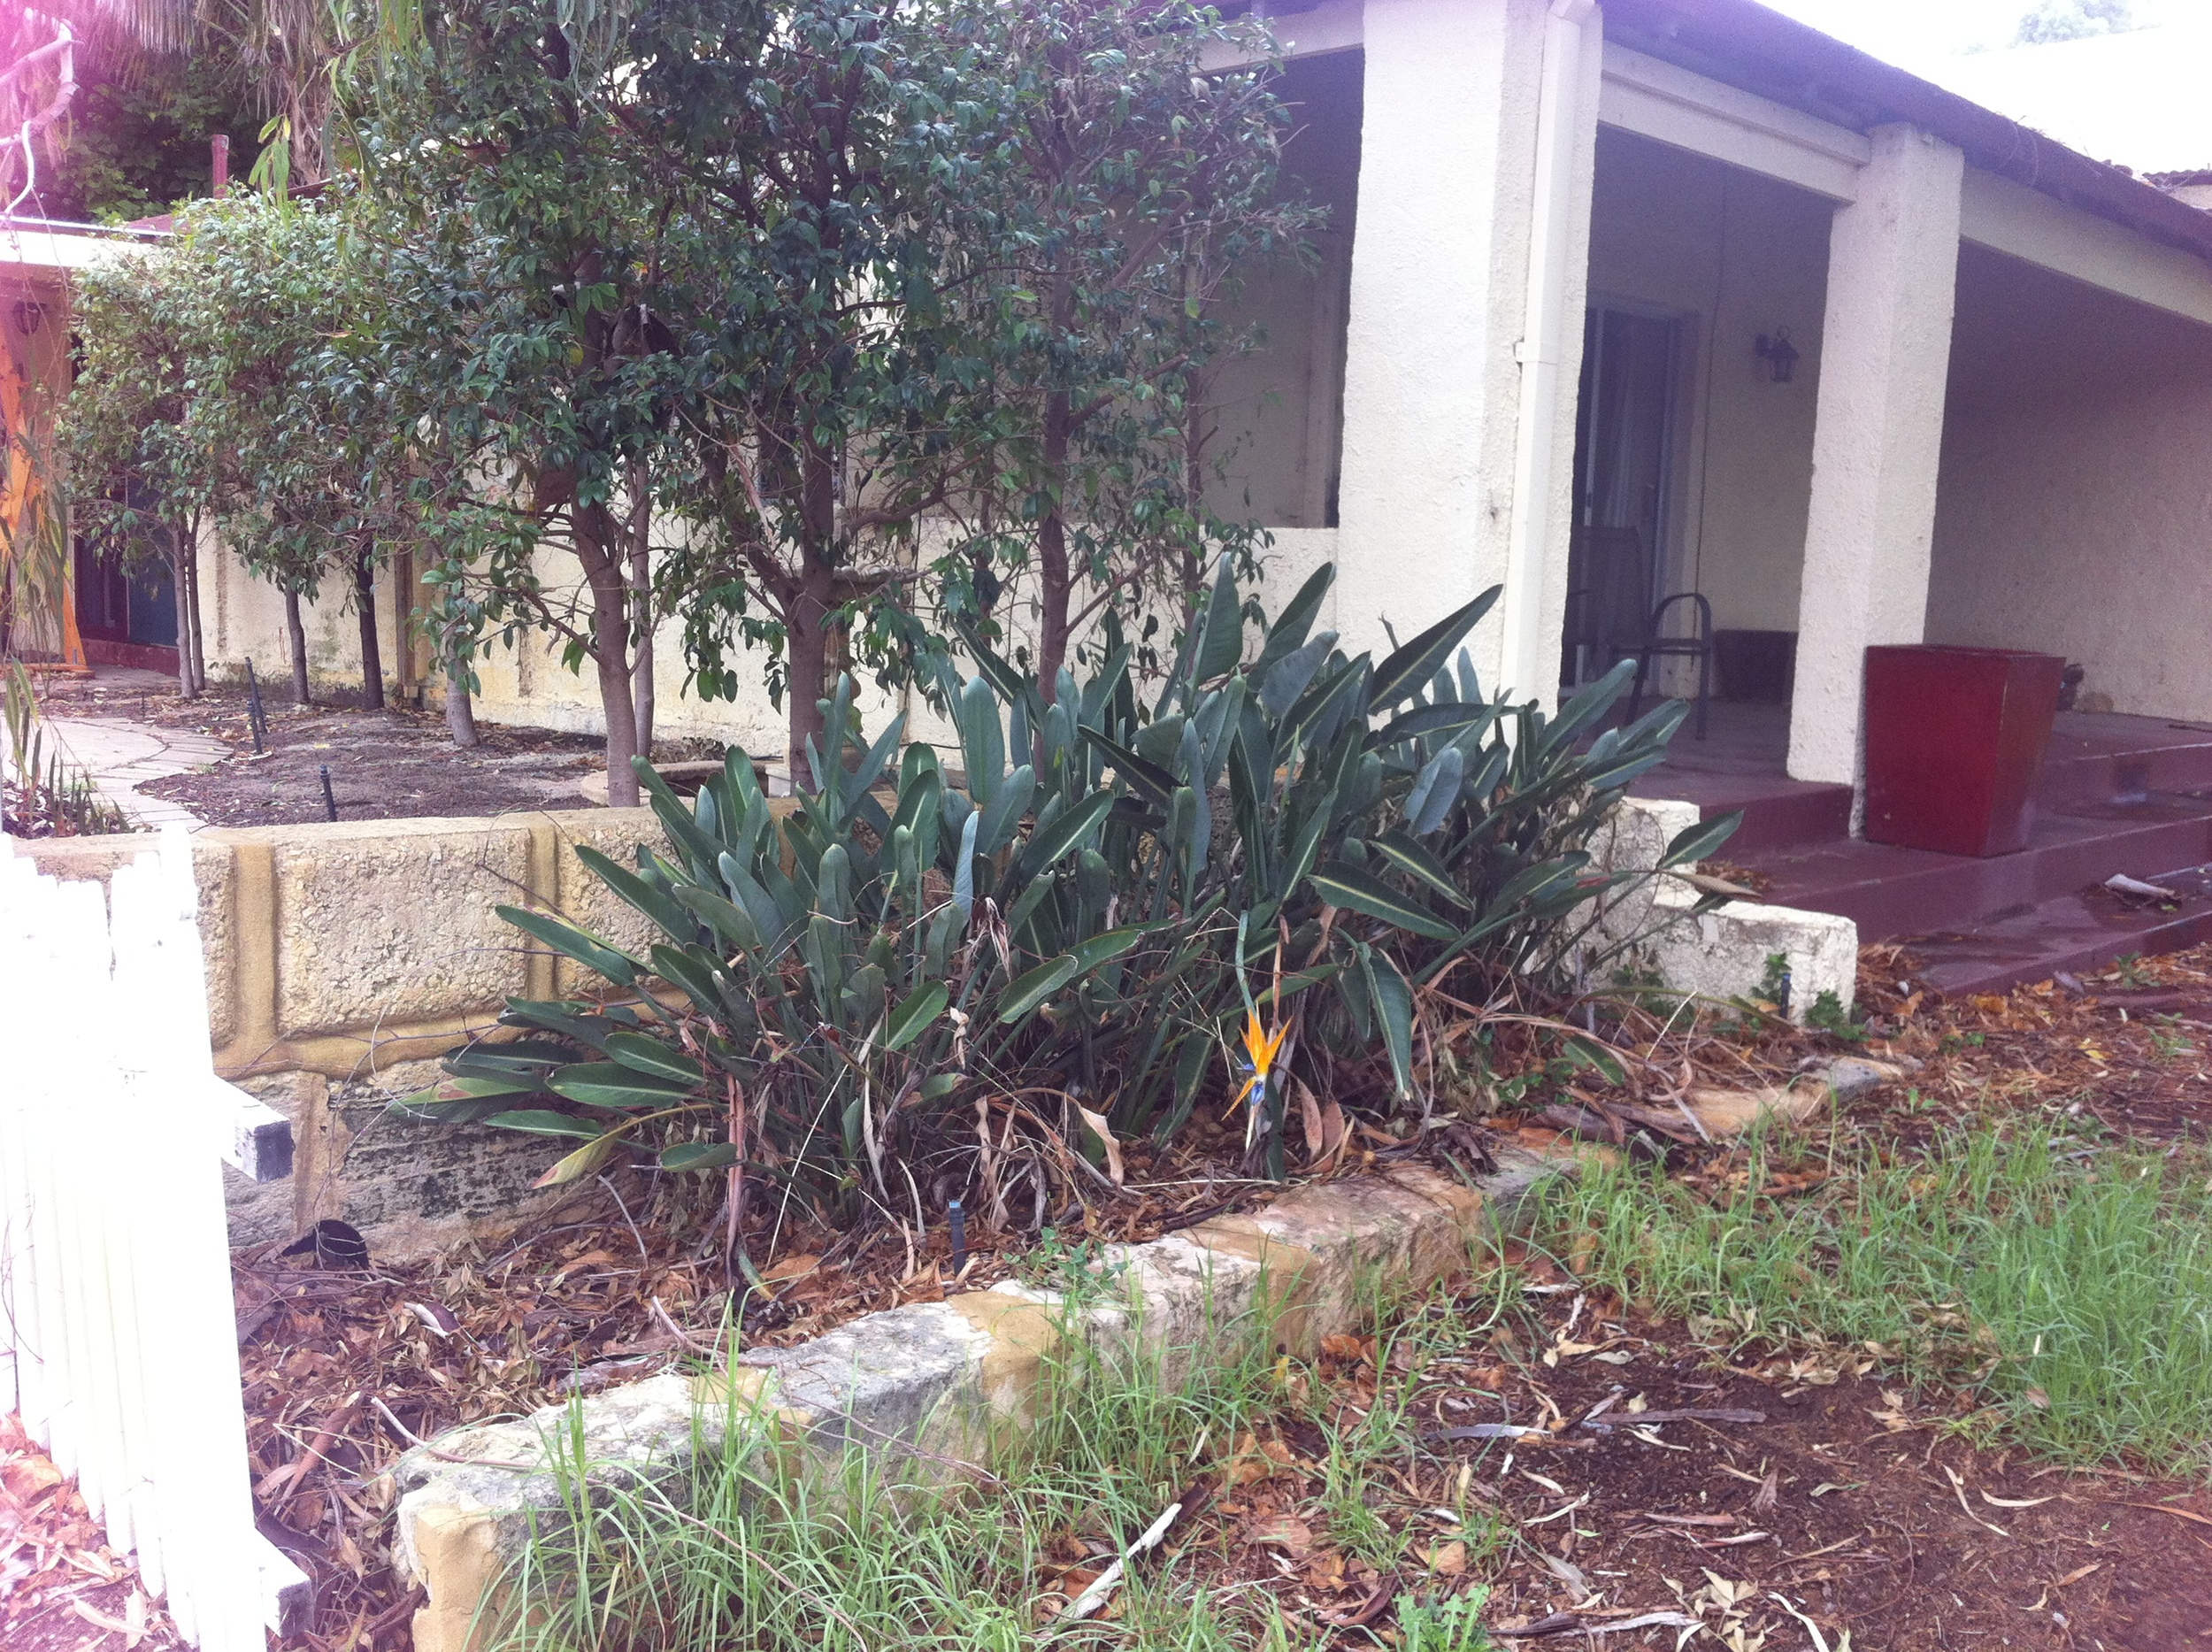
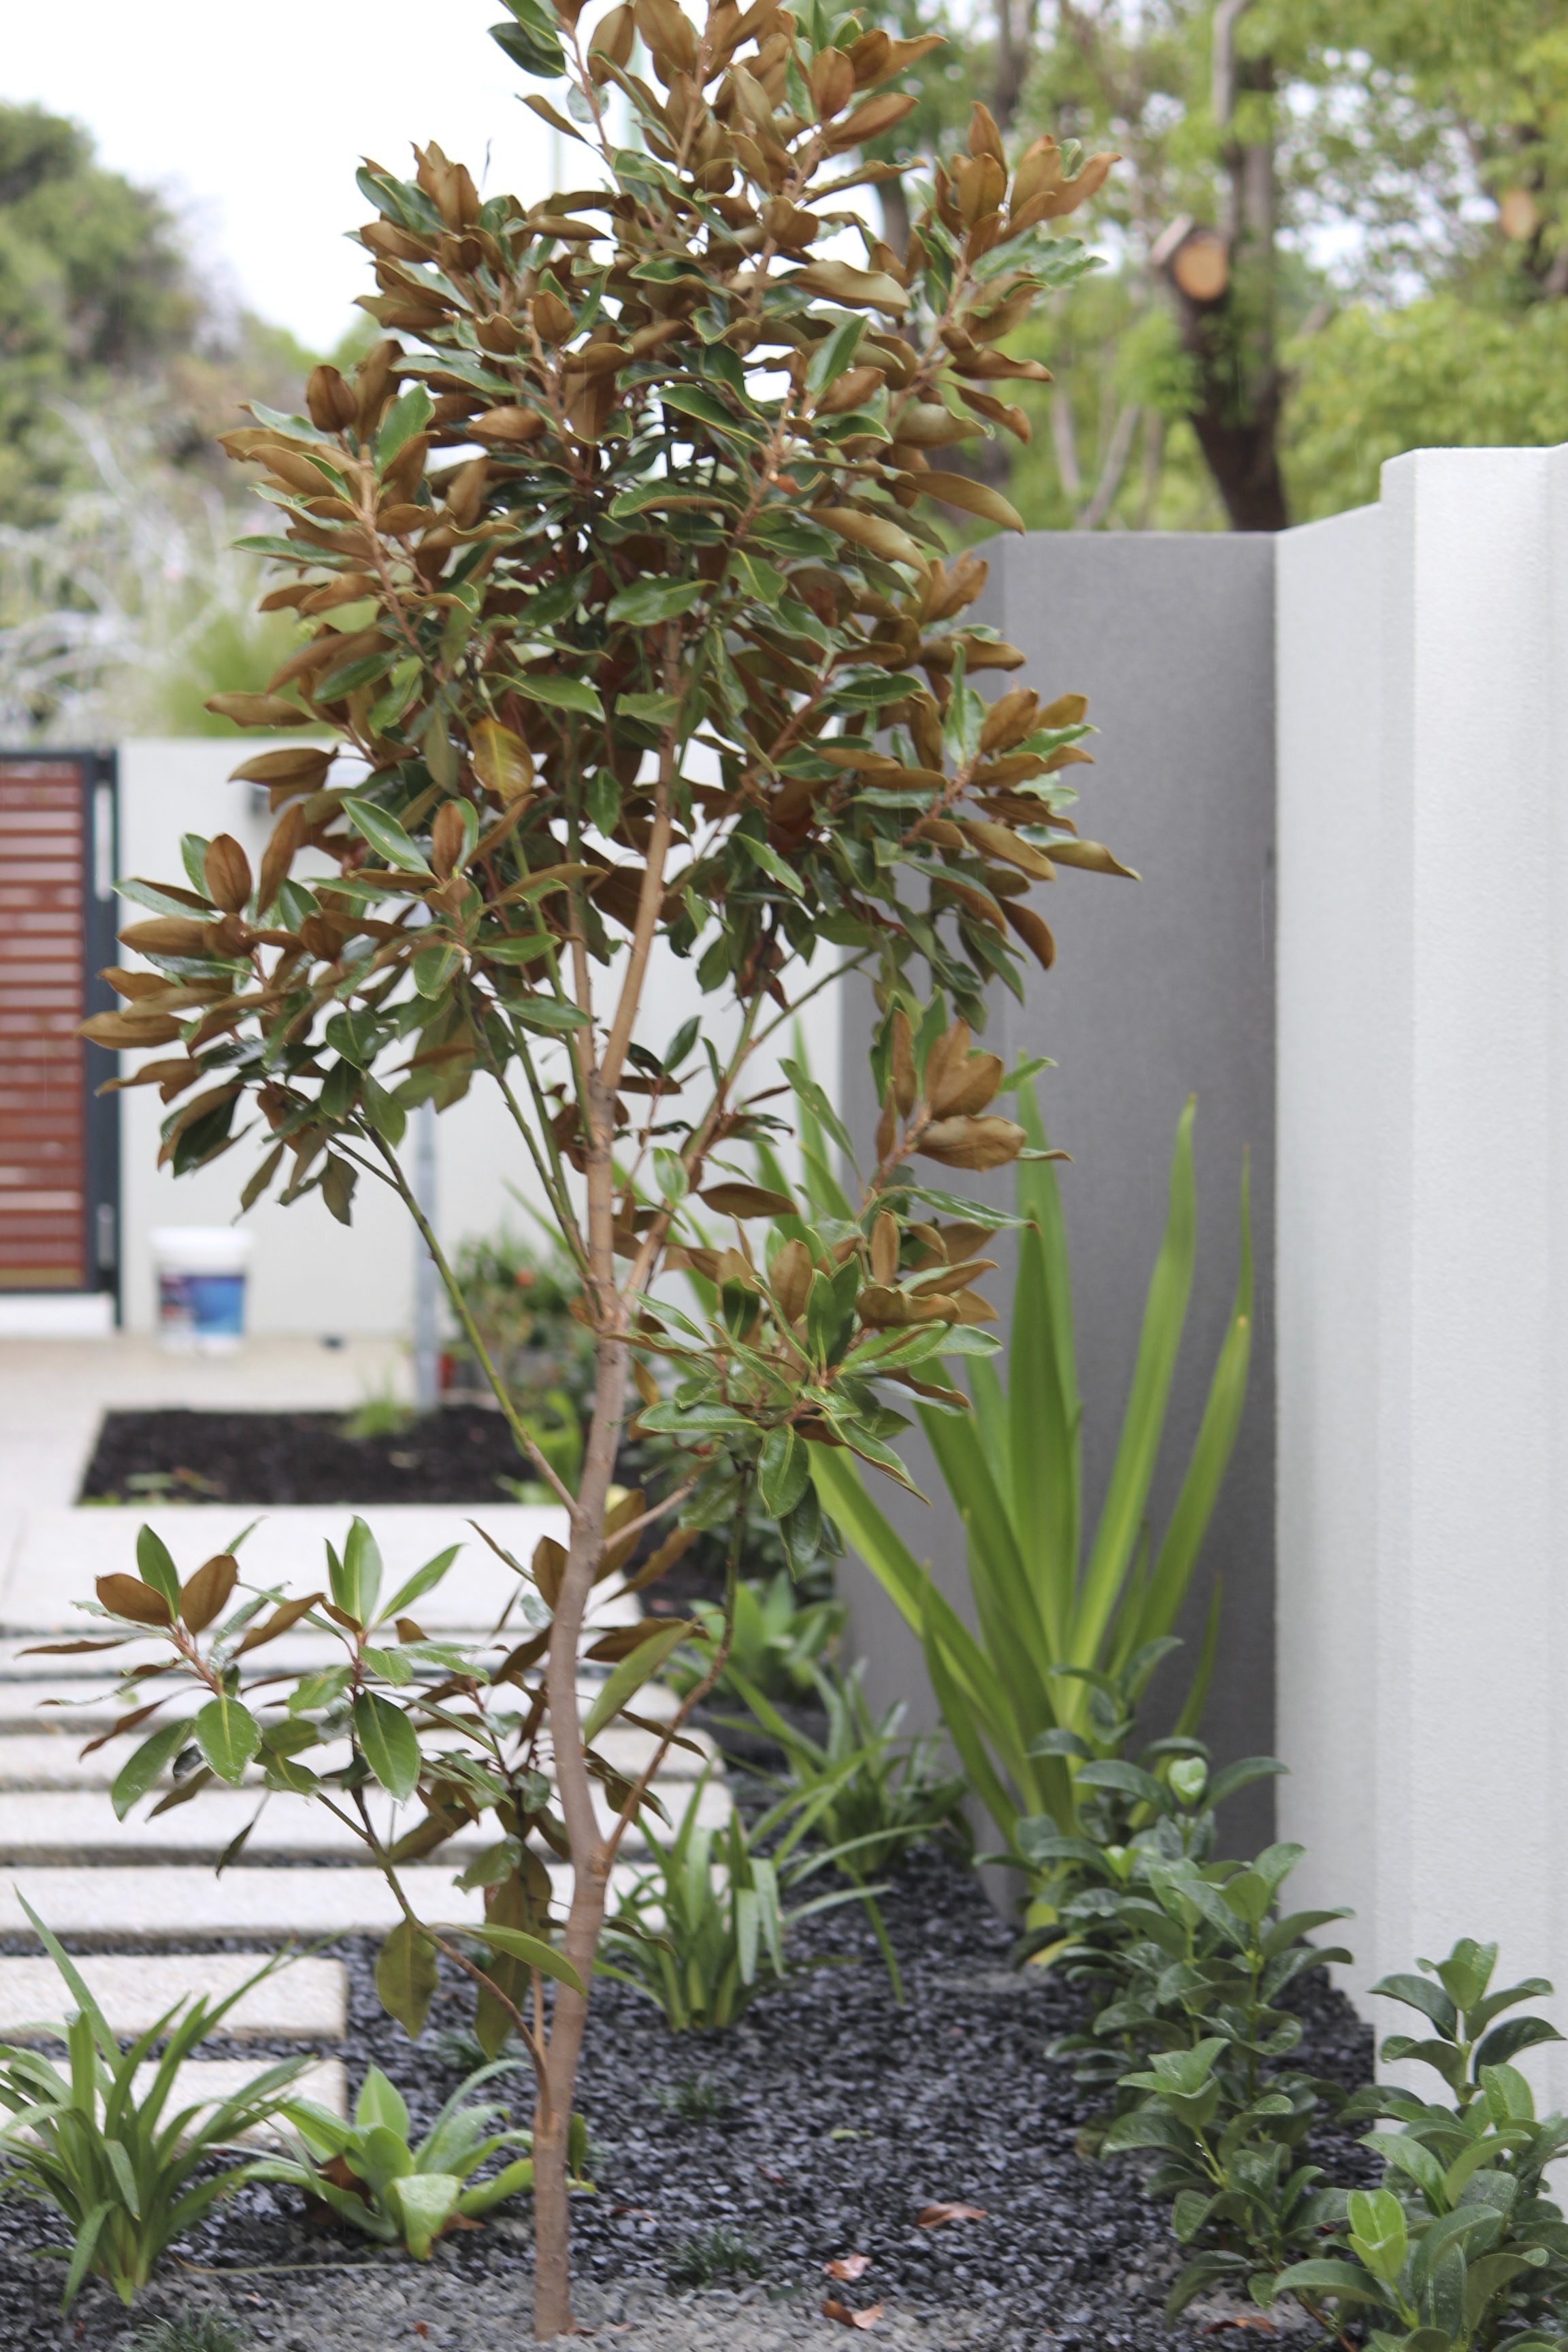
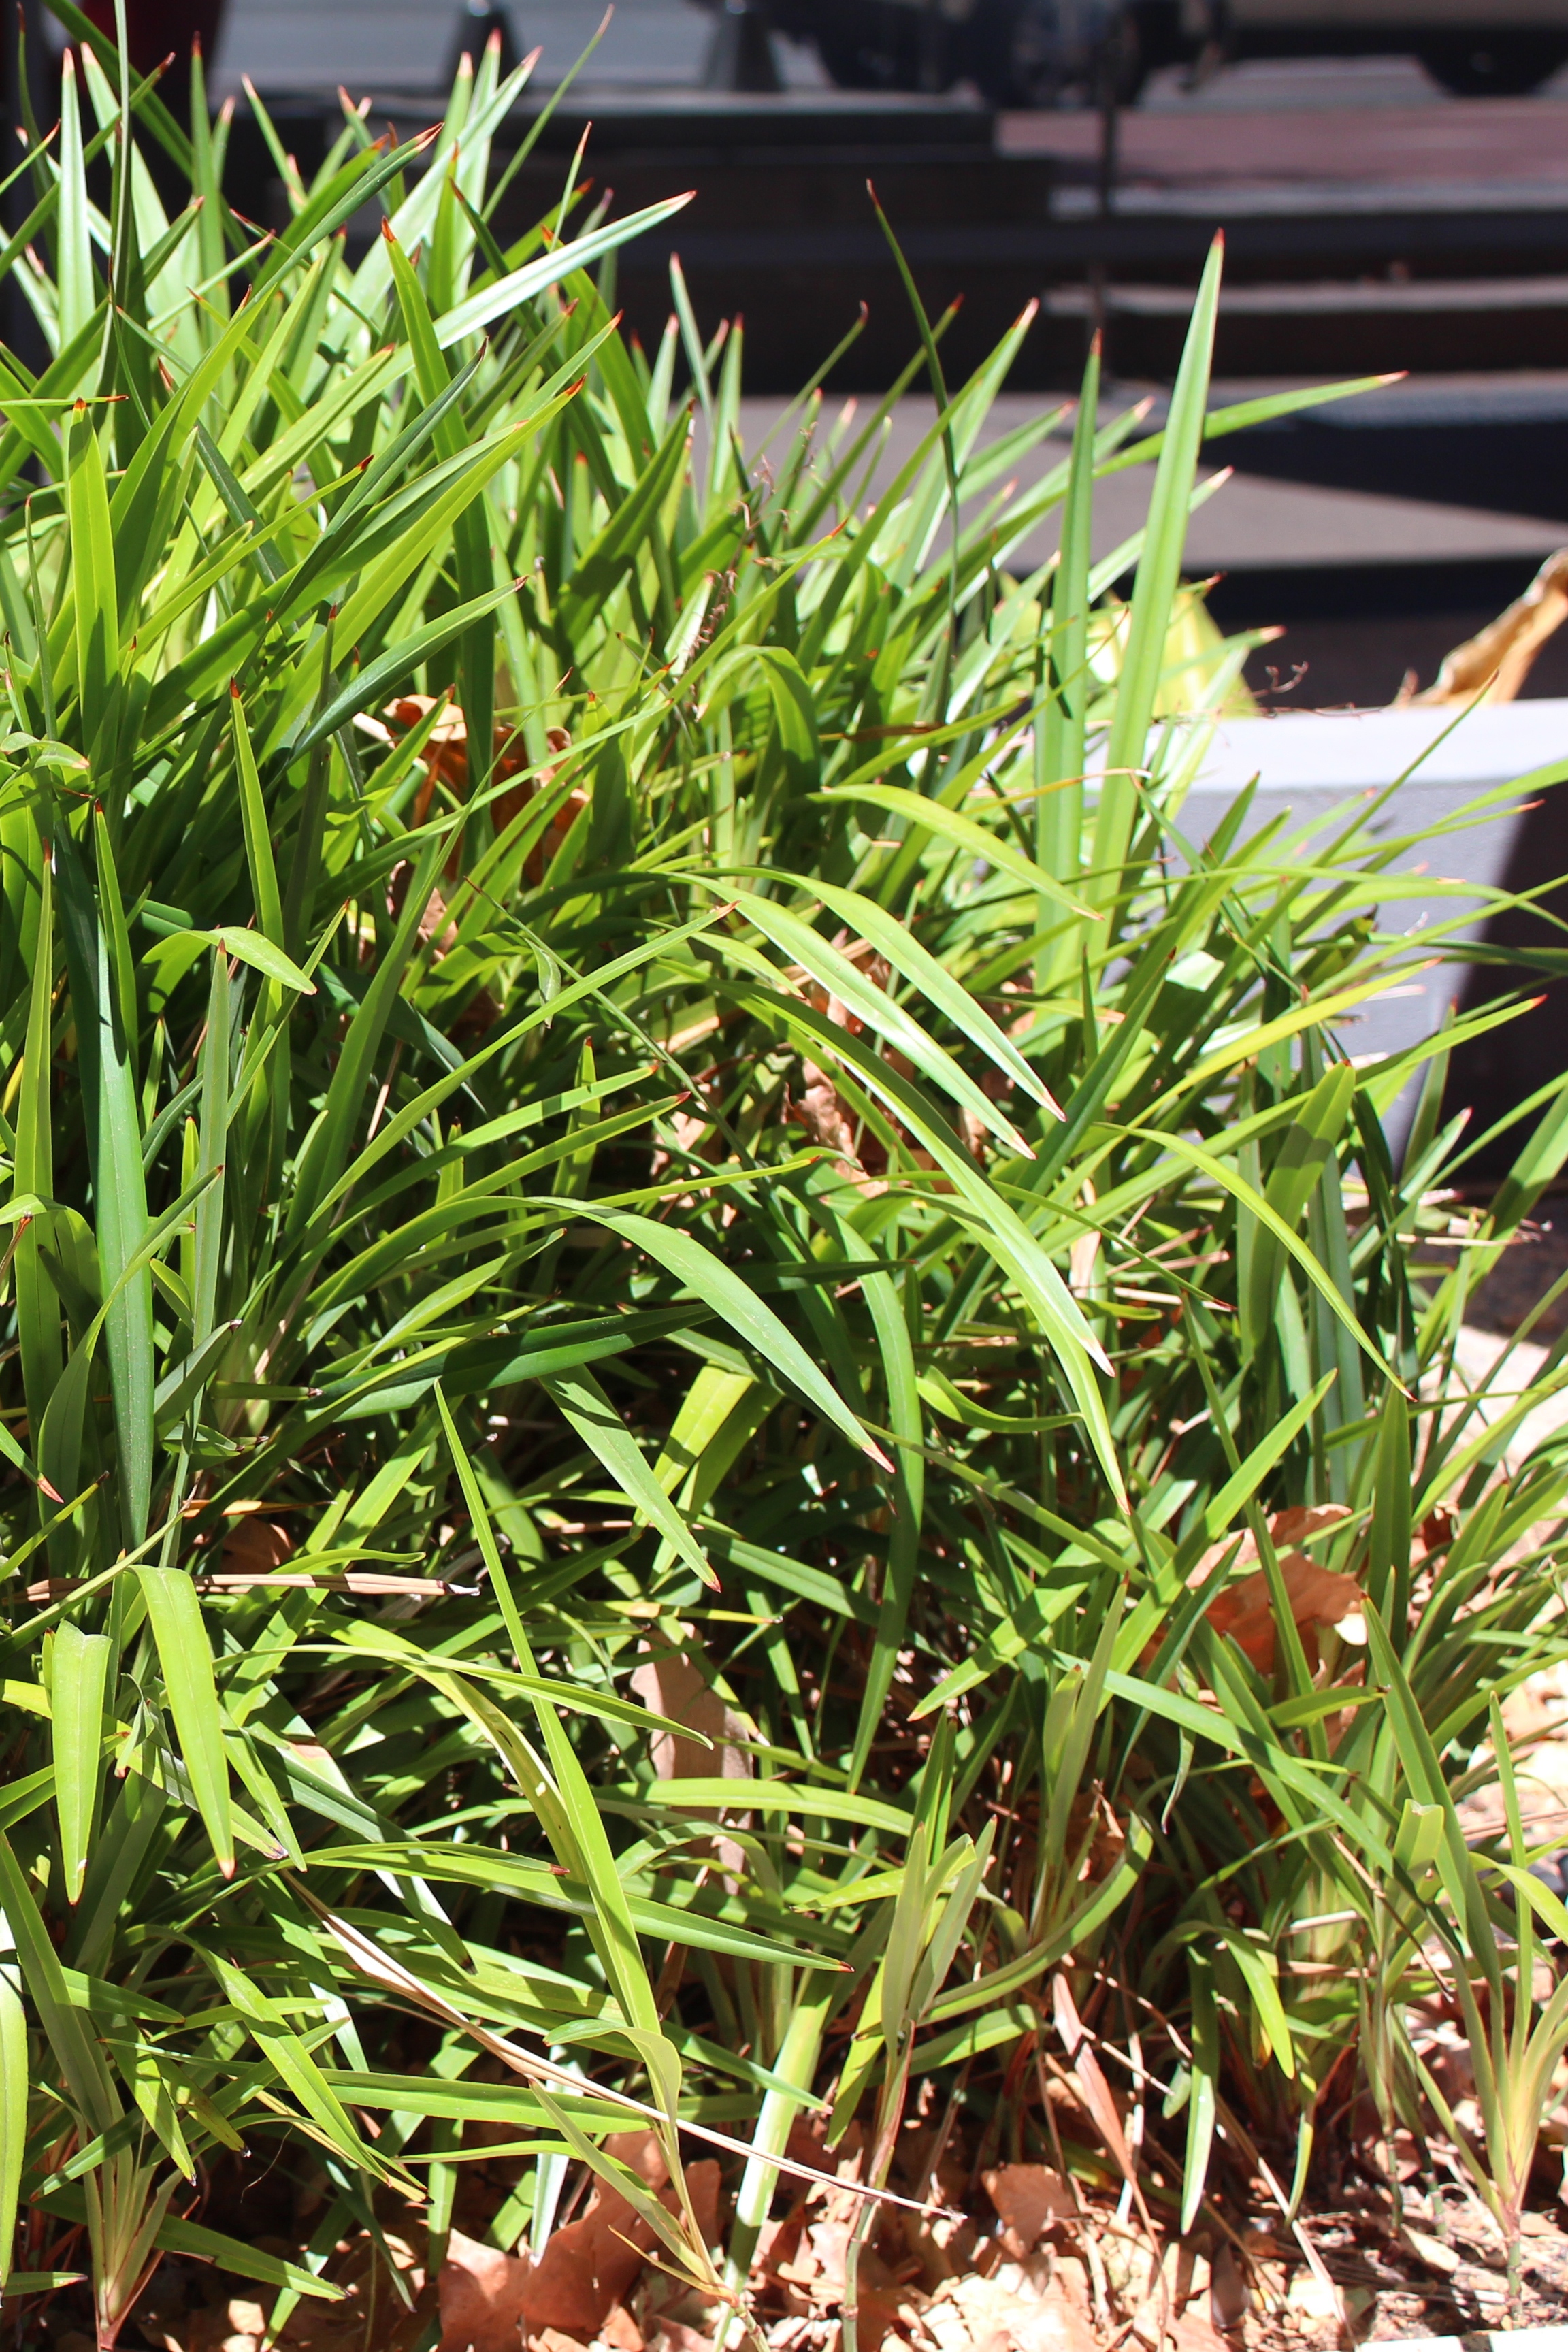
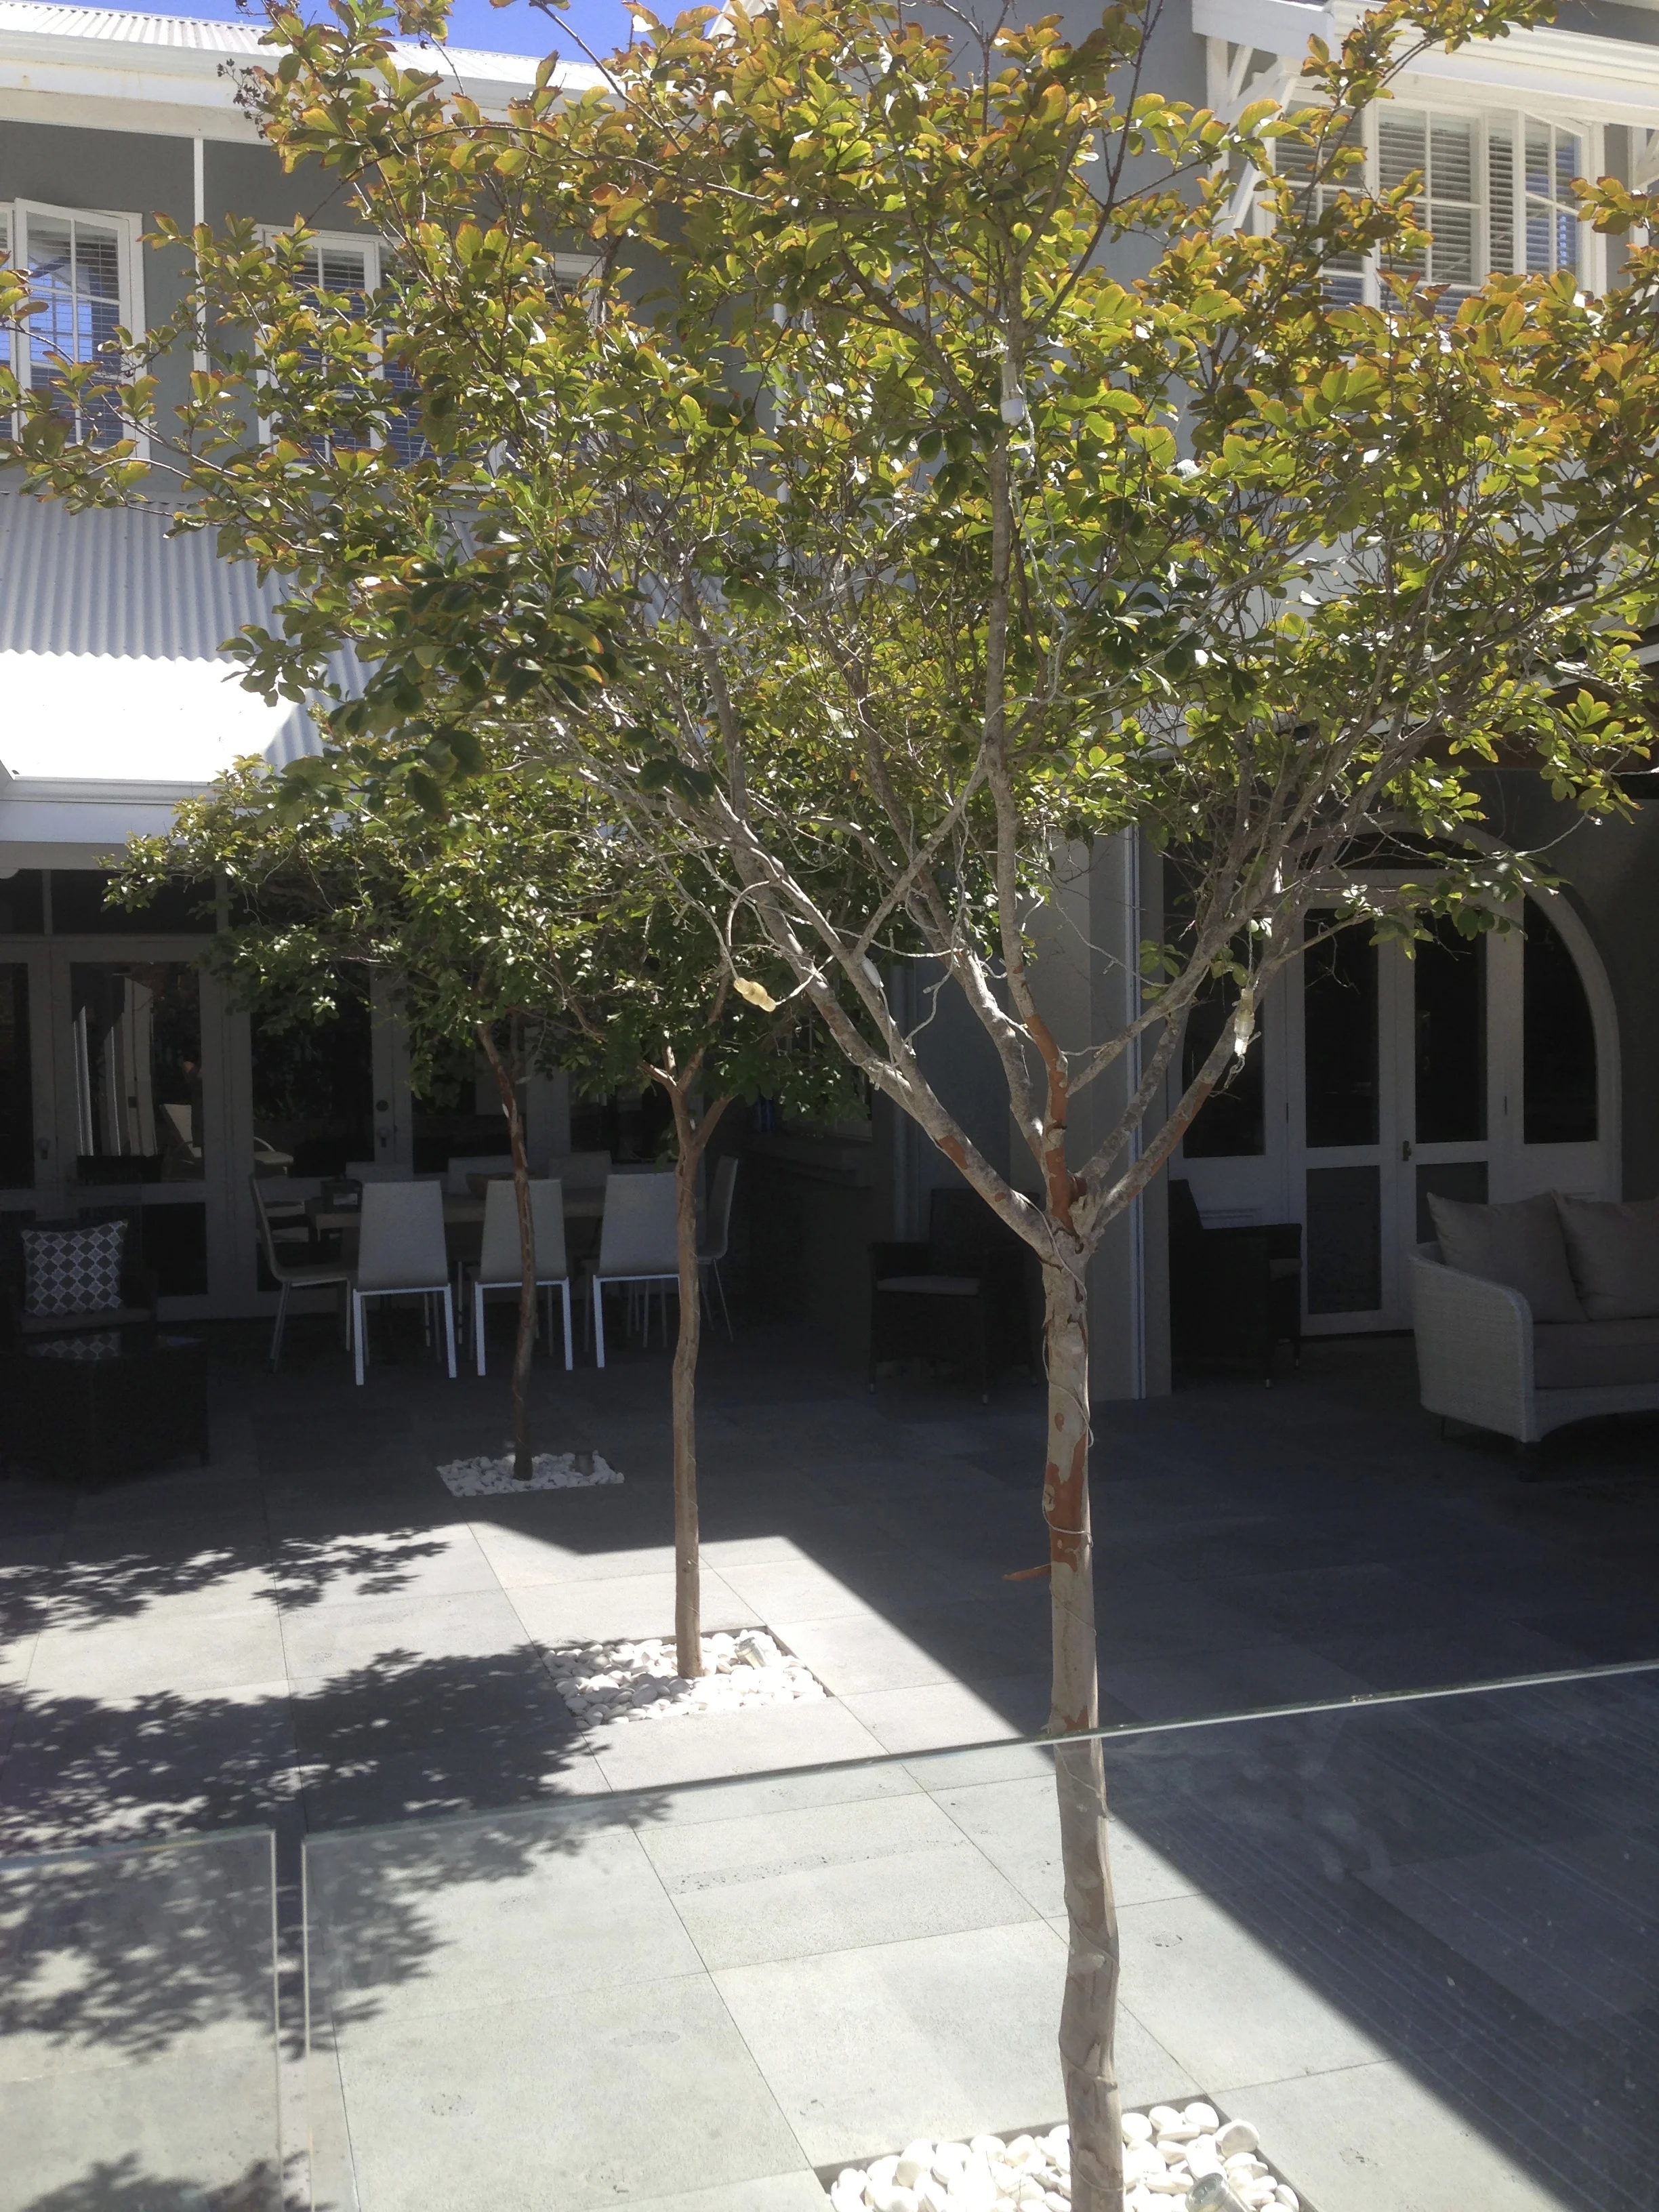
Essentially this is a clearance zone around your home, and the size will depend on the planning scheme of each council. This does not mean clearing all plants and trees.
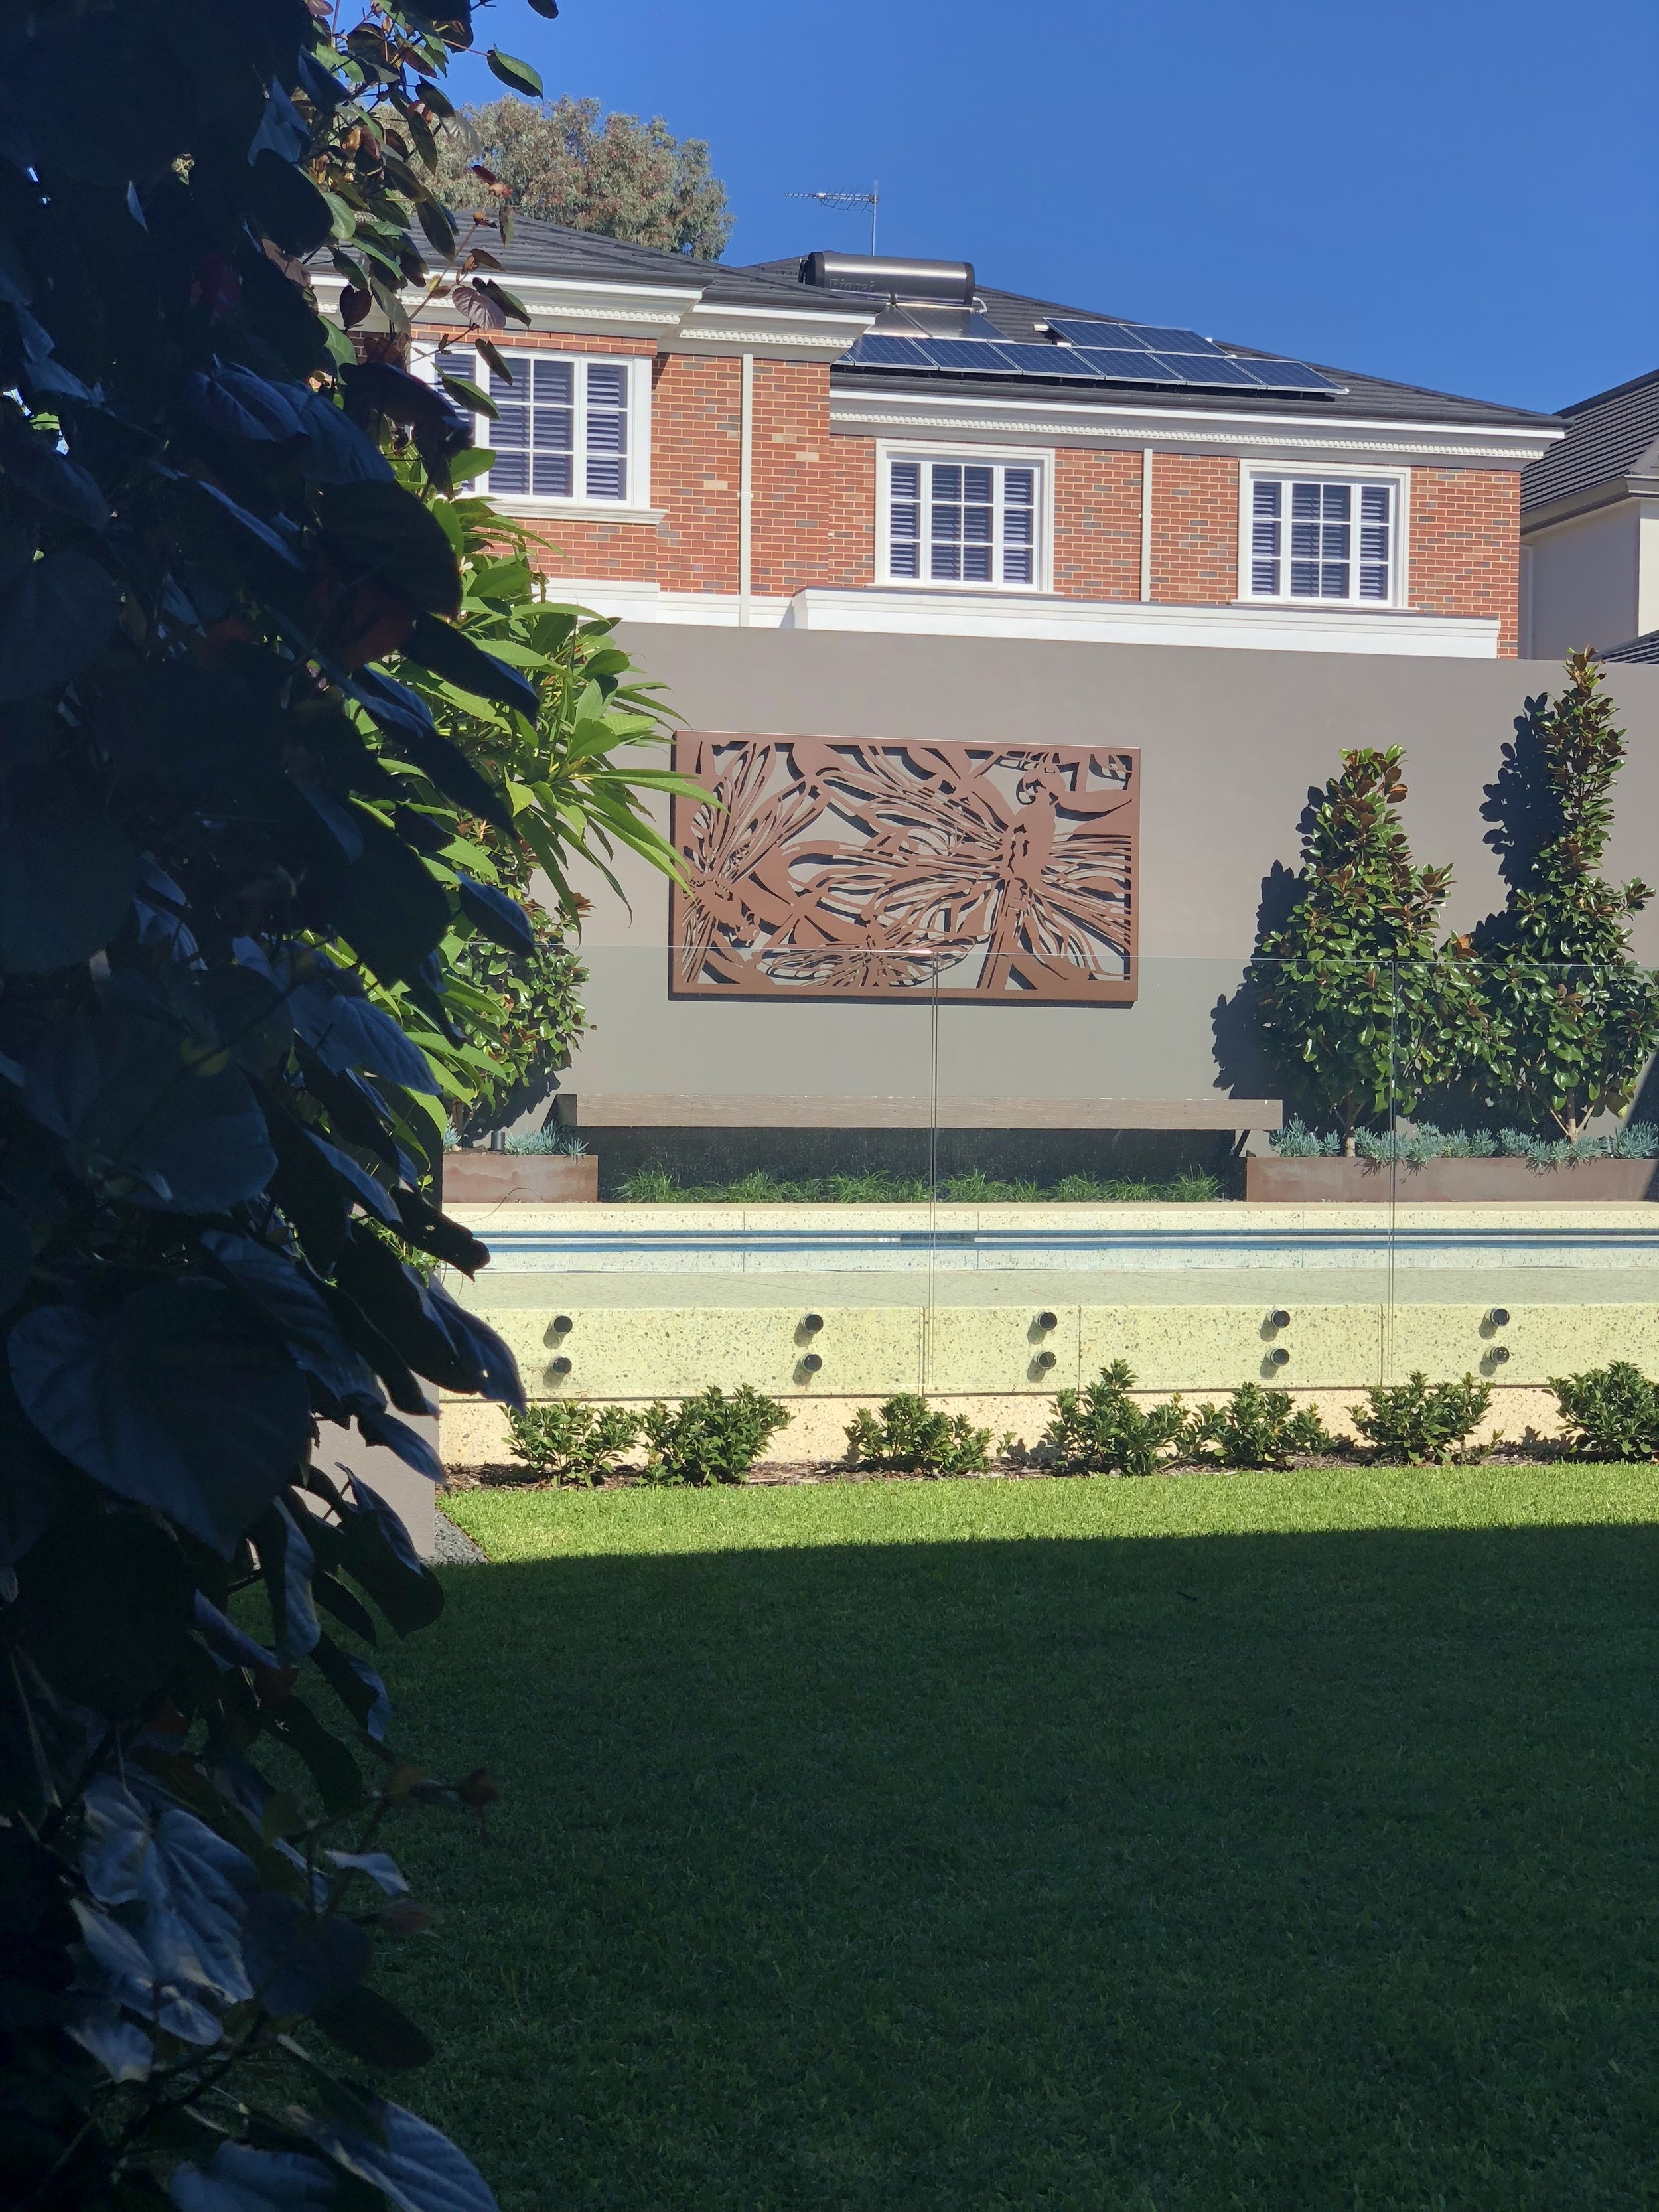
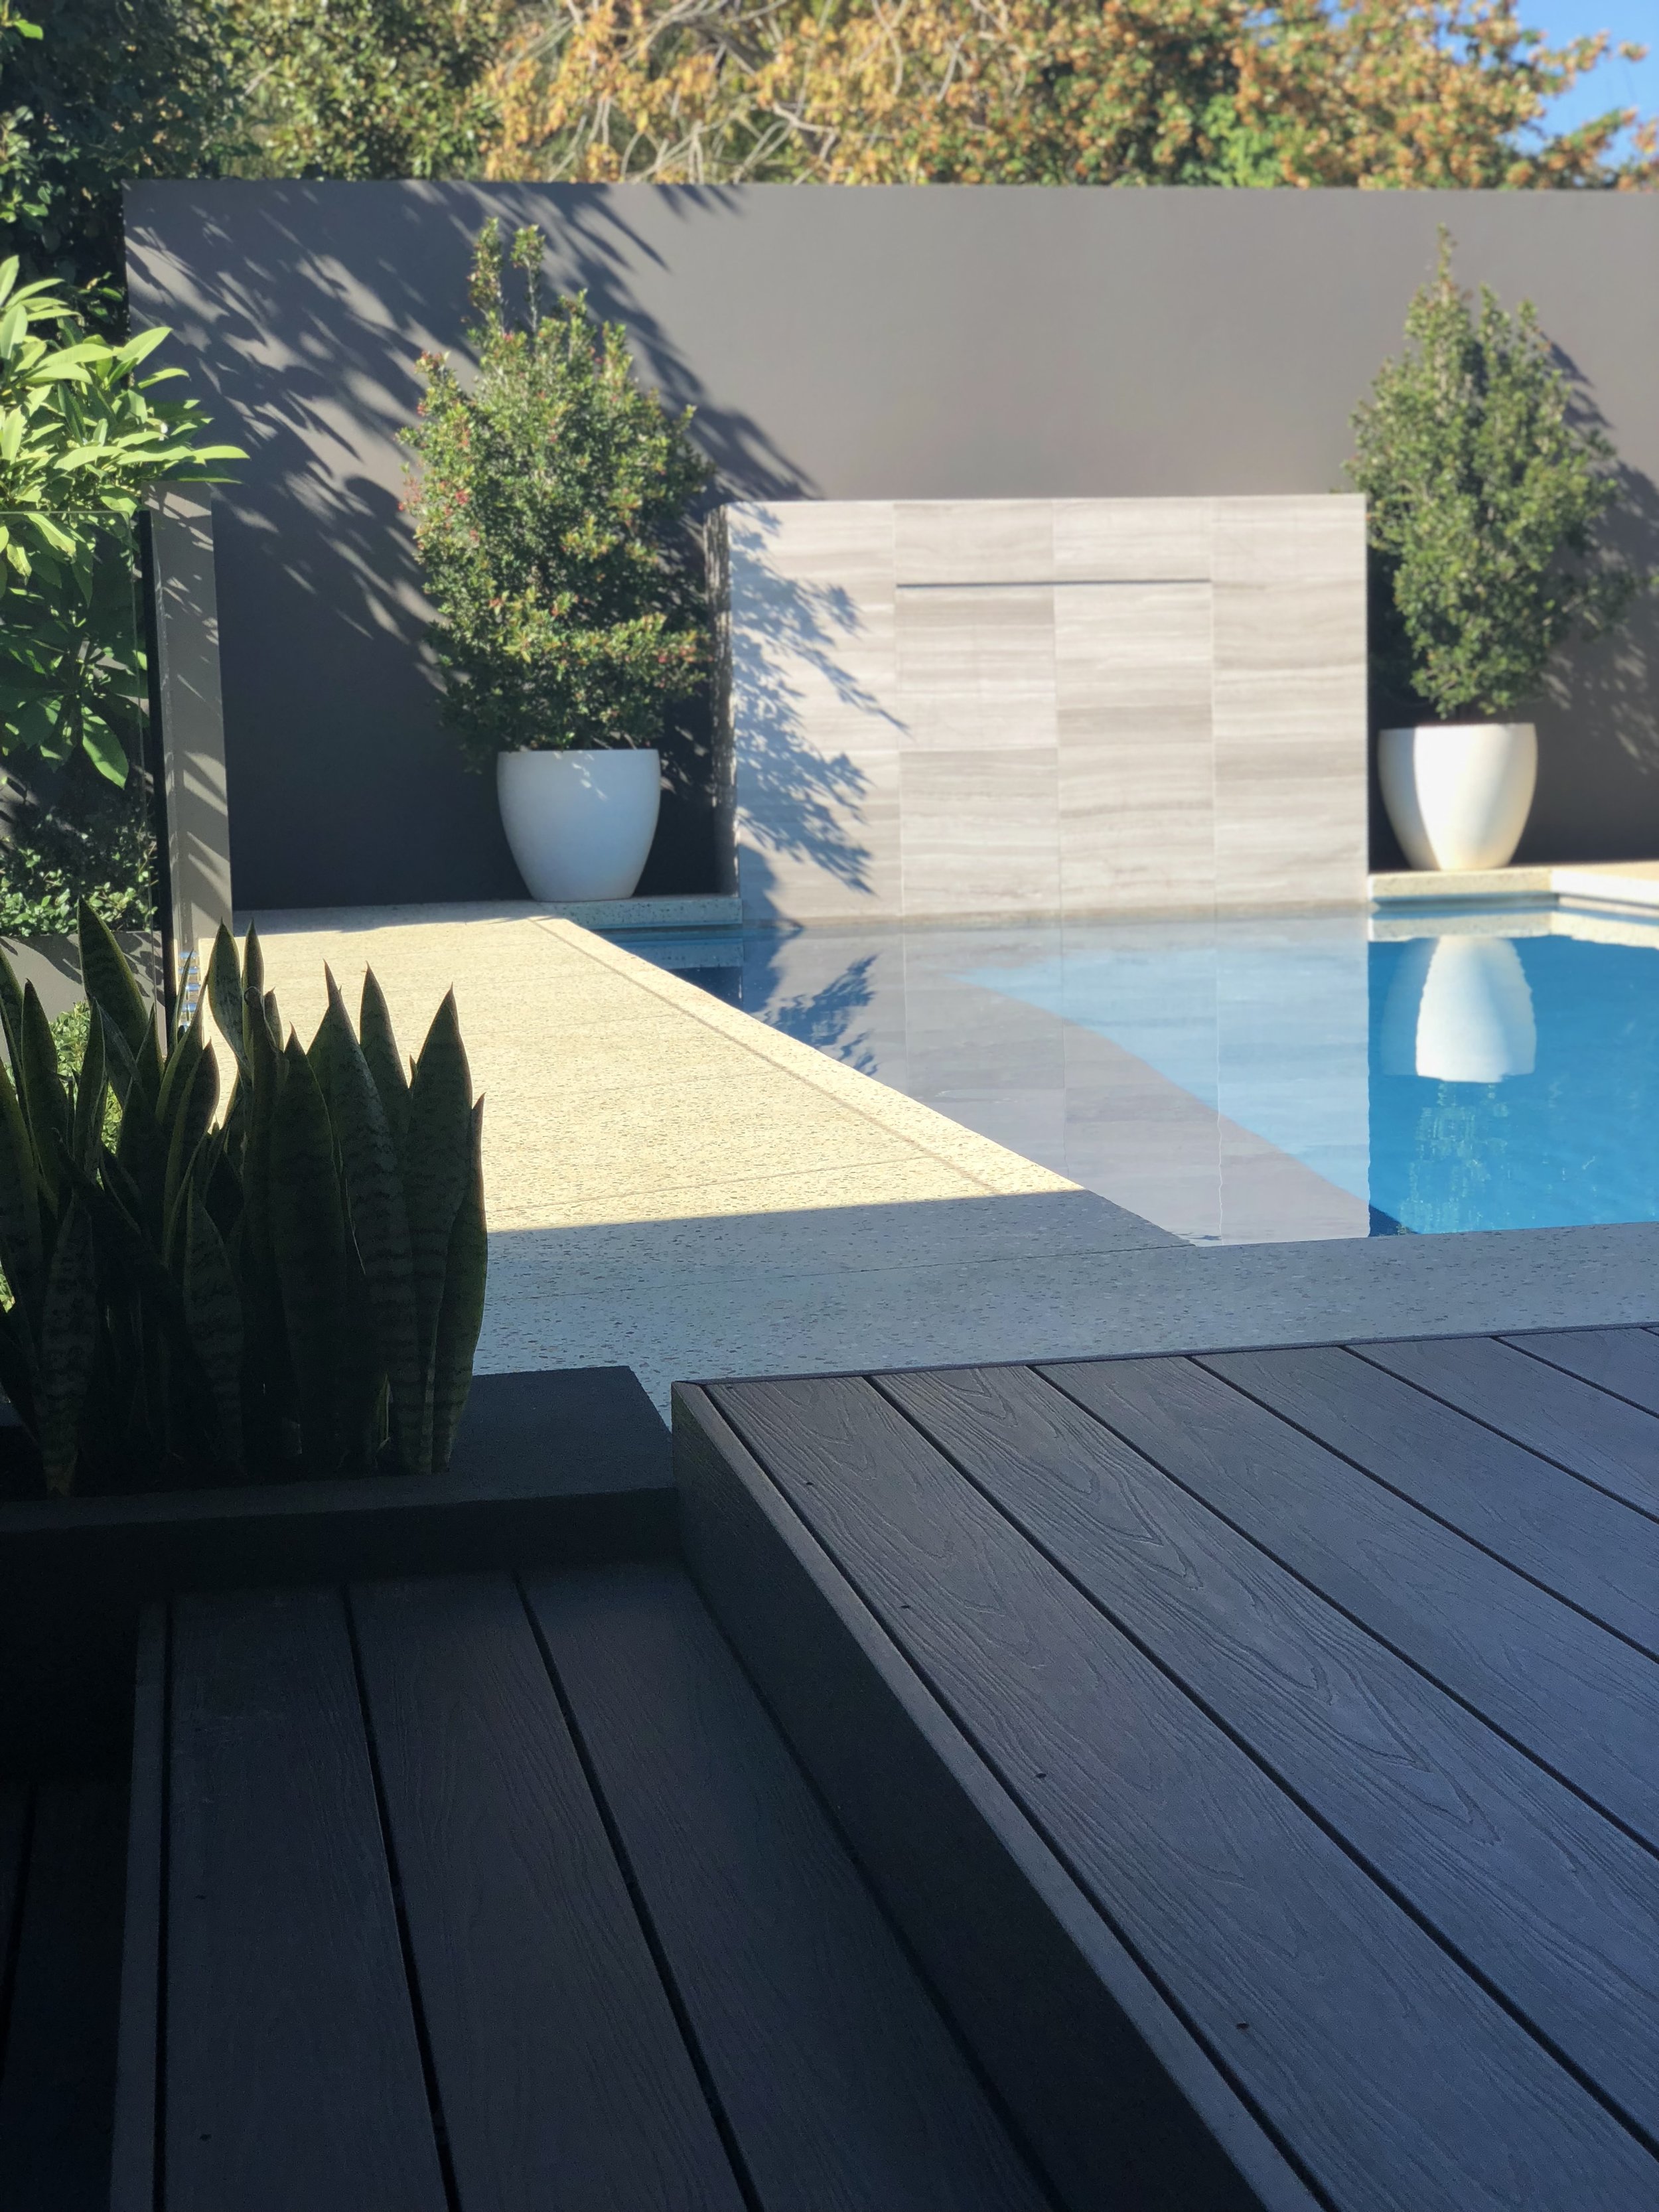
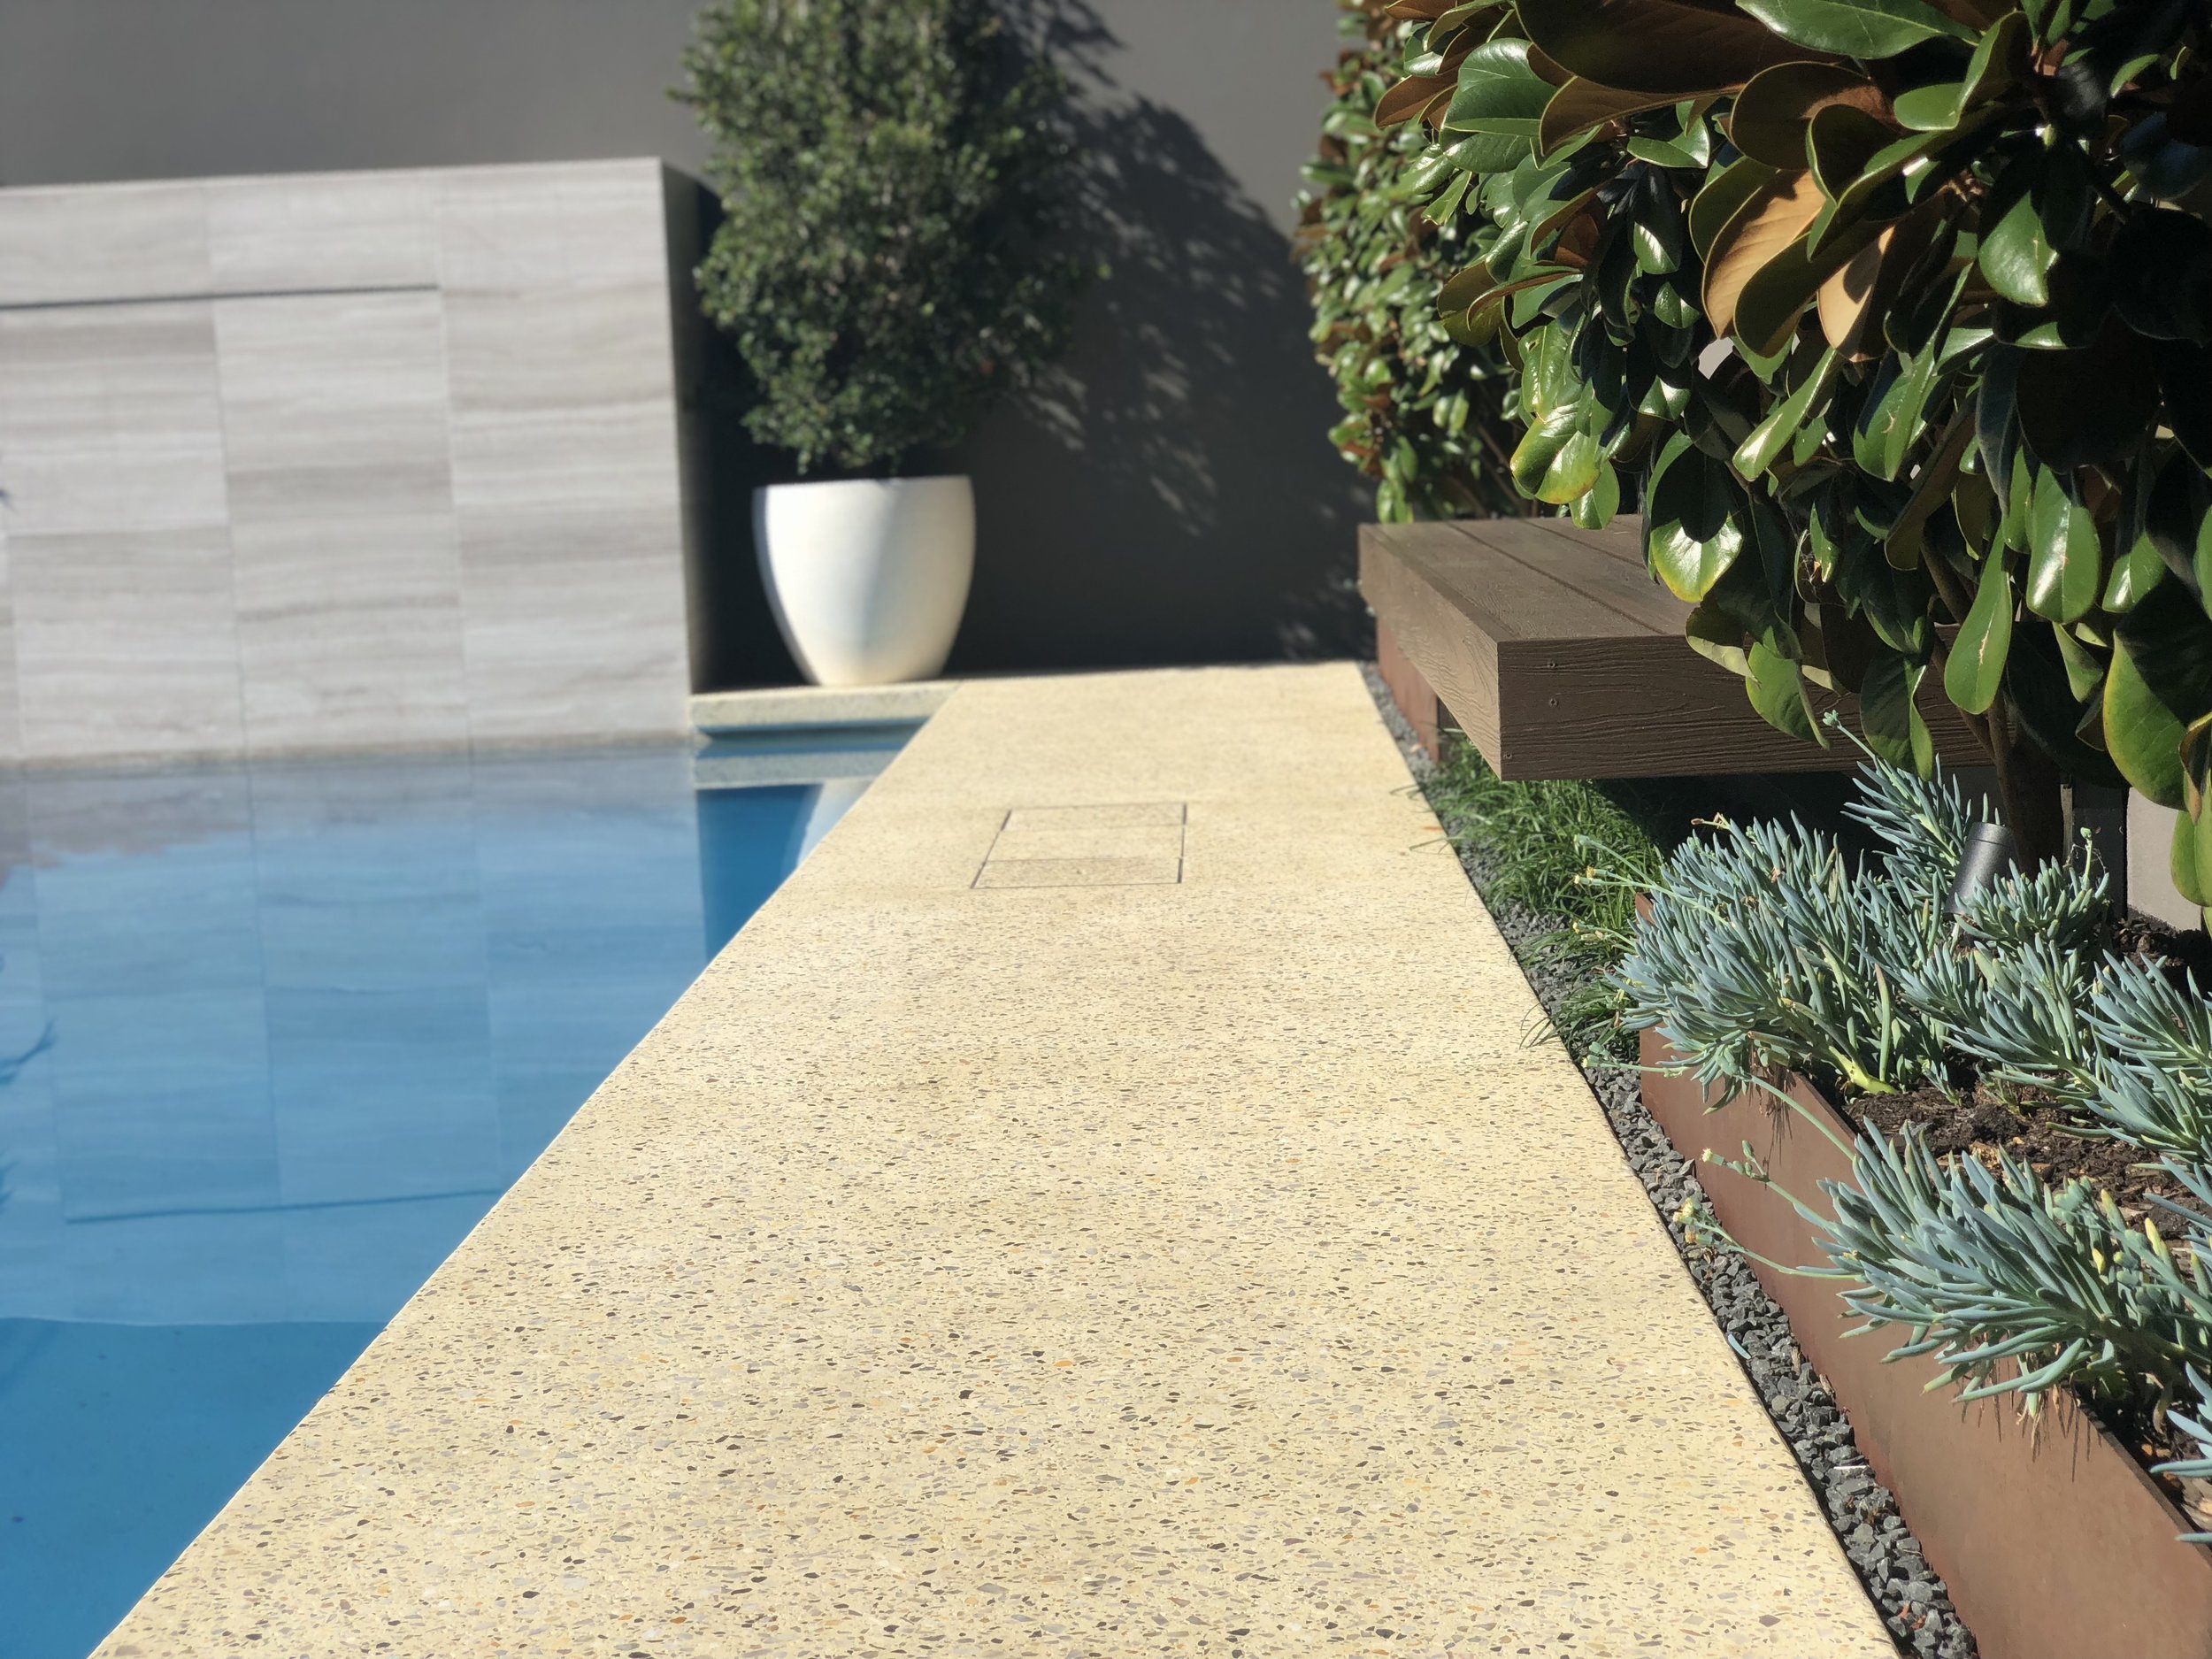
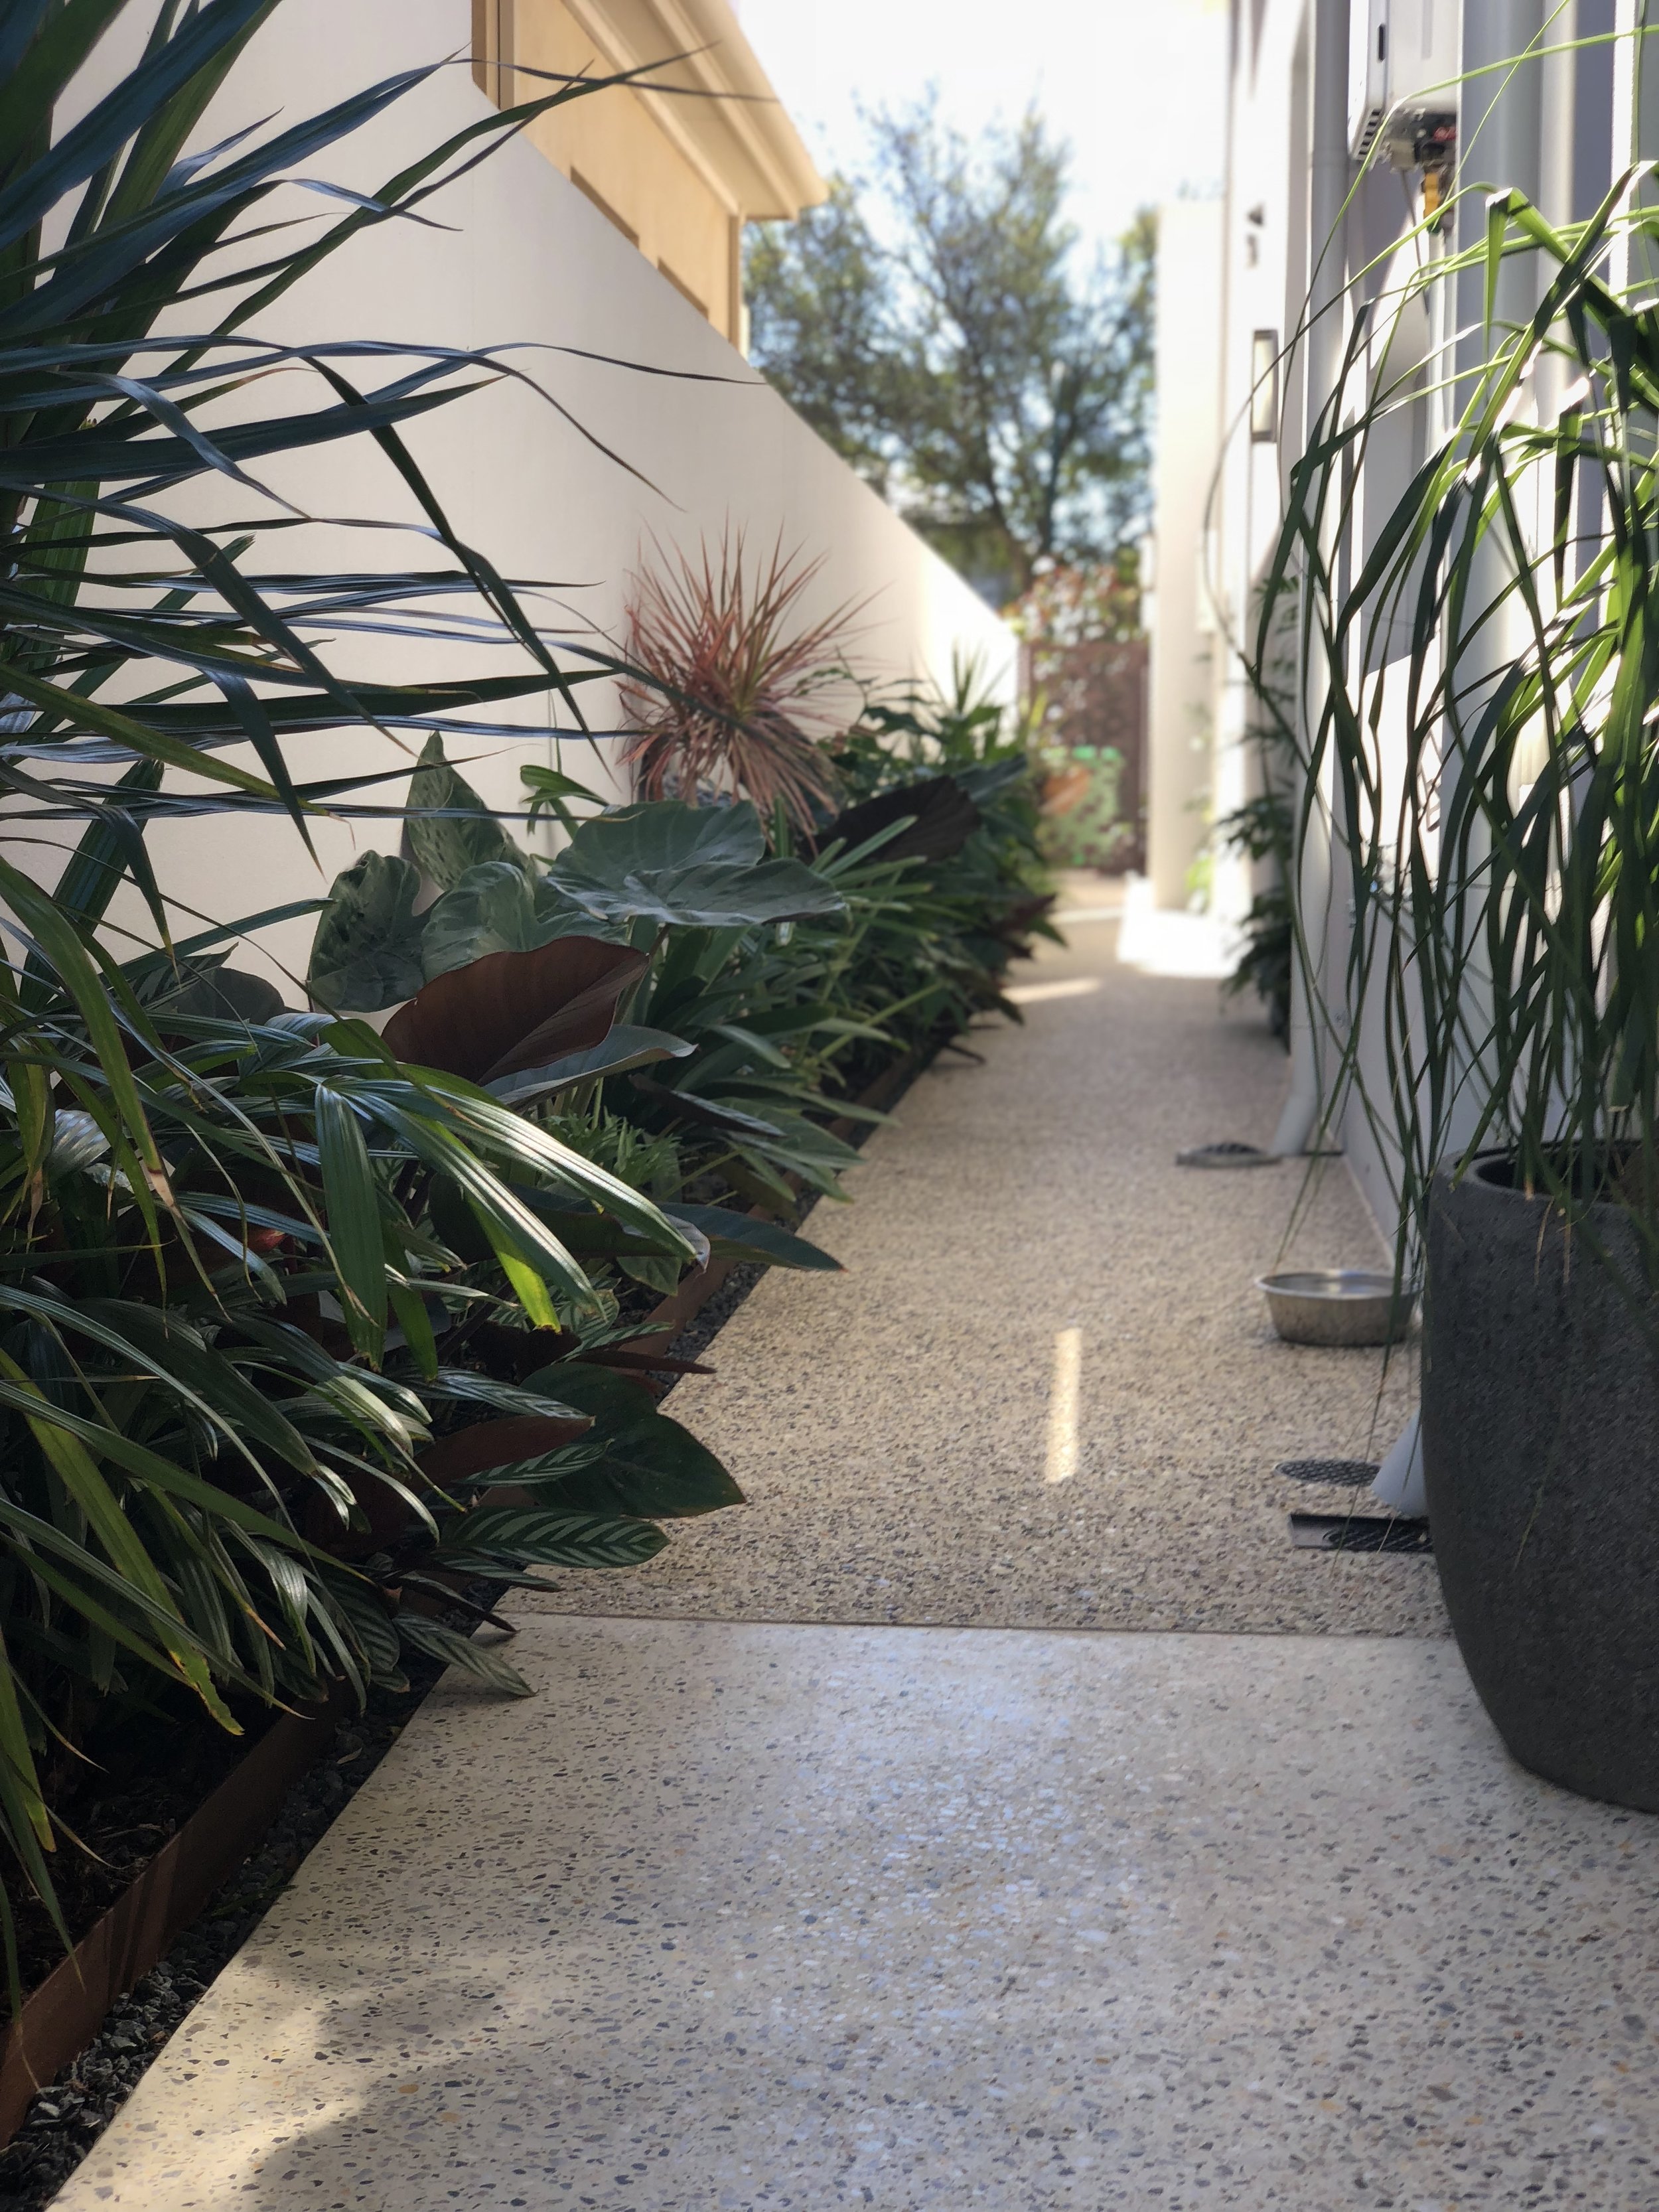
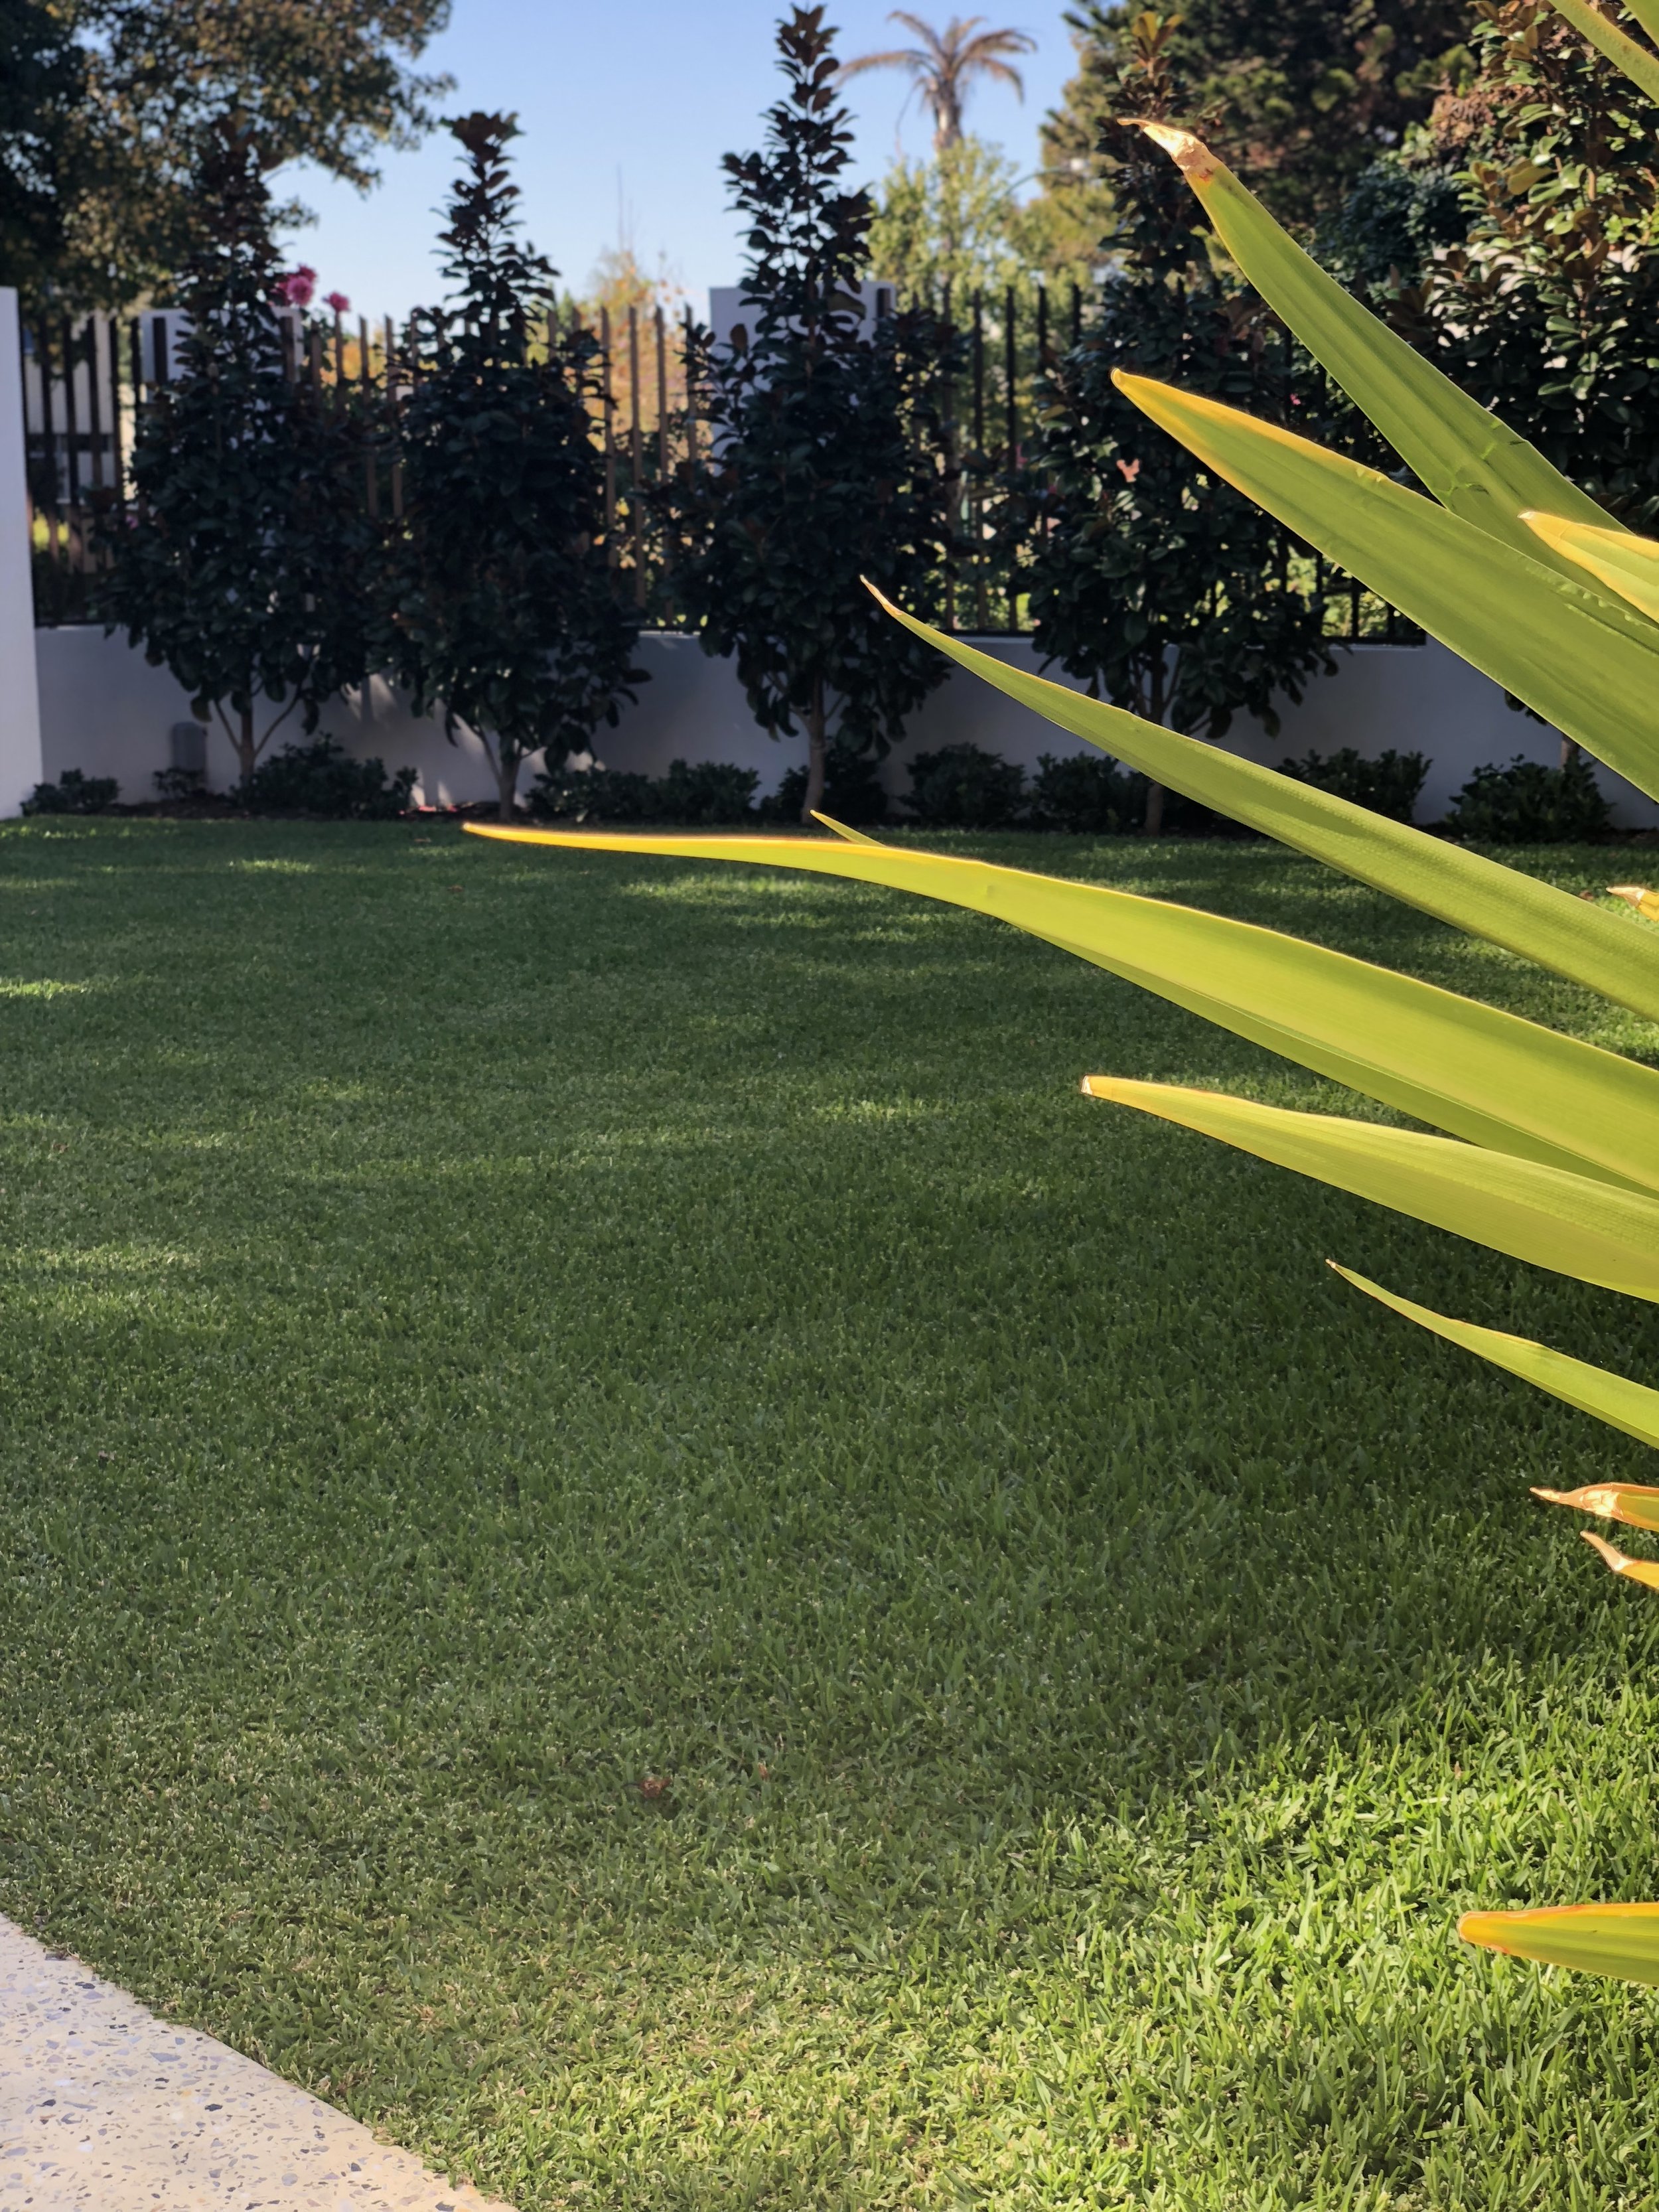
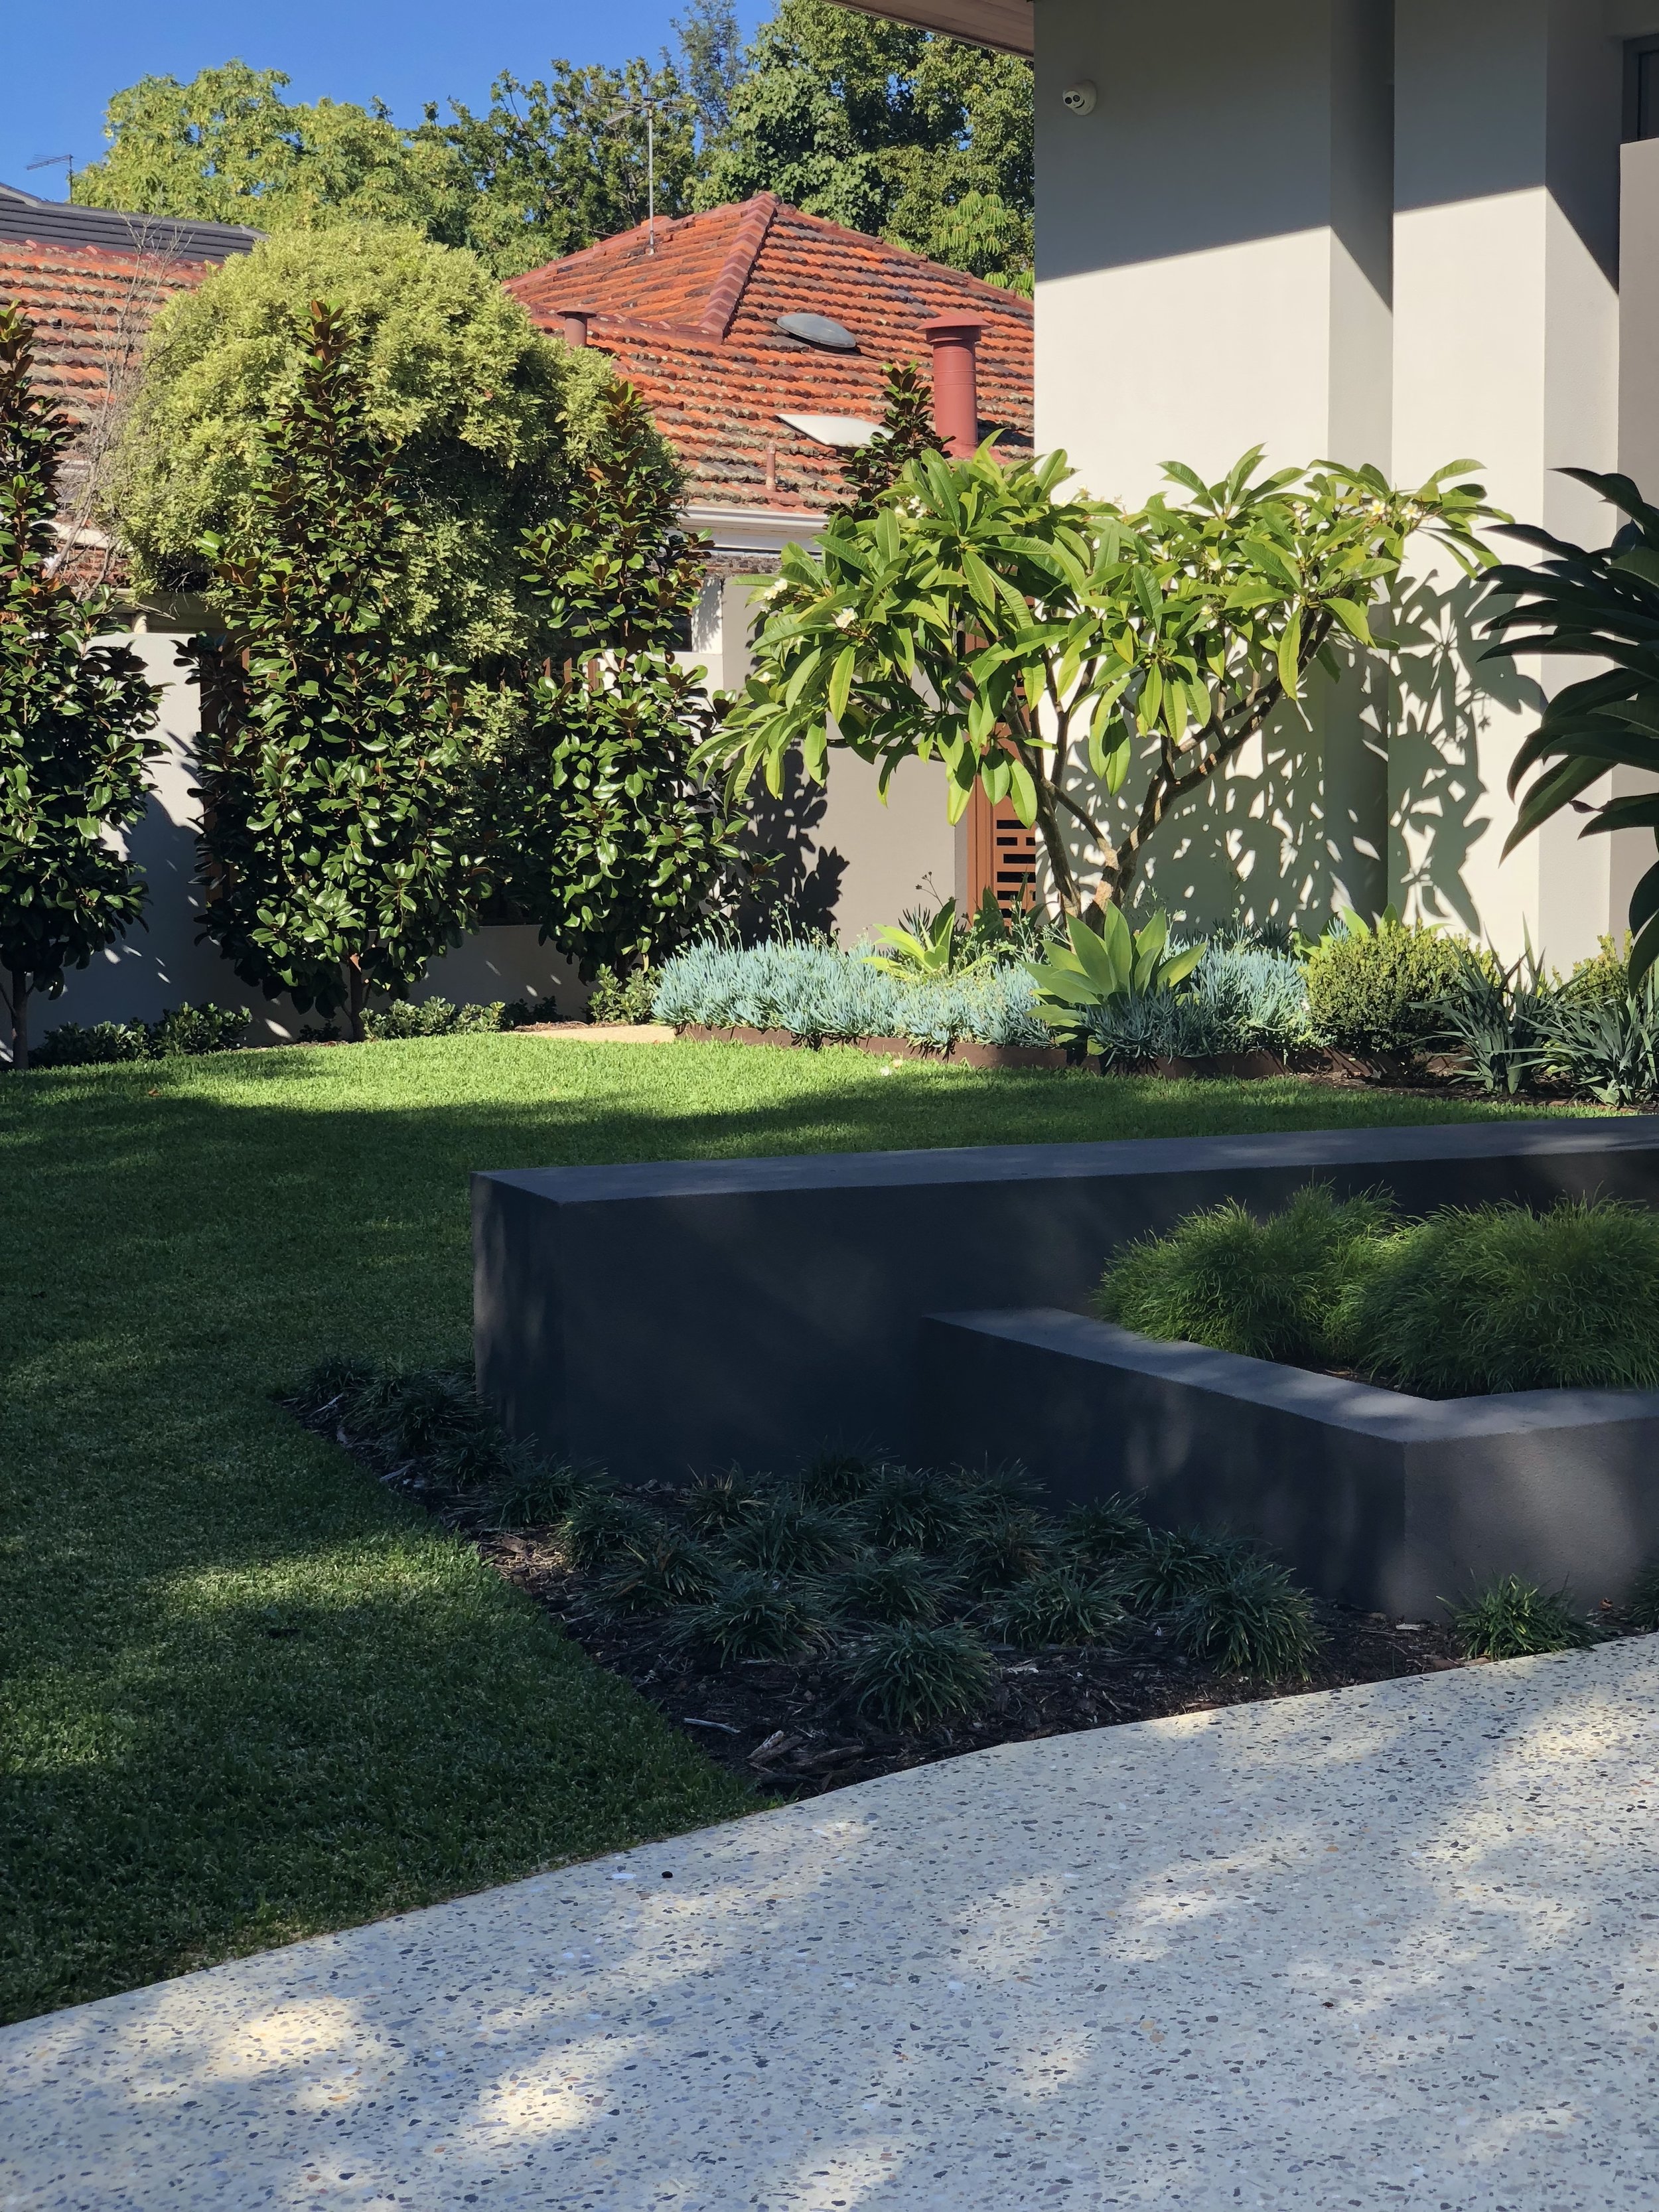
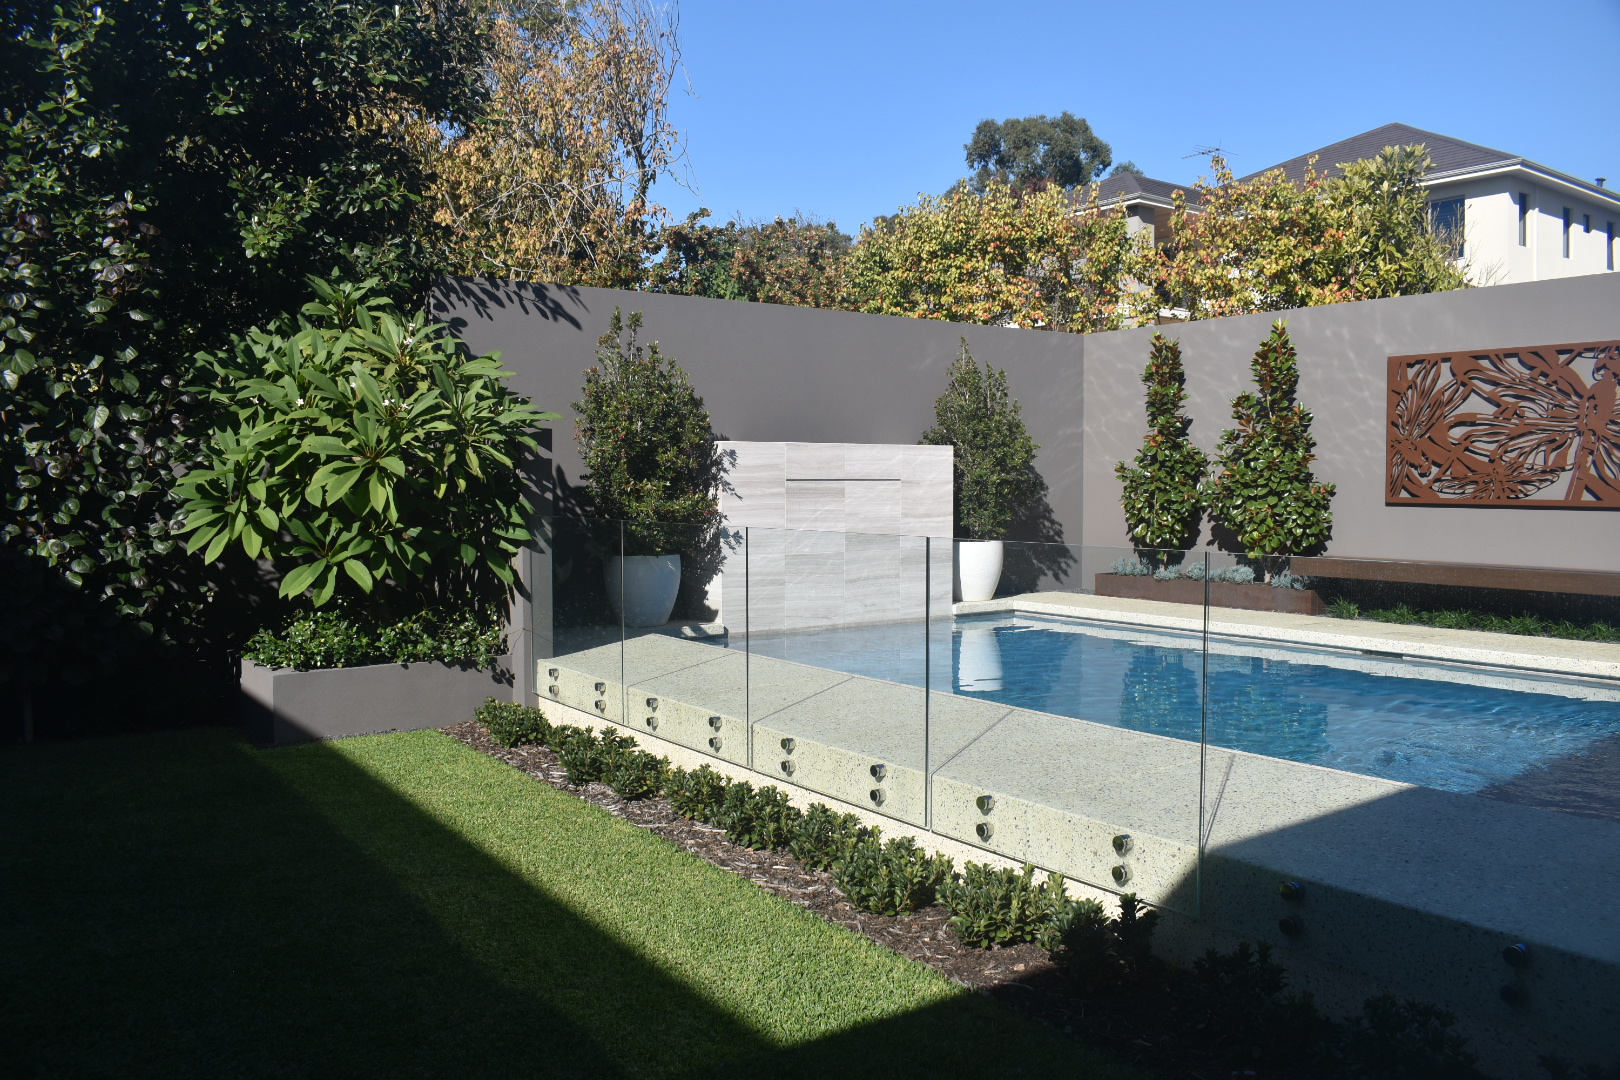
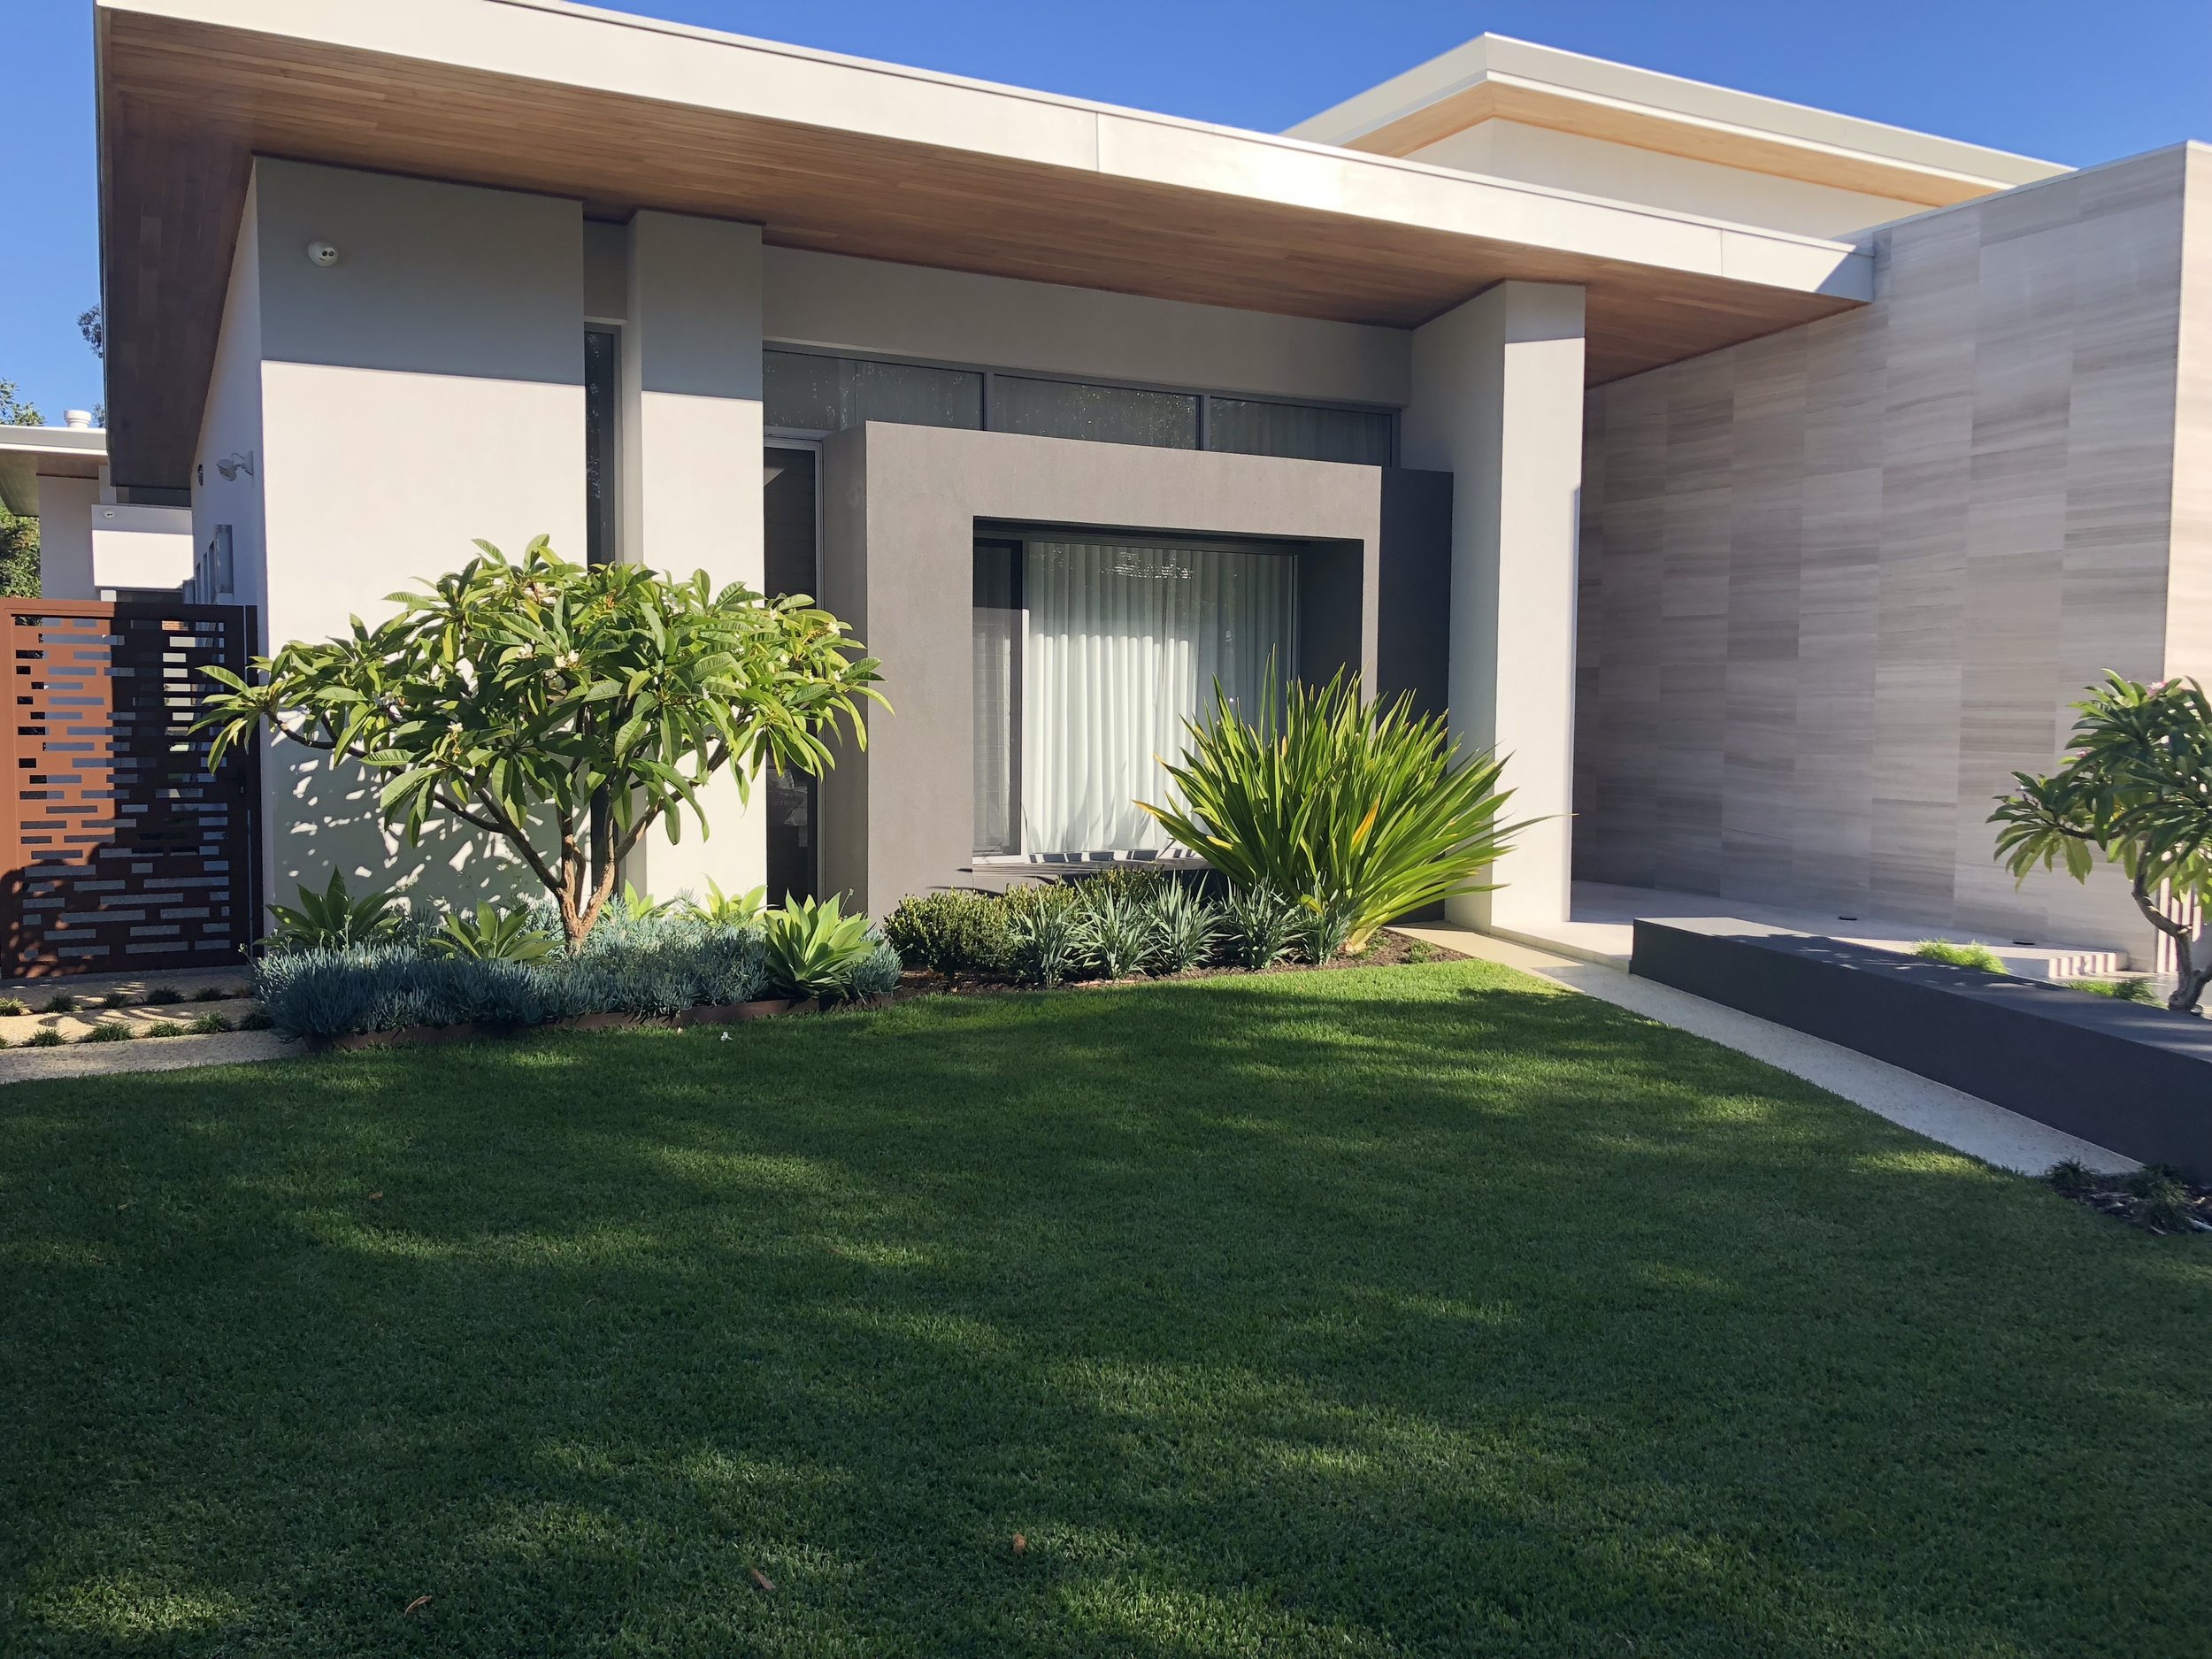
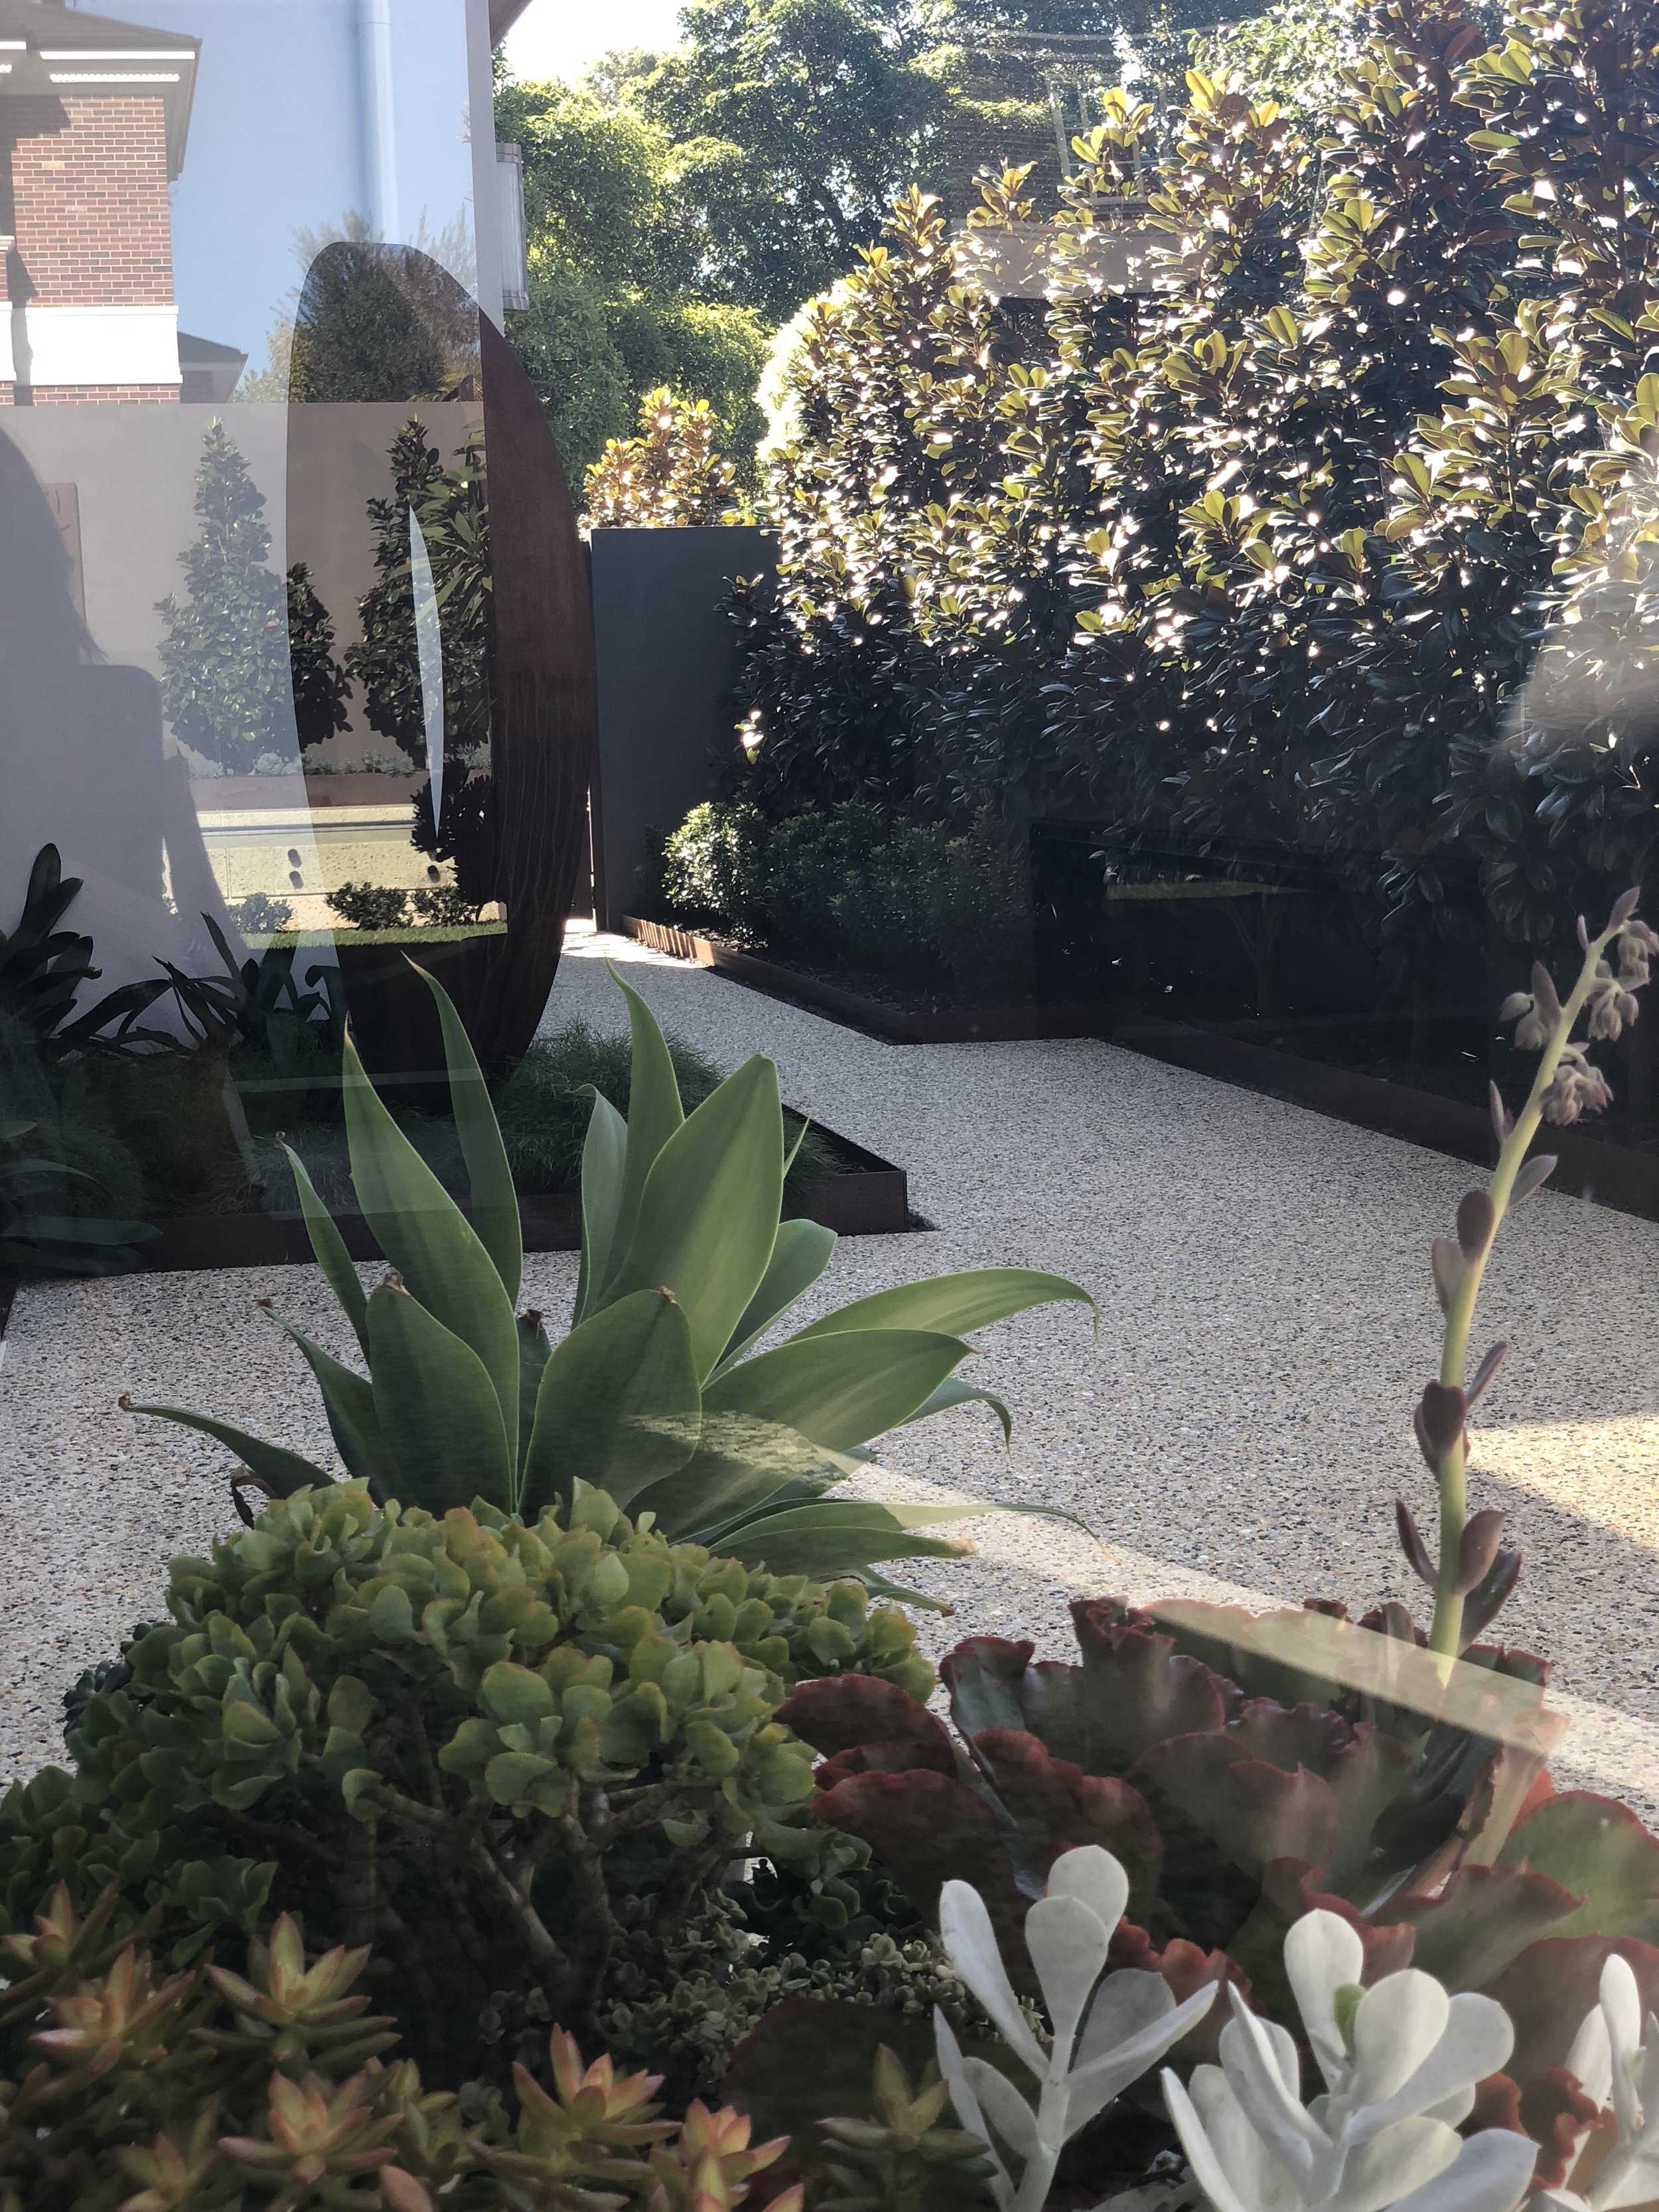
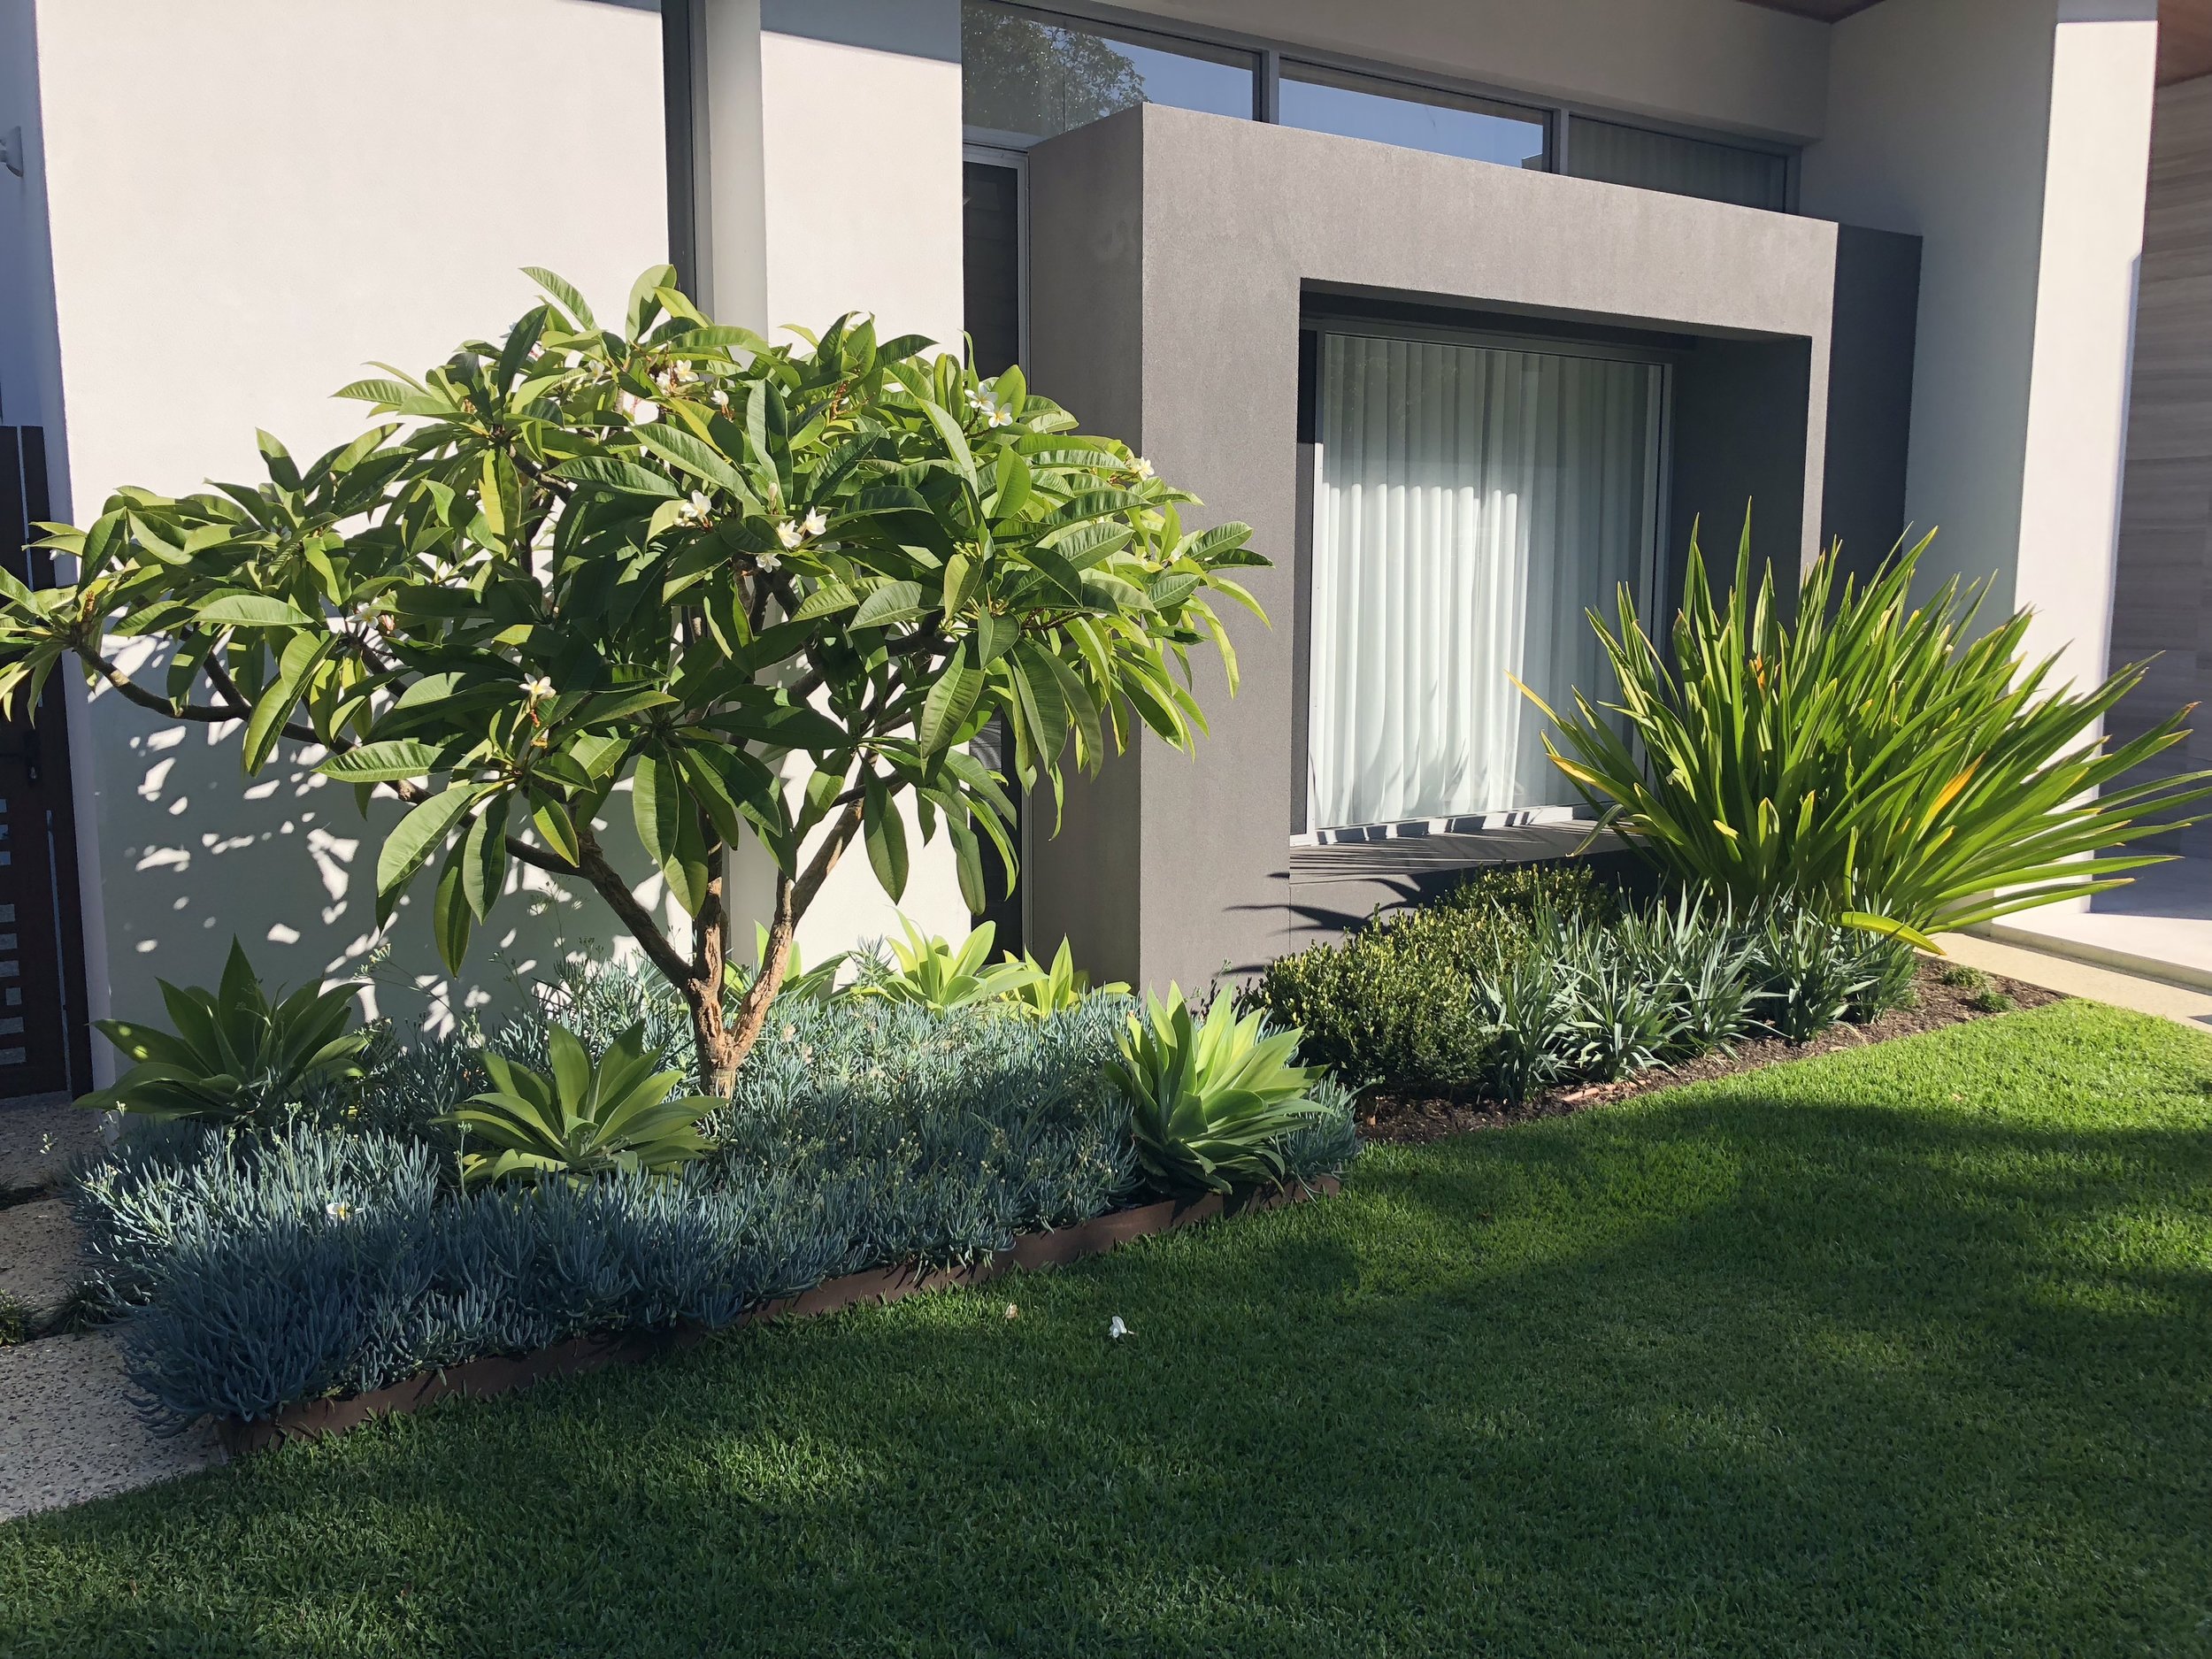
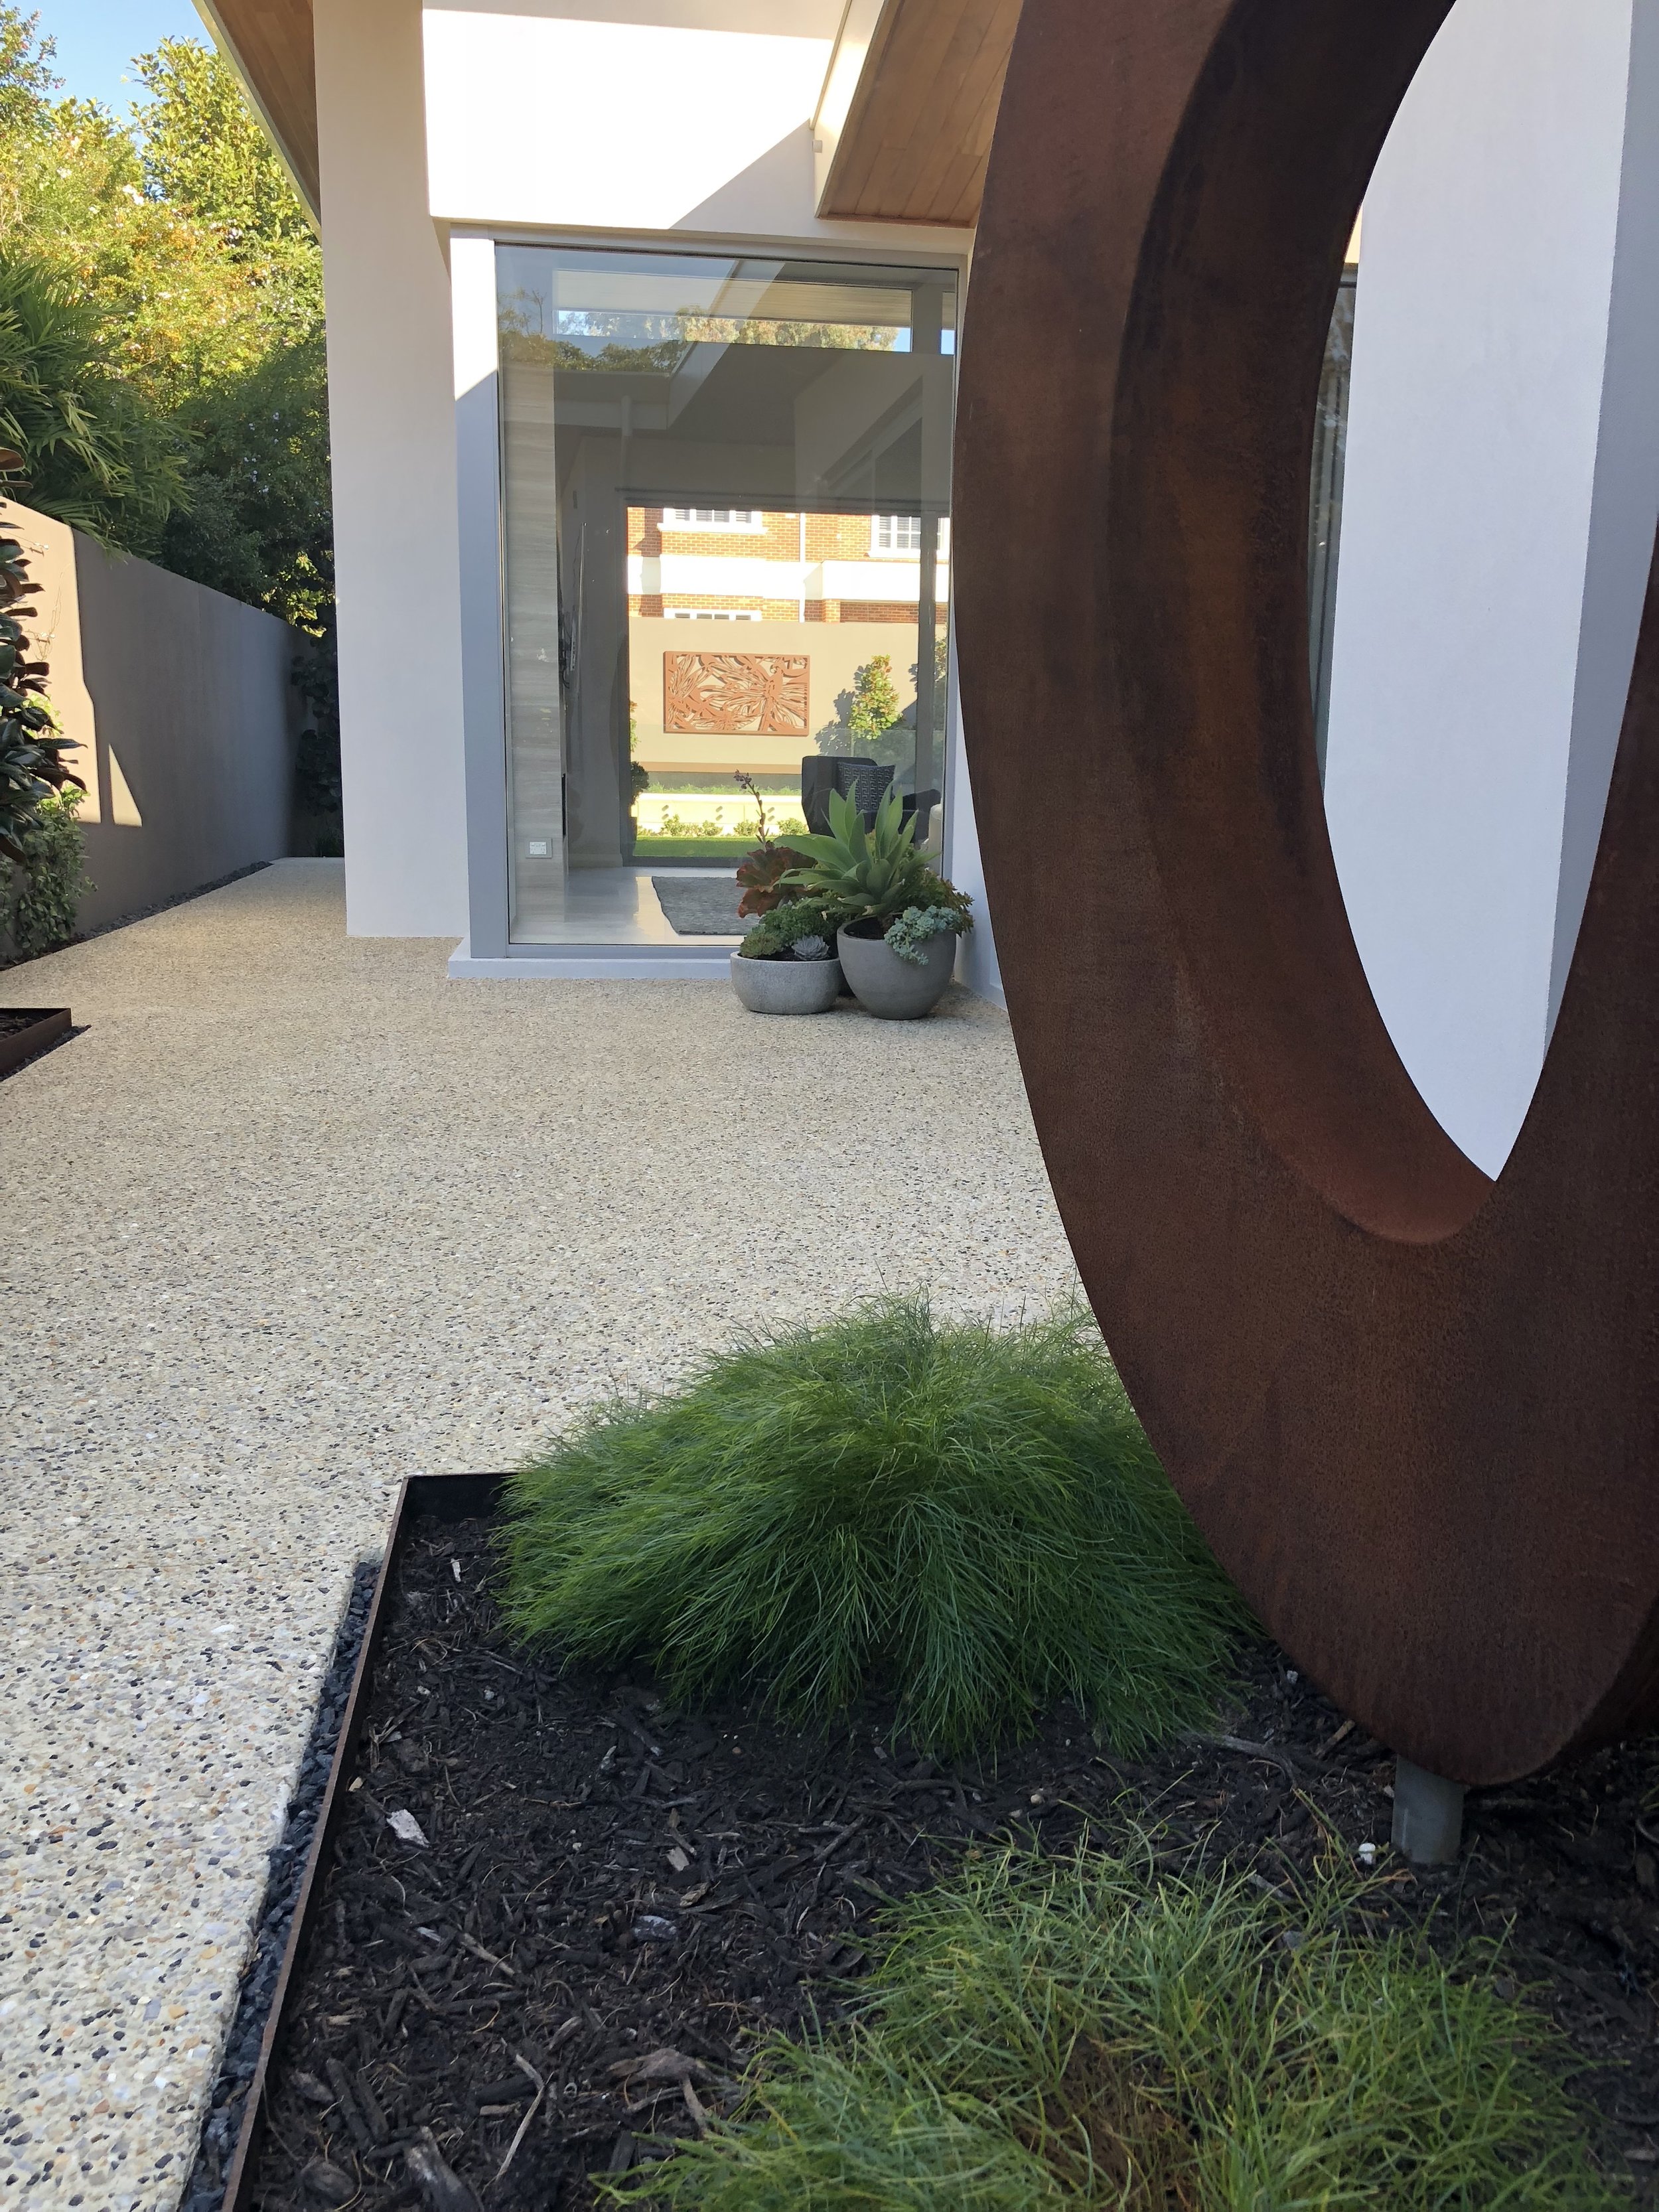
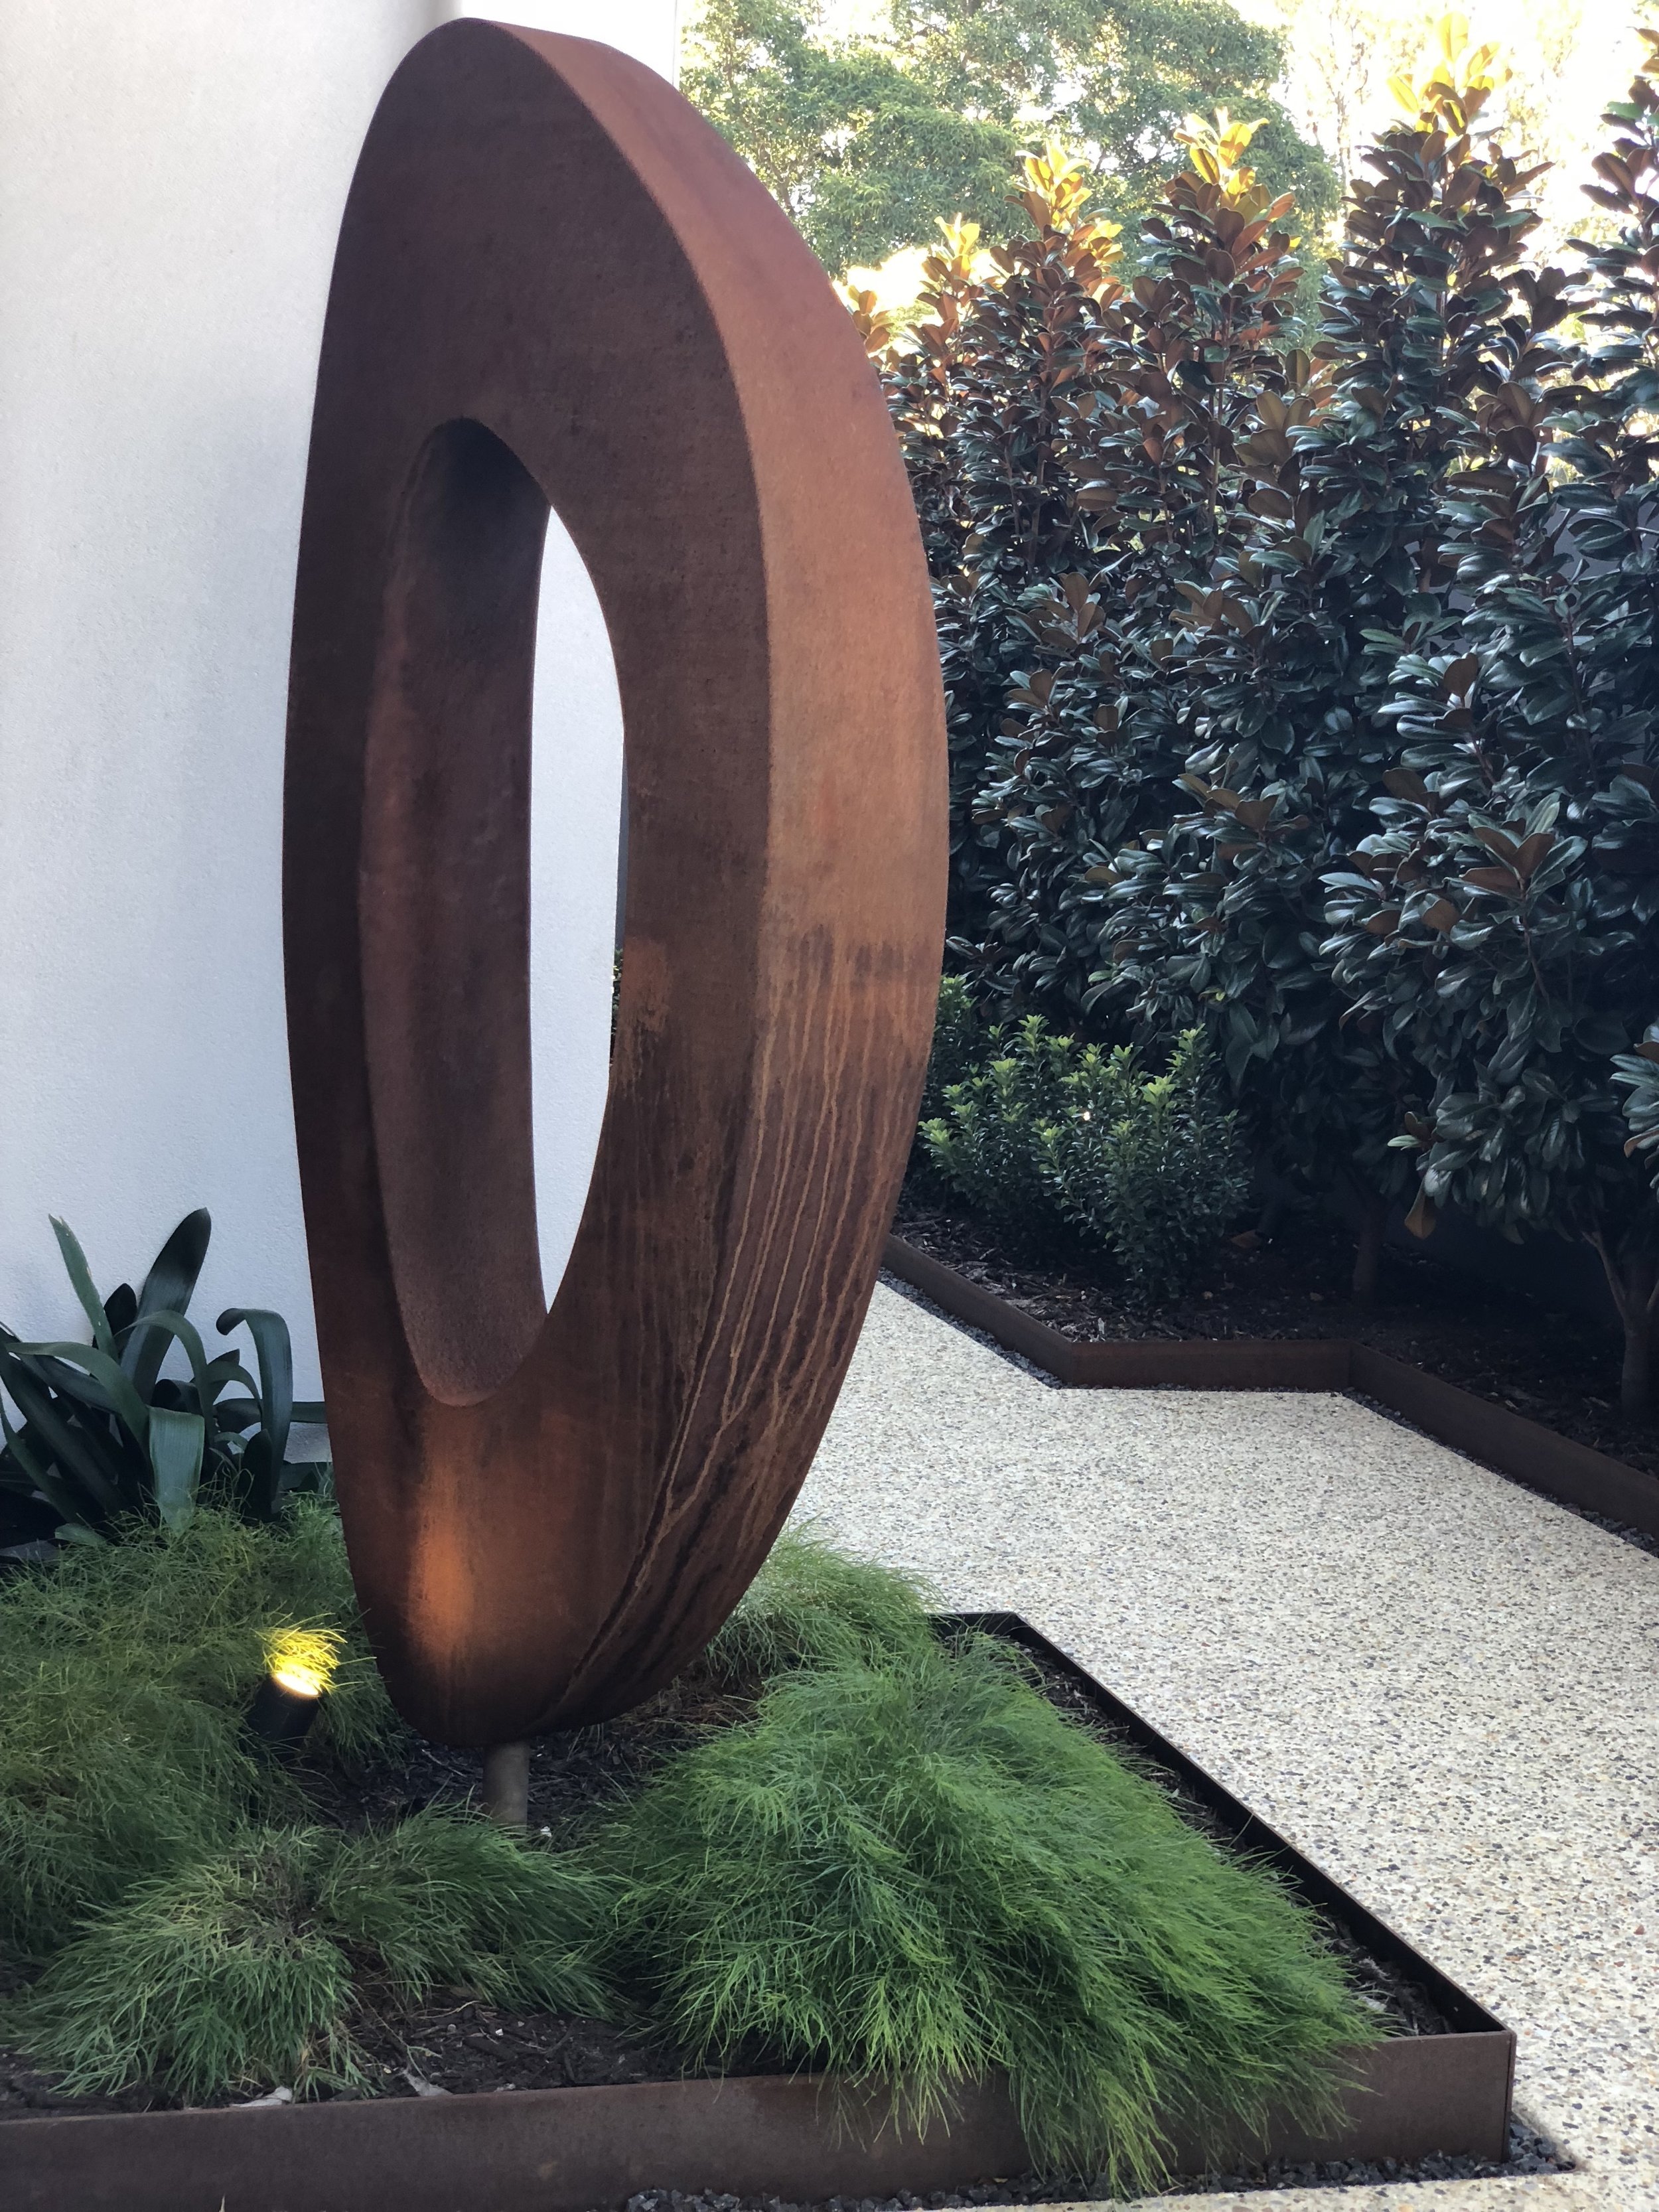
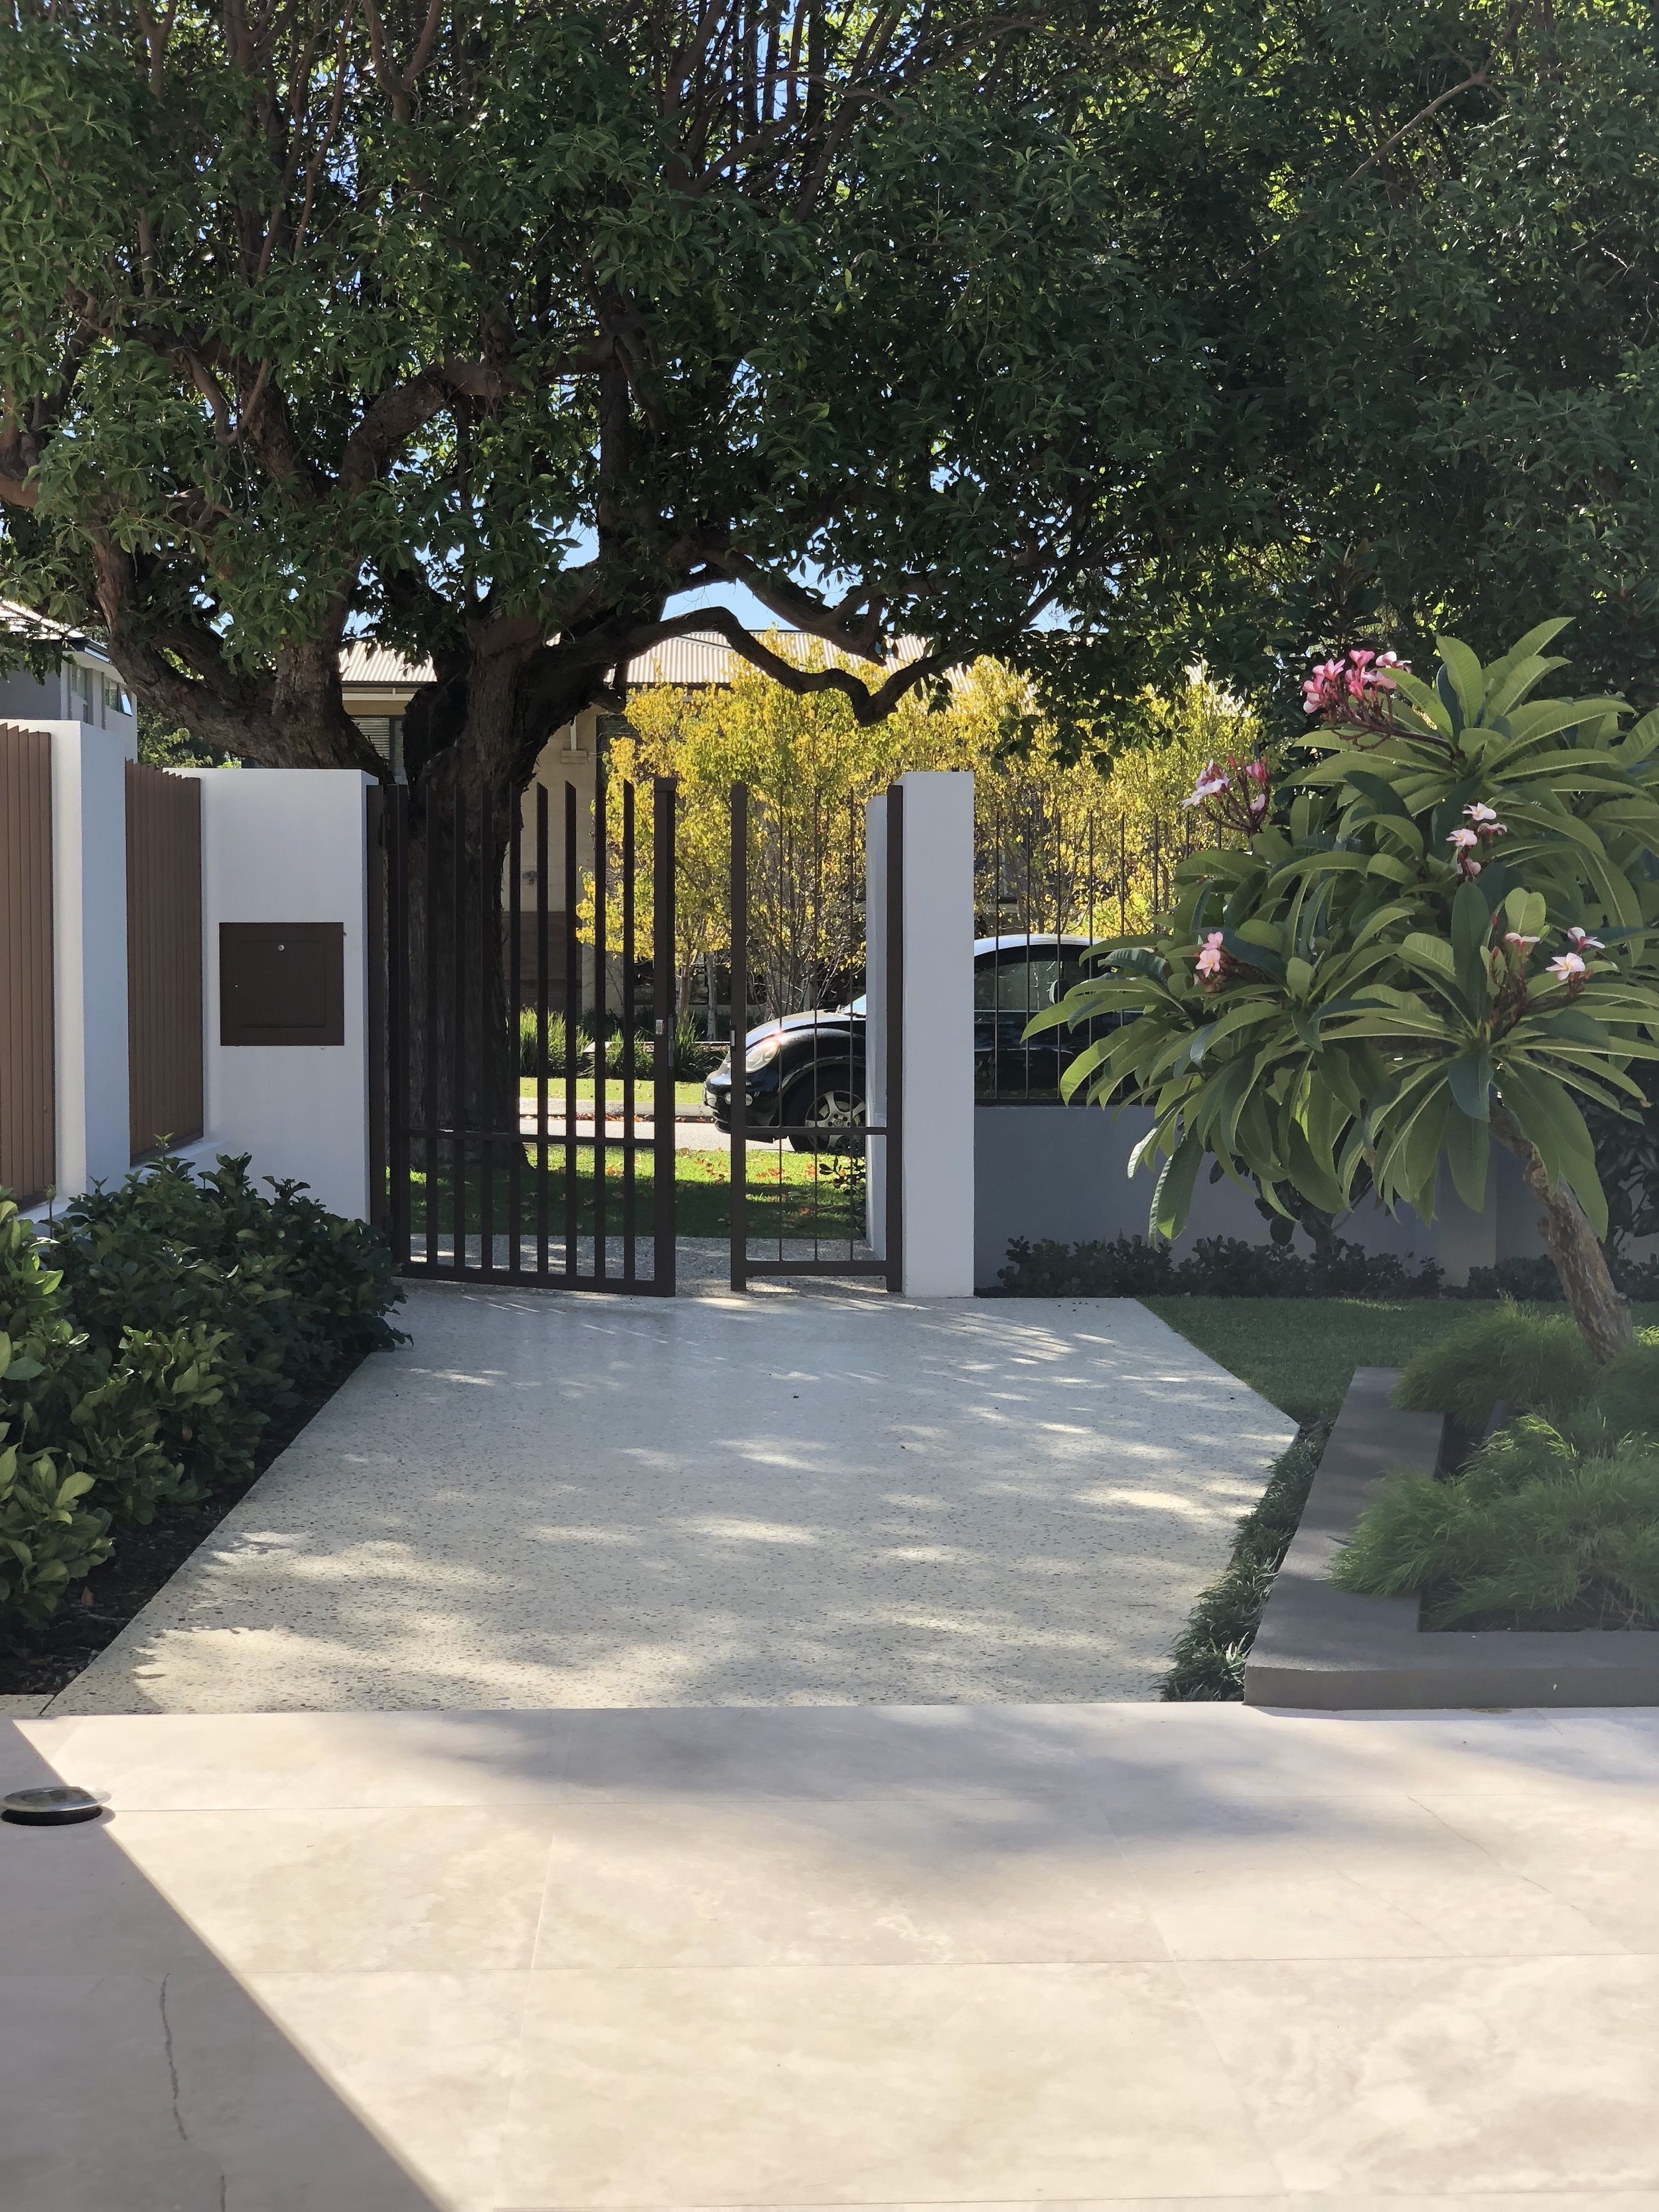
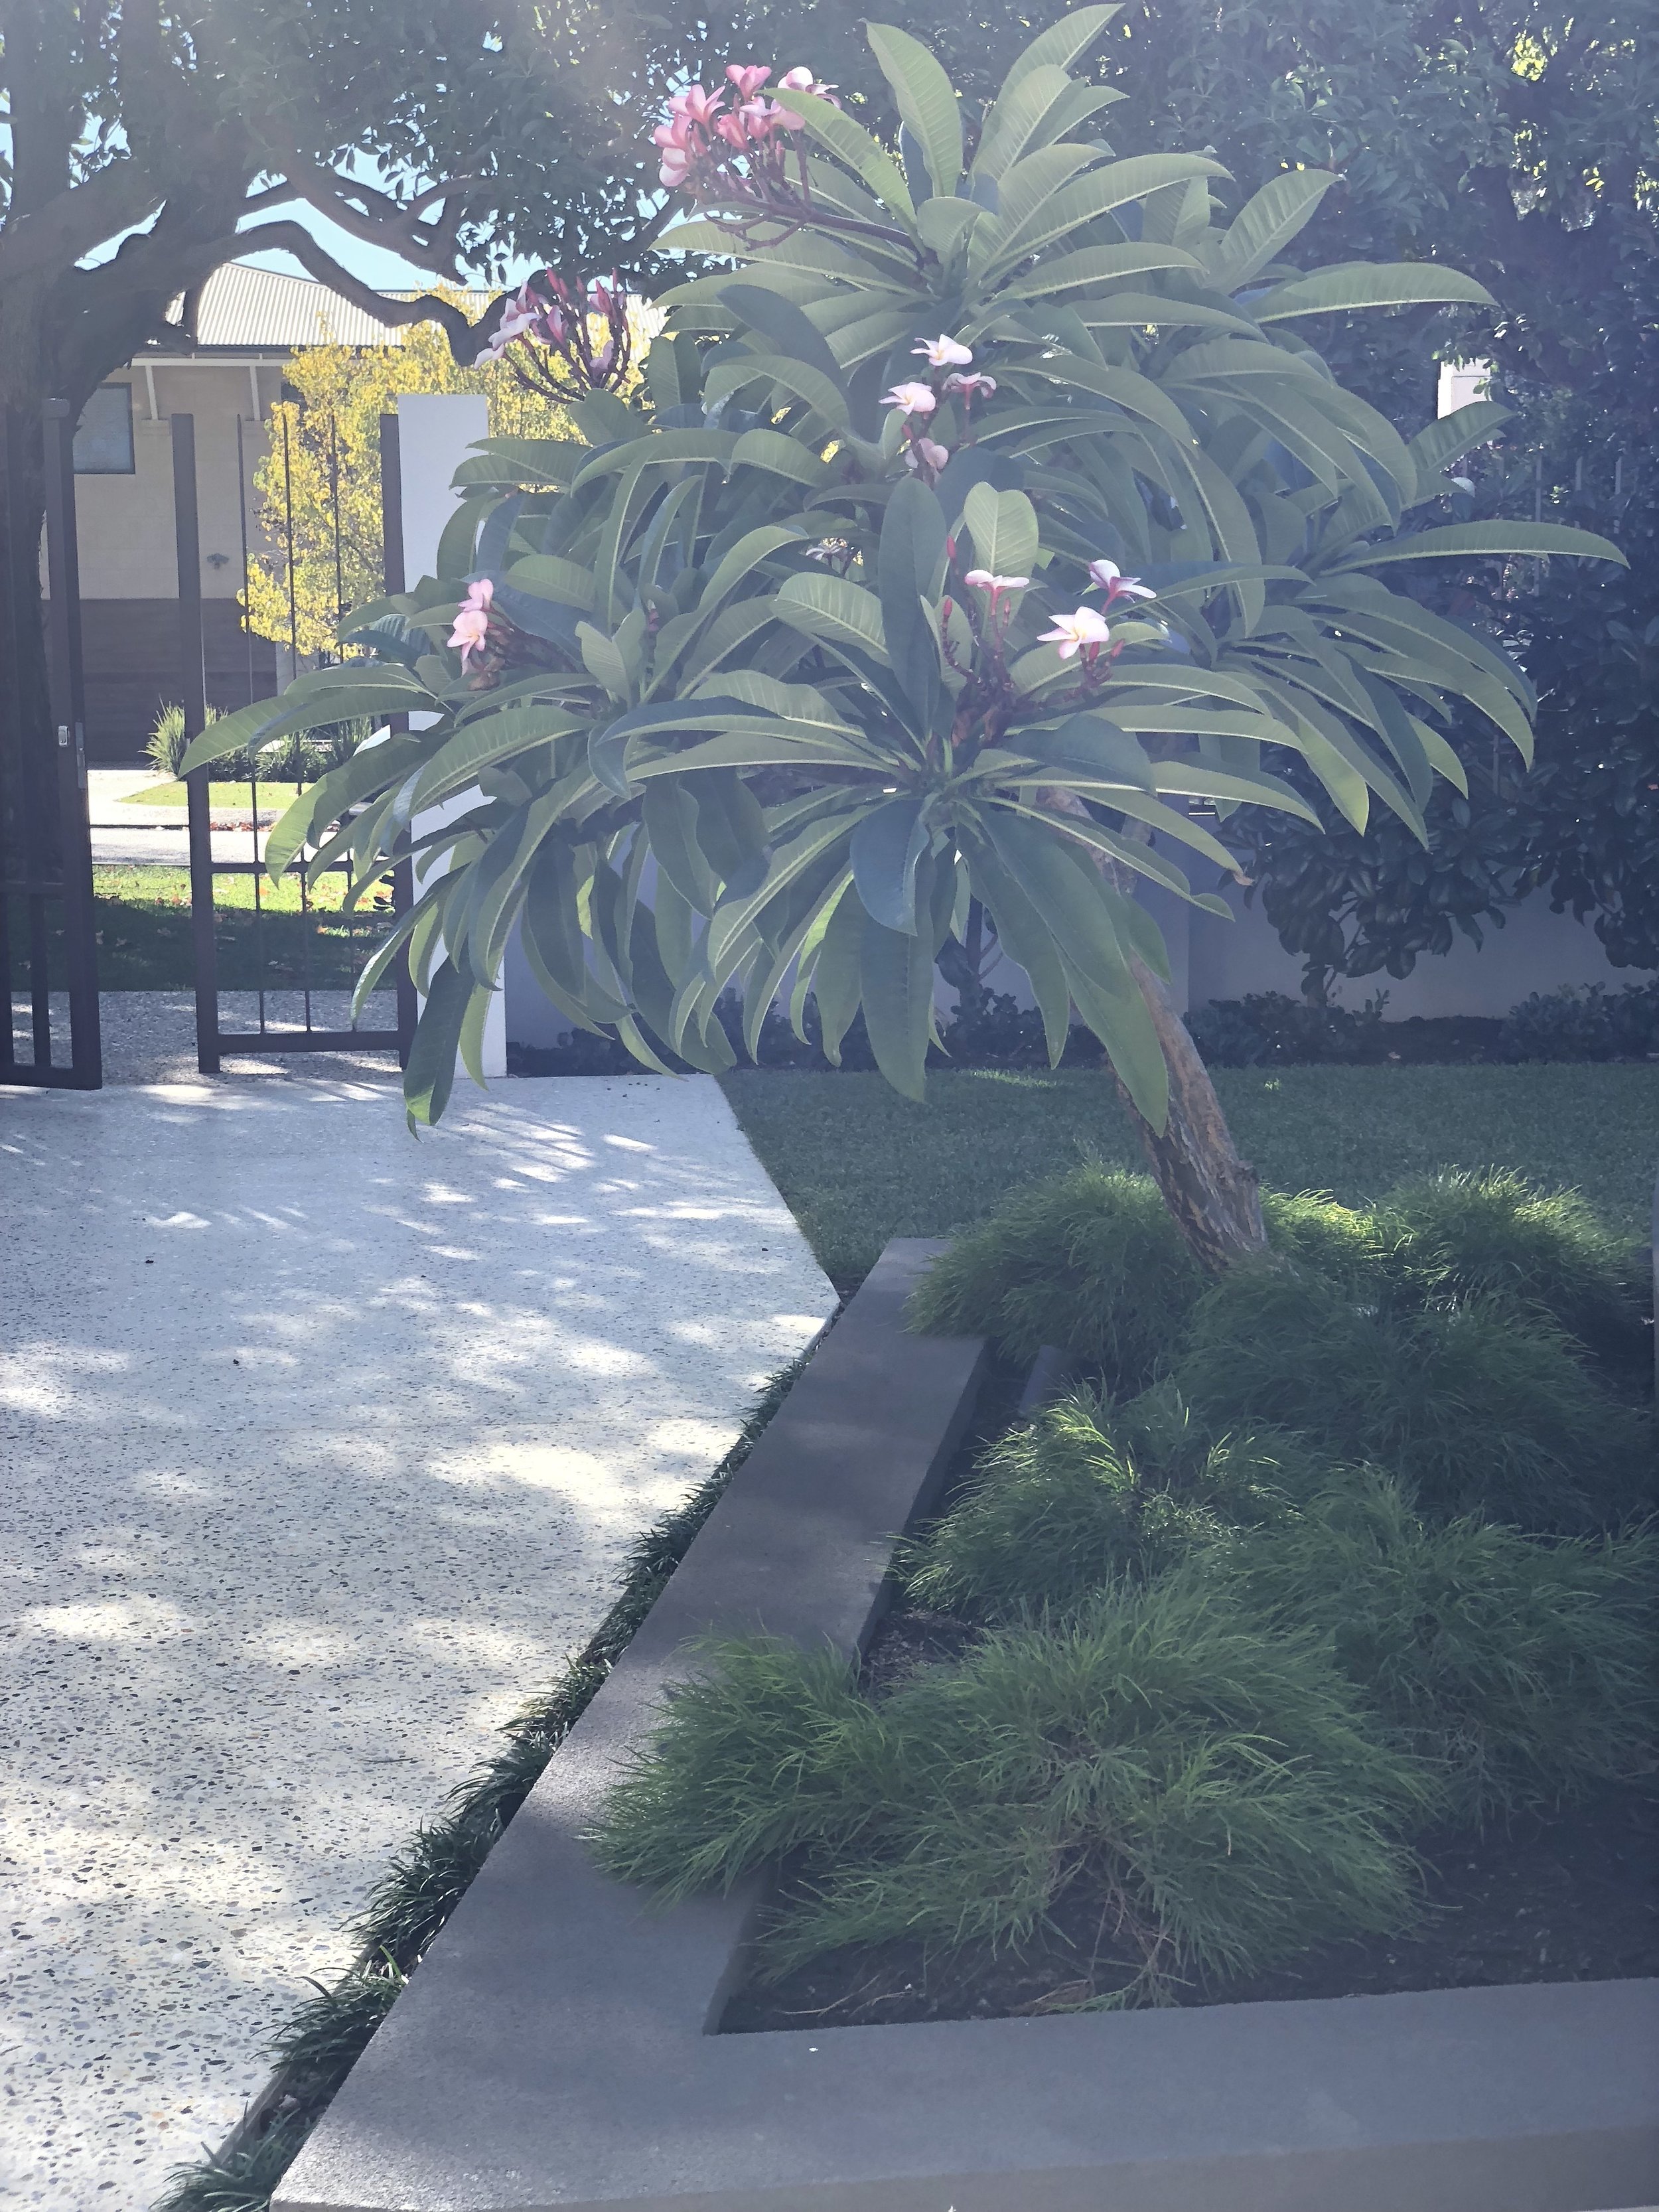
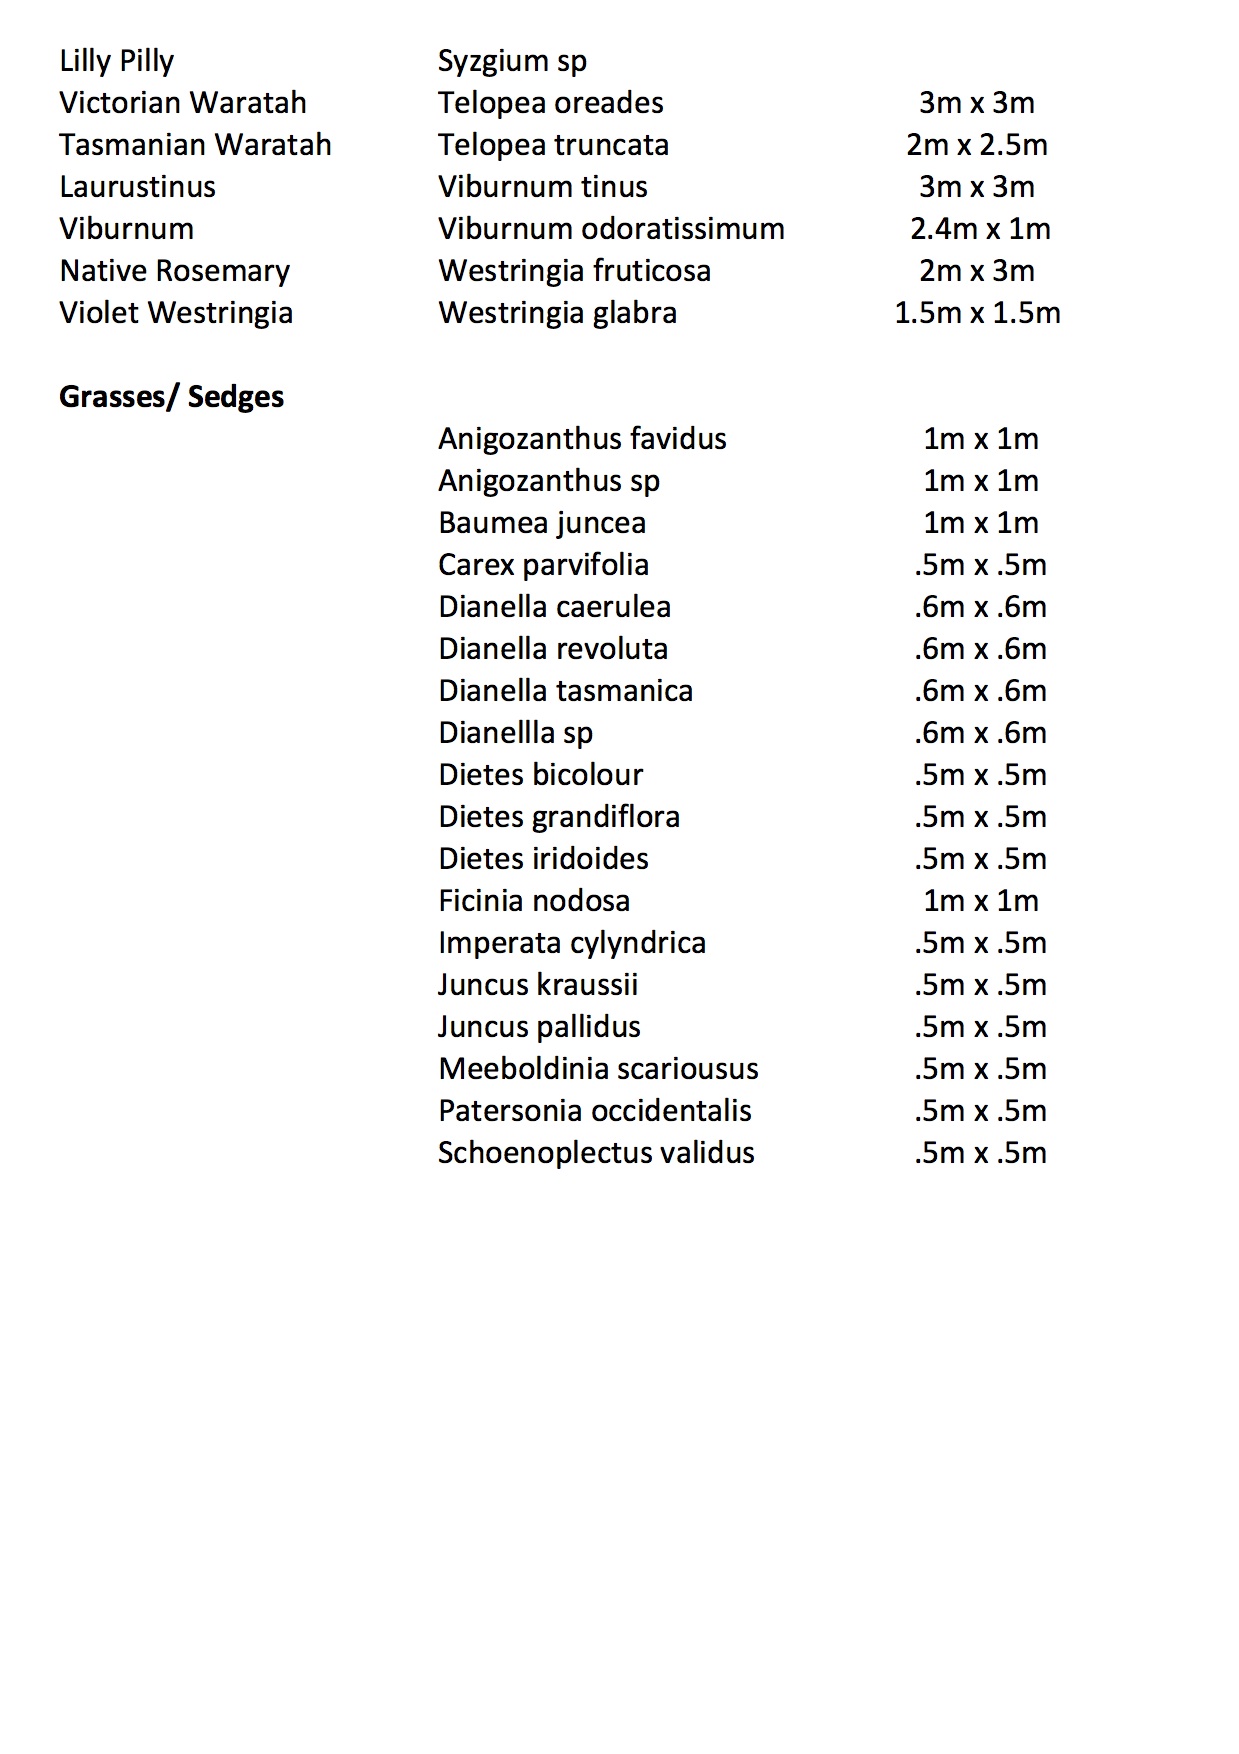
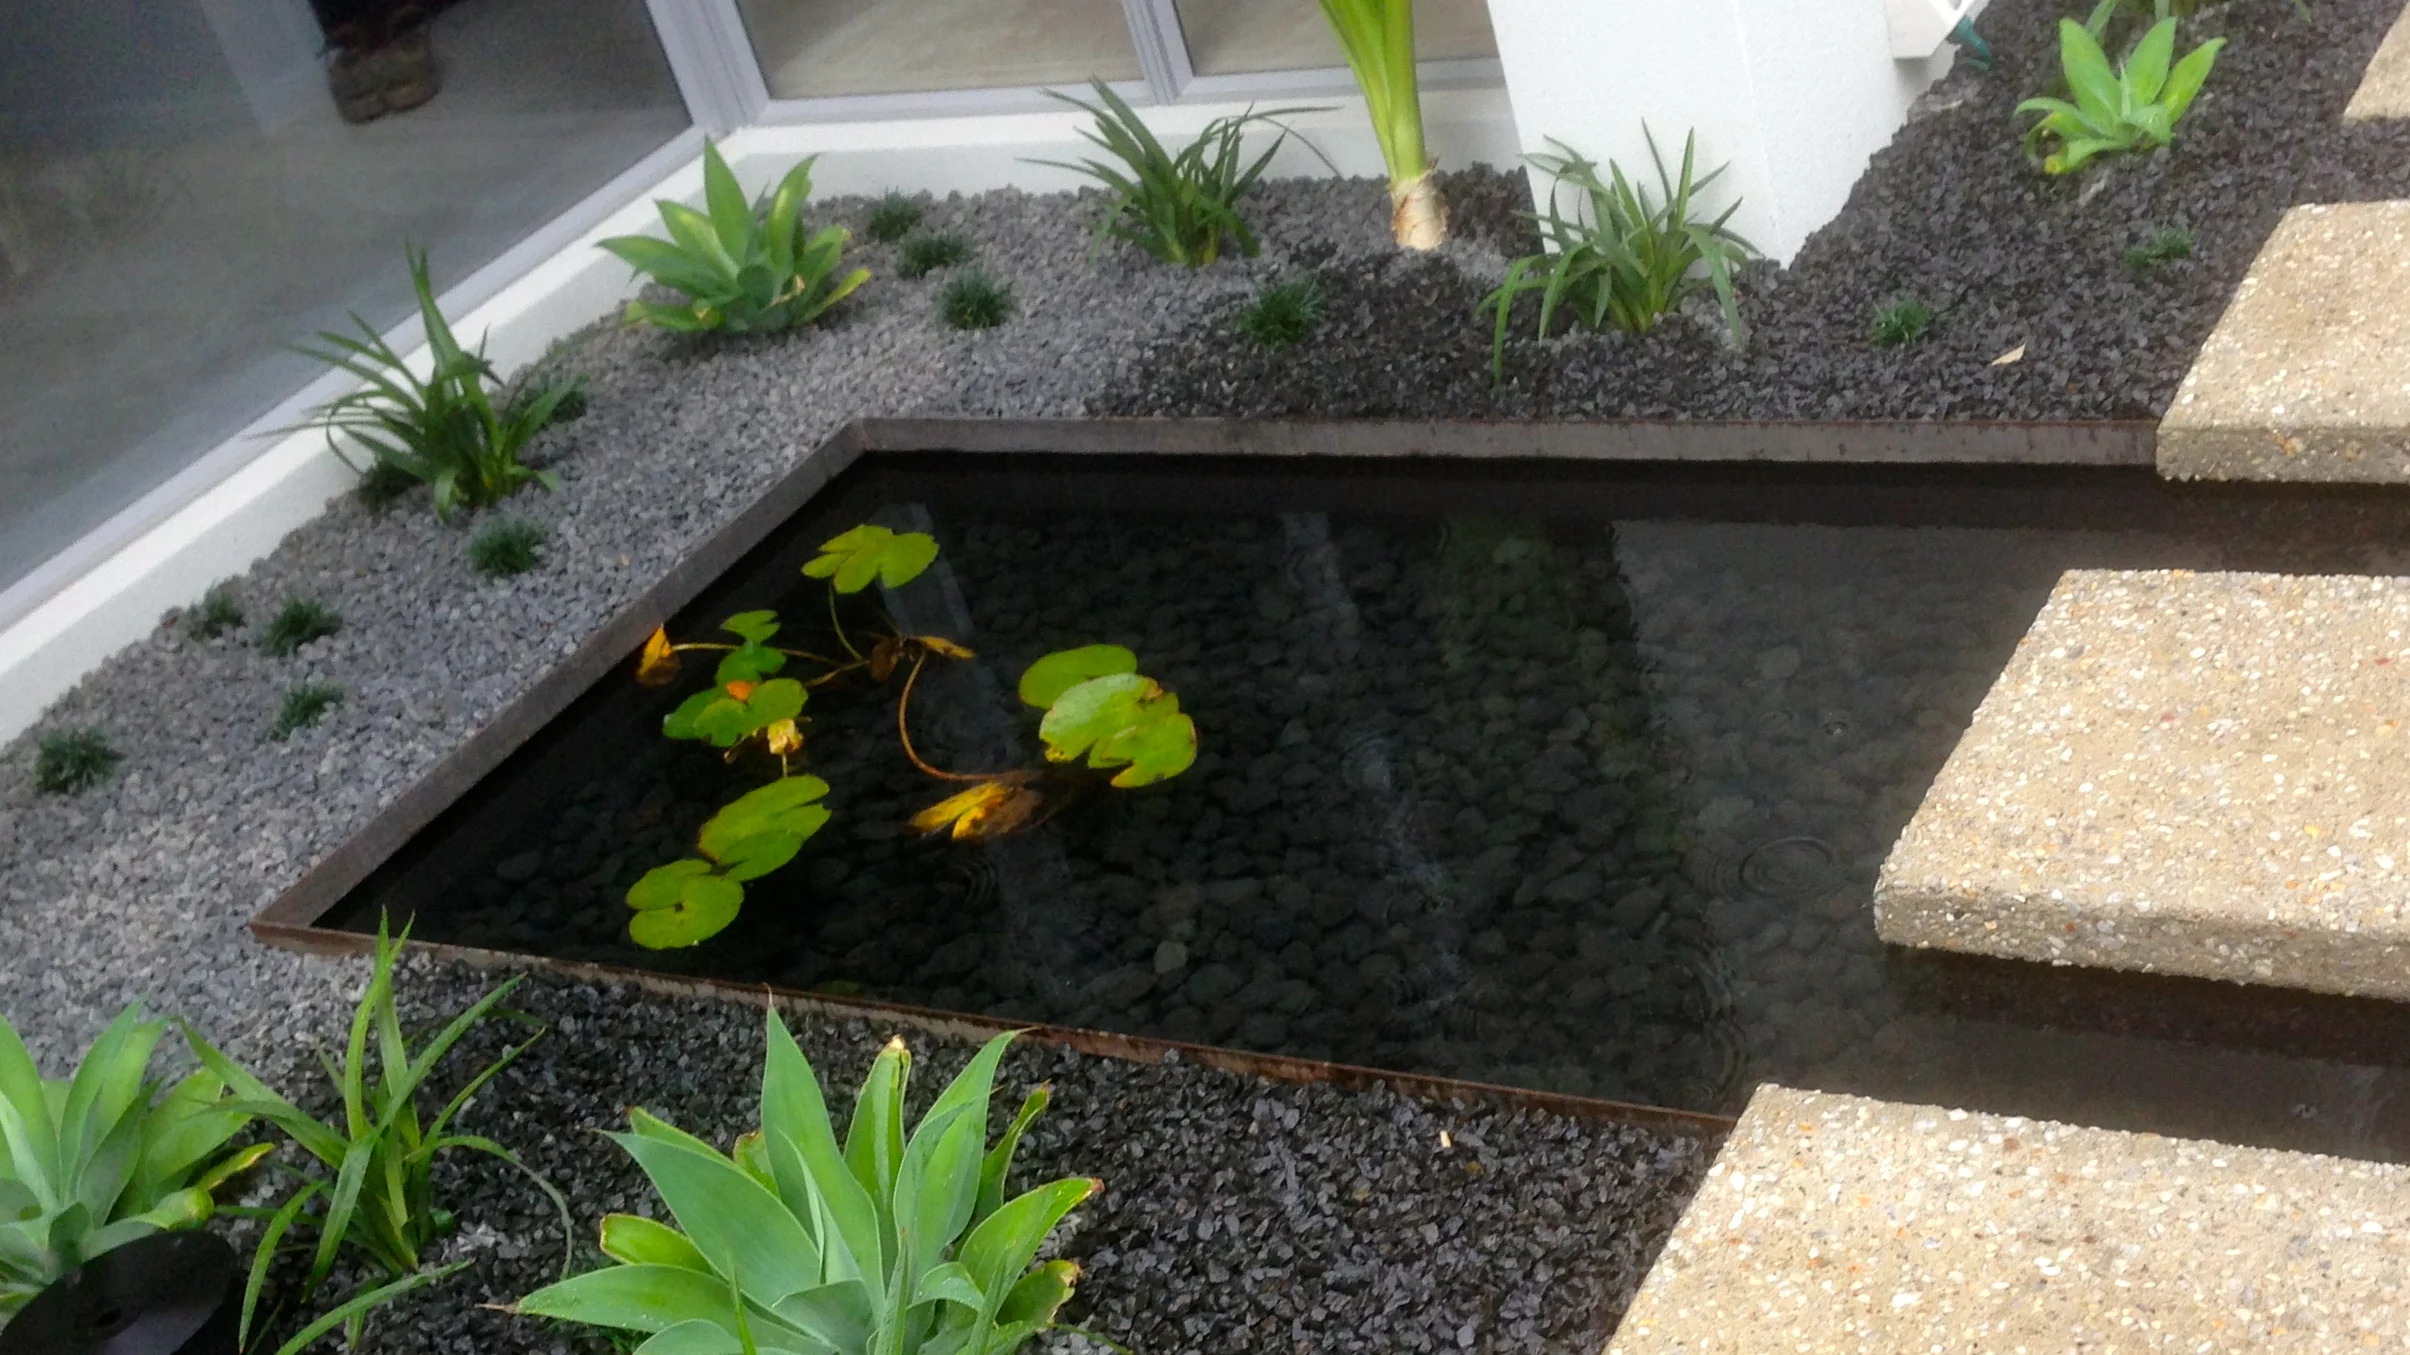
Some plants are lower in flammability and are suitable to be closer to the house. Locating things like lawn, ponds, pools, tennis courts, concrete, gravel and paving, close to the house is helping to create a defendable space.
We will look into this further in the next blog.
(source: CFAVIC Landscaping for Bushfires, 2011)
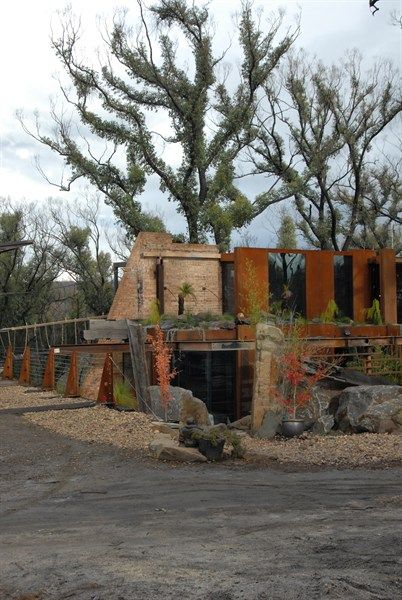
Construction
Construction standards are linked to defendable space and the greater the defendable space, the lower the construction requirement under the Australians Standards (AS3959-2009).
Provision of Services
Water is essential for firefighting.
In all areas the water supply must have appropriate pressure, access and fittings and the amount and reliability is critical. Sometimes the mains water supply is cut off, so it is essential to provide a water tank and link it with a pump or generator.
Any roads within the property must be capable of accommodating fire trucks, and which also require specific construction standards.